
We want to turn an old project into a NEW PRODUCT! Come see how to refine an idea, source materials, and simplify construction when making a product from scratch.
1. Define the Goals
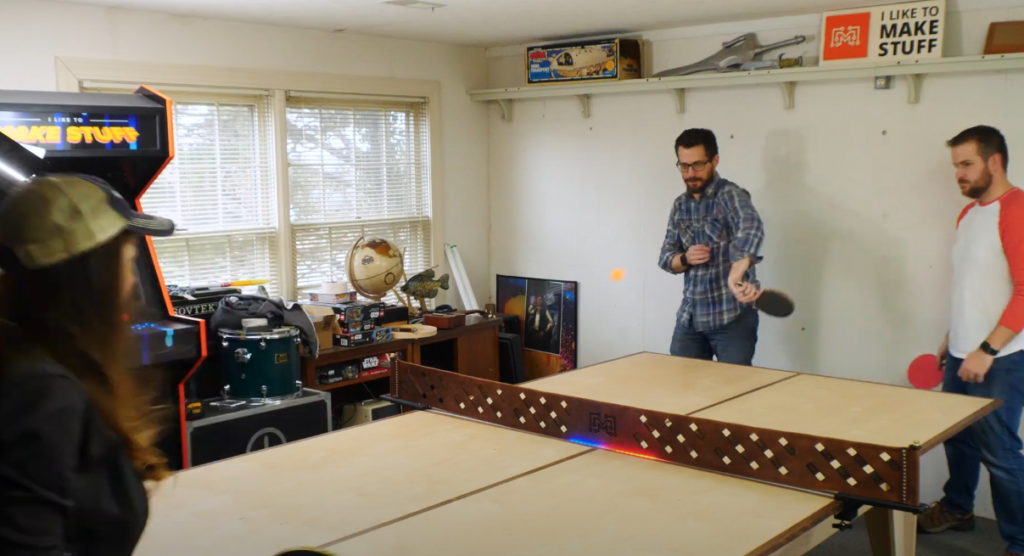
When we make a project video, we usually start with a problem statement; “I wish my kids had a Treehouse,” or “I want a transform my boring basement.” A while back, my problem statement was, “I want a the ultimate ping pong table.” And yes, I made that Ping Pong table with help from Evan & Katelyn and it is fantastic! Now that we have an off-the-shelf ping pong table at the new office, we wanted to bring some of the custom functions from the older one to the new one. So our new problem statement is, “I want a ping pong scoring system that can work with any table.” And after a quick search, there weren’t any options that we could find to purchase. And as usual, we’re going to solve this problem ourselves.
2. Source Materials
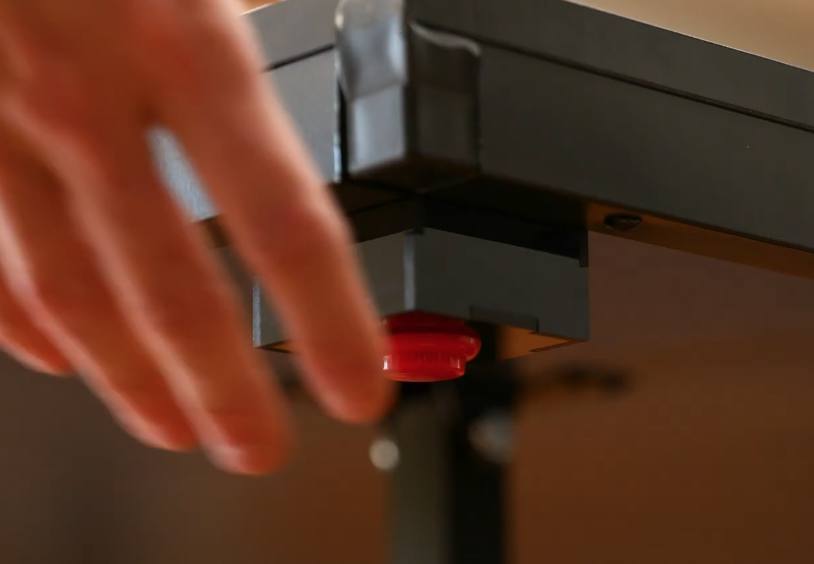
If you like to make stuff like we do, this step isn’t new…it’s just different in this case. In the old table, Josh used some thin wood to laser cut a box to hold an Arduino Uno which was hot glued in place. While these methods and materials worked in our singular use case, it wouldn’t work as a viable product to sell. So, we diagrammed out the entire system: the brain, the buttons, and the lights, and set out to find durable & inexpensive materials for them. Remember, this is only the prototype, so we practiced on some inexpensive MDF panels before committing to cutting finalized versions.
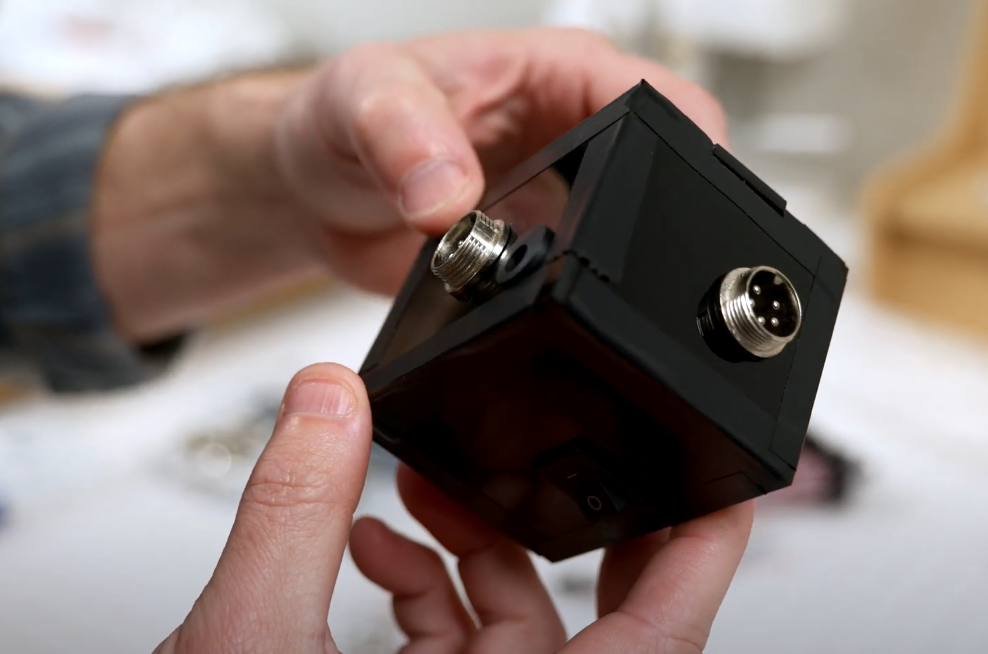
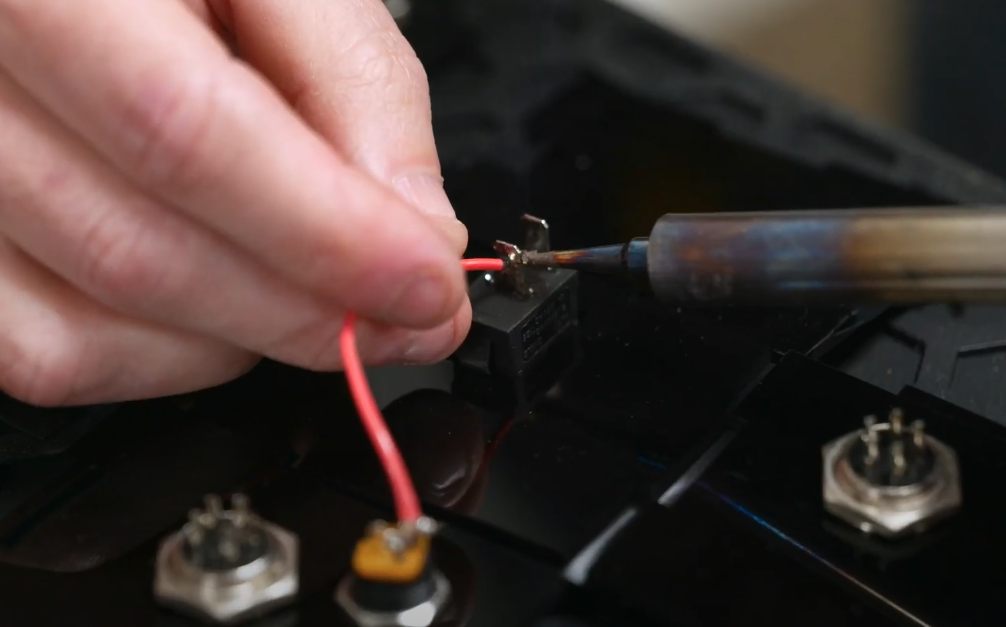
For the brain and button containers, we decided to use black glossy acrylic that we could quickly cut on our laser cutter. Josh first began by making a 3d model in Fusion 360 so we could iterate in a digital space without wasting any material. We also did A LOT of research into easy-to-source and easy-to-use connectors. Our plan involved the customer connecting two player buttons to a central brain. These connections had to be easy to use, durable, easy to manufacture, and relatively inexpensive. Aside from that, wire connector nomenclature is really strange and hard to navigate. But we finally settled on an all-in-one 5-pin connector for each player’s side.
3. Streamline the Process
After changing the design to fit new connector types and connecting many pins to thin wires, we had a physical prototype: a brain, two player buttons, and two LED score strips. While we are happy with the hardware, it wasn’t as efficient as we are hoping just yet. But now we have vital information for a manufacturer to further refine the product. We have wire lengths and types, box sizes, and user experience feedback. Now that the hardware is ready for the players, we have to write the code for the system. I was able to take the code from the first ping pong table and change it slightly to fit the new design. For many budding inventors, this step may be the hardest part. But with a bit of google searching and a lot of patience, you can program an Arduino to do just about anything you want.
No Kickstarter…Yet
We are really serious about trying to bring this product to market. I think the best course of action would be to license it to existing ping pong table manufacturers as an add-on system. We are in the process of patenting the idea so we can protect the idea from theft. While a very important step, the patent process is extremely confusing and difficult to navigate, so tread lightly.
I hope this project of turning an idea into a product is helpful for you. I know you probably have a bunch of million-dollar ideas floating around, go get started making them a reality.
Tools List:
(purchasing via these affiliate links supports ILTMS)
3d Printing/CNC/Laser:
Electronics:
- ESP 8266 Microcontroller
- LED Strip
- Arcade buttons
- Raspberry Pi 3
- Multimeter
- Wire
- jumpers (Male to Female)
- Soldering iron
- Third hand kit
- Wire strippers (not the ones I have, but good ones)
- Thin solder
- Anti static mat
- Fiskars cutting mat
- Plastic parts cabinet (24 drawer)
- Plastic parts cabinet (64 drawer)
- Precision Screw driver kit
Other Stuff: