
Anthony decided to pour his own concrete kitchen countertops using the Counterform kit from Concrete Countertop Solutions. Come see how to make pour-in-place kitchen countertops for a fraction of the costs of traditional counters. It’s more accessible than you think.
1. Prep Your Kitchen Cabinets
Like any kitchen renovation, the bulk of the work is in preparing the base cabinets. Any countertop installer will tell you the cabinets must be level and they must be strong. For Anthony’s concrete countertops, this was especially true. Off camera, he built the cabinet carcasses just like we did in our previous Kitchen Cabinet video. In contrast to my quartz countertops, we plan on pouring the concrete into a form and doing the whole process ourselves. Anthony researched a company, Concrete Countertop Solutions and found their Counterform kit that gave him everything he needed to pour his own concrete countertops.
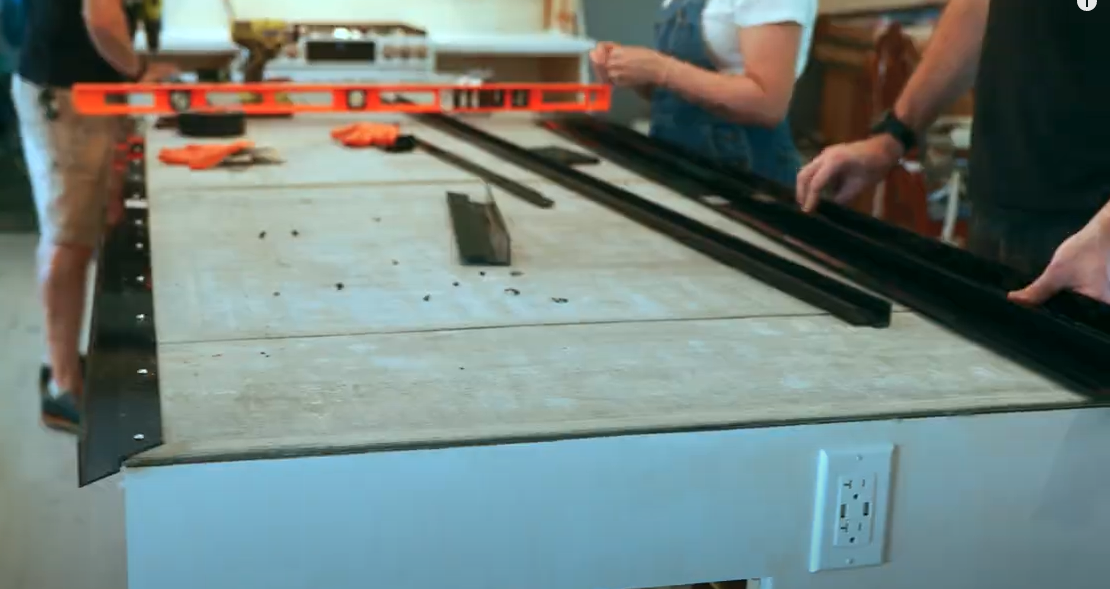
Once we determined the cabinets were level and connected together, we had to lay down some cement board. This water-proof hard board will become the form’s base. We fixed the cement board panels to the cabinets with silicon caulking. Next, we screwed down the Counterform edge forms. These plastic, break-away channels will enclose the concrete when we pour it, creating super smooth edges. Lastly, before we pour, we clipped in a layer of fiberglass reinforcement mesh inside the mold. This mesh acts as internal structure similar to rebar in traditional concrete projects. Now let’s get pouring.
 2. Pour Concrete Countertops
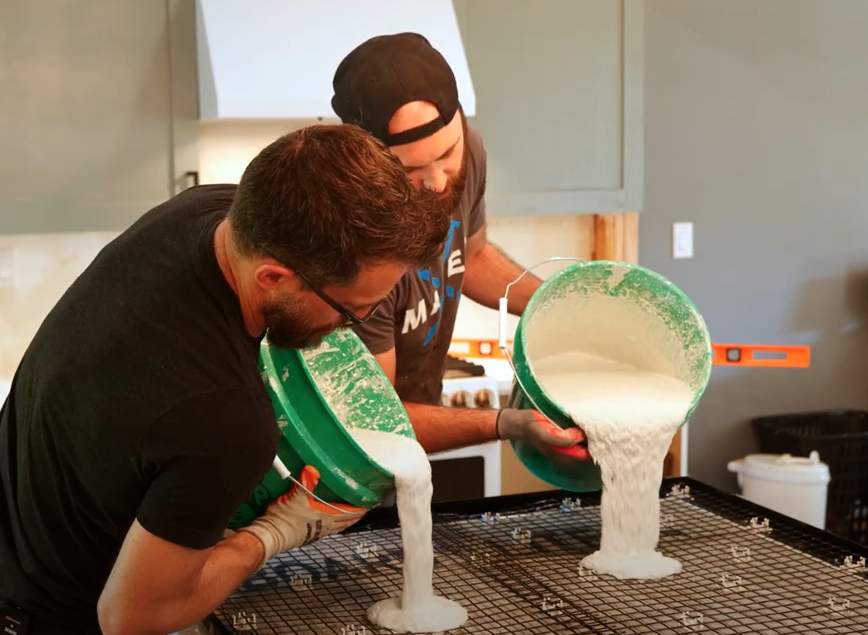
Anthony chose white countertops for his kitchen, which is an option available from Concrete Countertop Solutions. We gathered the whole team to form a bucket brigade to constantly supply Anthony with pourable concrete. His center island is 11-feet long and supplying him with a constant feed of concrete allowed the large slab to cure evenly. Meighan, Josh, and I mixed the countertop concrete, the white pigment, and water together in buckets before delivering to Anthony inside.
You have to make sure that you are mixing each batch of concrete to a consistent thickness. Too much water and there will be pooling and curing issues, too dry and it won’t filter below the mesh and into the edges. Don’t rush this part, be methodical. Once the concrete was flowing, Anthony tapped the forms to fill in the edges while he screeded the top with a long level. This pour-in-place kit doesn’t require to flip the slabs over out of a mold, you you have to treat the top with care and smooth it out as you work. After 24-hours, Anthony removed the plastic edge forms and the knock-out outlet blocks.
 3. Smooth & Seal
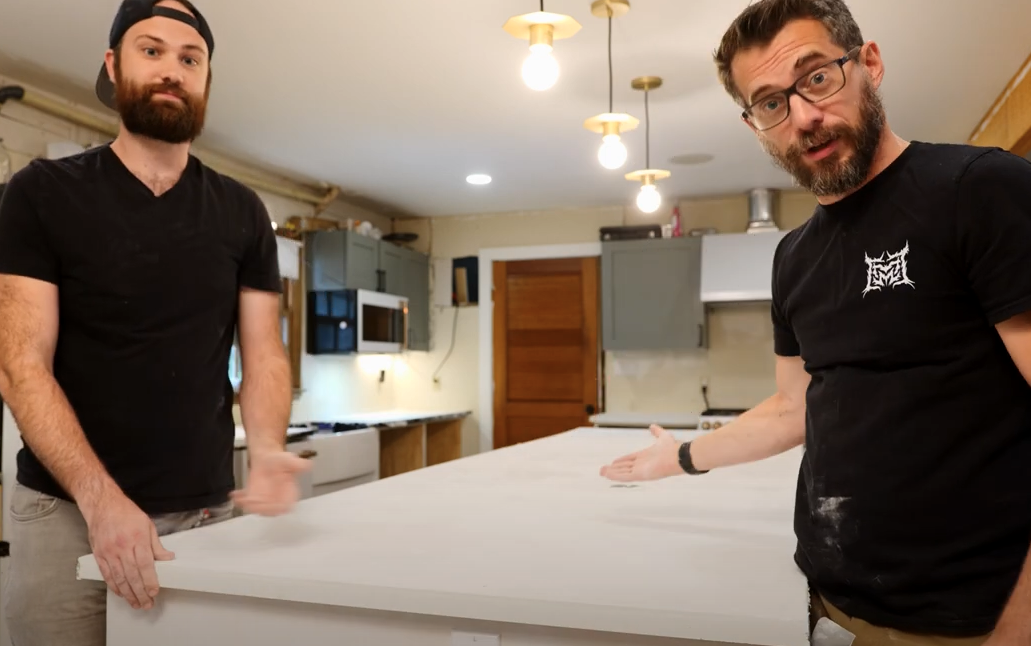
At this point, the concrete must cure for 5 days before sealing it. In this time, you can add a flood coat of thinner concrete to make the surface more uniform or you can sand the surface. Be aware, sanding the surface may create some color discrepancies, so tread lightly. Once the surface was smooth and ready, Anthony applied the sealant using a small paint roller. Once a 24-hour curing time has elapsed, the concrete countertops are ready for use.
 Another Awesome Kitchen Renovation!
I finished my kitchen renovation last year and my family is extremely happy with the results. Anthony and his family are still in the middle of their complete kitchen overhaul. He decided to add the concrete countertops as a cool element, and they look super awesome. The pour-in-place concrete countertops cost a fraction of my quartz slabs and he was done in 6 days compared to my two-month wait time. I think this products from Concrete Countertop Solutions are really valuable for anyone looking to make their own counters. Full disclosure, Anthony researched the products that we used beforehand and Concrete Countertop Solutions agreed to sponsor the project once we reached out.
Tools List:
(purchasing via these affiliate links supports ILTMS)
Woodworking:
3d Printing/CNC/Laser:
Other Stuff: