We were able to finally finish my kitchen island because WE FINALLY GOT COUNTERTOPS! We are so excited about getting this kitchen renovation done. If you are interested in adding a kitchen island to your space, come see how!
1. Make Cabinet Boxes
This is a really simple section to write, because we’ve already covered how to do this. Check out Is it Cheaper To Build Or Buy Cabinets.
2. Add Electrical to a Kitchen Island
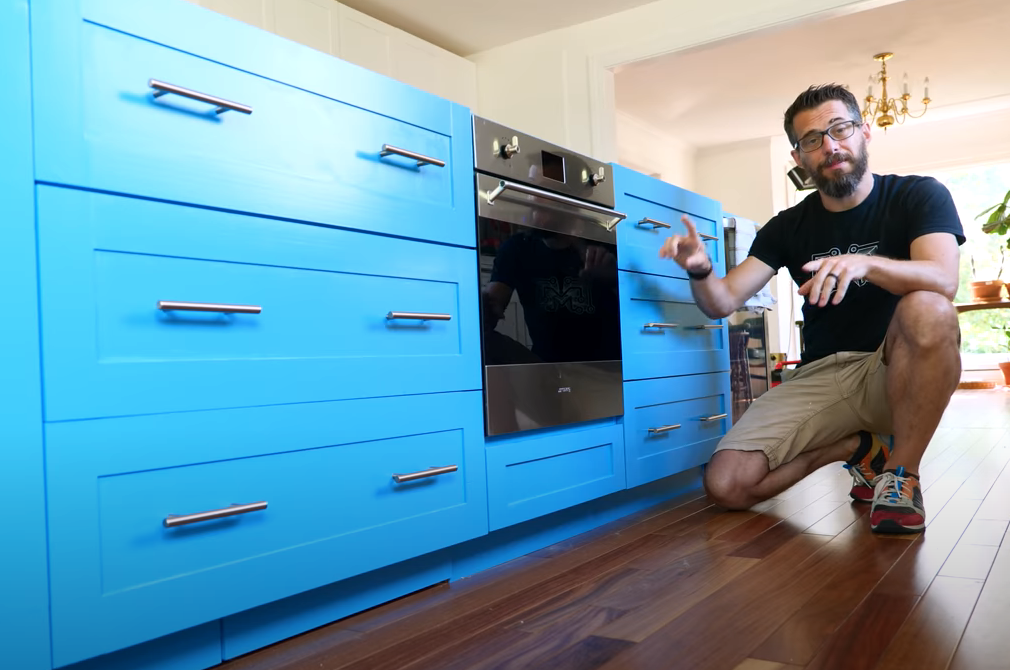
For our kitchen island, we decided to make it 10ft long and about 4 feet wide. That gave us plenty of room to move around it, while maximizing the utility. We have a stove and a mini-fridge housed in the kitchen island, which gives us a lot of surface that needs to be covered by counters. During the design process, my wife wanted a waterfall countertop. A waterfall countertop is made from three pieces of the same counter material; 1 to cover the top, and 2 others that drape down the sides of the island, joined at 45-degree miters.
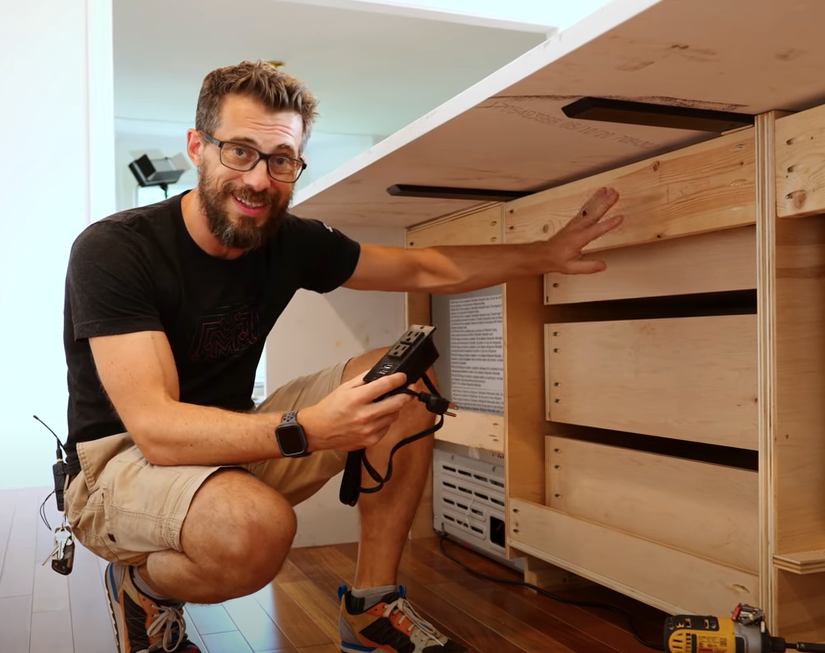
There are some aftermarket pop-up outlet solutions, but my wife didn’t want something to visually interfere with the cool waterfall. So, we had to add an electrical outlet behind the cabinets, under the counter overhang. The overhang isn’t exactly necessary, but we wanted there to be extra stool seating. With the outlet placed on this side, the kids could plug in laptops or other cooking devices to use on the island.
3. Install Countertops
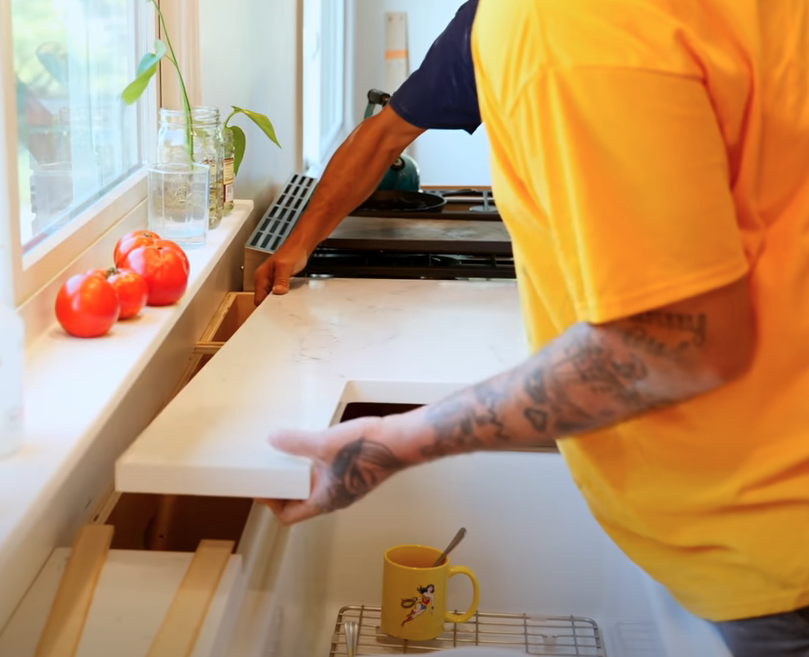
If you’ve been following along with the kitchen remodel saga, you’d know that we’ve been waiting for these countertops for about 5 months. Waiting that long for such a crucial element may be more than you are willing to accept, so check with your local installer before determining your project’s timeline. But, they arrived, and they were installed in a little over an hour. The two installers used a combination of specialized epoxy and calking to adhere and seal the quartz countertops in place. We were told not to use the counters for 24 hours while the adhesive cured. I was so happy to see them finally in place!
4. Finish the Exposed Side
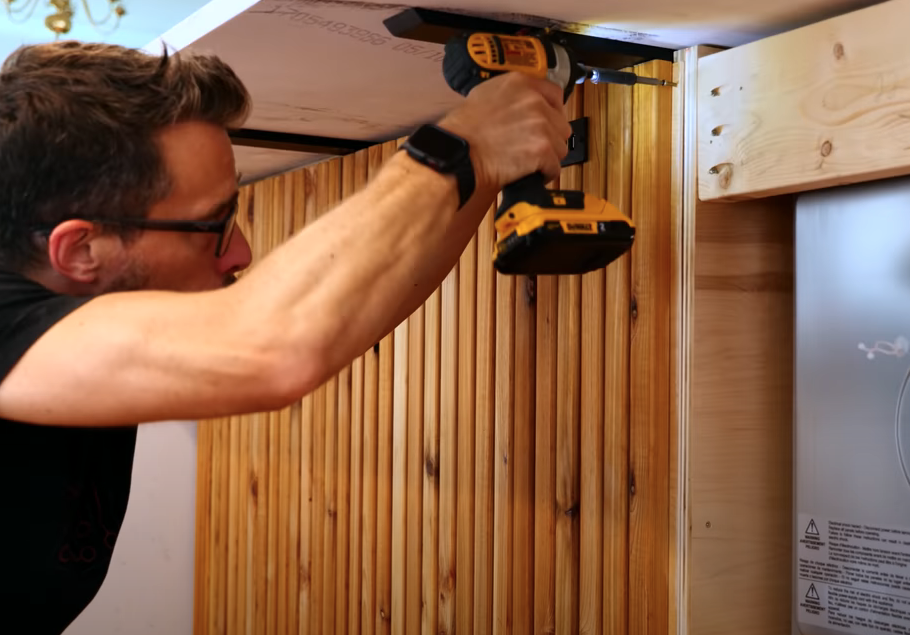
Like I mentioned, We planned for having seating on the back side of the island’s cabinets. This means that I had to create a panel to cover up the exposed cabinetry and appliances. This can easily be done by slapping a sheet of plywood over it and calling it a day. But, this is a very noticeable area and you have a lot of artistic freedom on this large canvas. My wife and I agreed to continue the wood element up from the floor with a vertical slat panel. I cut down some cedar (I like cedar) boards, added a small round-over to the edges, and spaced them evenly across the panel.
Just incase I needed to access the back of the appliances or the electrical boxes underneath, I split the large panel in two so I can remove a piece. I installed the outlet I mentioned earlier near the top of the panel and screwed them in place. The cedar panels looked amazing with the rich, vibrant colors brought out by applying teak oil. It almost matched the flooring colors, which is a nice transition up from the floor.
We’re So Close To Being Done!
We are almost done with this kitchen renovation! All that we have left is to pretty it up more. We are installing a tile backsplash and floating shelves on one wall, and adding organization to some cabinets. This project has been a huge undertaking and if you are thinking about doing a full kitchen remodel, please check out more of our project before you start! Thanks for following along on this journey.

Tools List:
(purchasing via these affiliate links supports ILTMS)
Woodworking:
- SawStop cabinet saw
- Dewalt 20v drill driver combo
- Dewalt Miter Saw
- Countersink drill bits
- Dewalt DW735 benchtop planer
- Orbital Sander
- Pancake compressor/nail gun combo
- Push Blocks
- Shop Fox 6″ Jointer
- Shop Fox Hanging Air Filter
- 2HP Dust Collector
- 1 Micron bag
- Speed square
Finishes & adhesives I like:
Other Stuff: