

This project started with two things that were new to me. The first was a material. I’d gone to one of the big craft stores to pick up some fabric, and whenever I’m in a store like that I end up walking every aisle looking for tools and materials I’ve never used. This time I found a block of floral foam, the stuff that sits at the bottom of a flower arrangement and holds the stems in place. This kind is called wet foam because it soaks up water to keep the flowers alive longer.
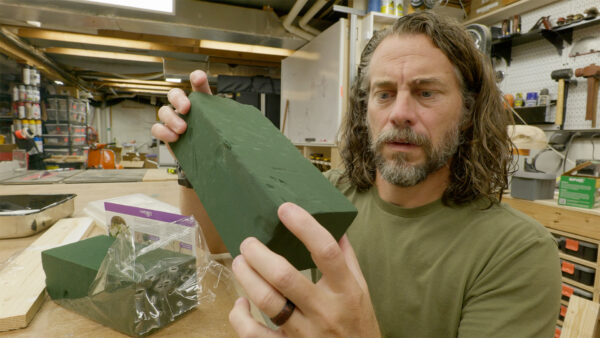
The texture is what got my attention. The dry floral foam I’d seen before was open and porous, kind of crusty. This was dense and squishy, and you could crush it with a fingertip and it would turn to powder. It was also very dusty and a little gross to handle. The second new thing was starting without a plan. I almost always know what I’m building before I pick up a tool. This time the material was the whole point, so all I had going in was a couple of ideas to work toward.
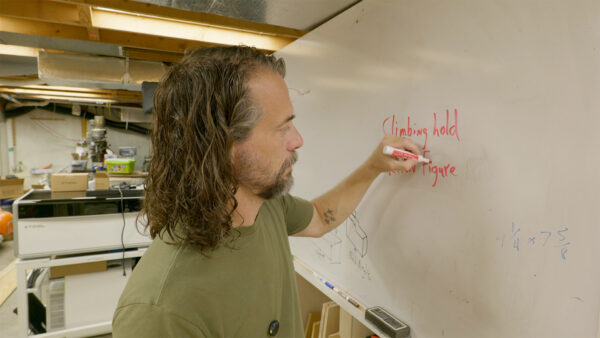
The first idea was climbing holds. The foam seemed like a good thing to sculpt a shape from, then mold and cast into something I could actually climb on. The second was something I’ve wanted to try for a while without a good reason to do it: building a small set piece for an action figure, like a backdrop or a bit of furniture. I tried hard to come up with a third idea and couldn’t, so I gave up on that and started on the climbing hold.
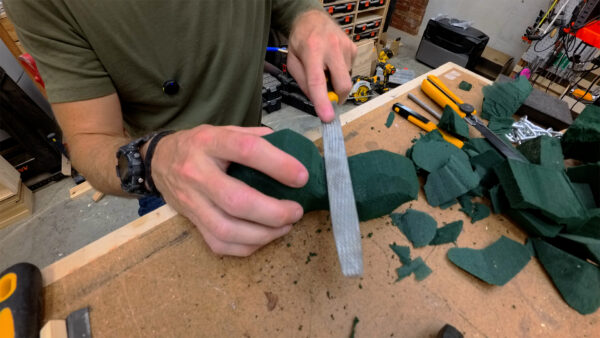
I didn’t want to waste a whole block on experiments, so I cut off a small piece to test on. It cut cleanly with almost no effort, which was good news for the flat surfaces I’d need on the diorama. For a climbing hold I needed curves, and that turned out to be even easier. A sanding sponge rounded the edges off with barely any pressure. I’ve worked with the pink insulation foam before, but that stuff is rigid. This was a completely different thing to work with.
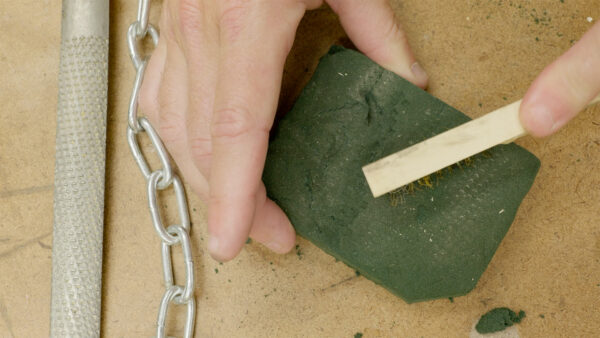
Texture was harder. Climbing holds need some grip, and it has to be in the original sculpt so it carries through the mold. I pressed a few textured objects into the surface and you could see the pattern but not feel it. The rough edge of a sanding sponge left a texture that was too even. A length of chain pressed in way too deep. A brass brush finally gave me a shallow, random texture that felt right. It meant working a small area at a time instead of rolling texture across the whole surface, but that was fine.
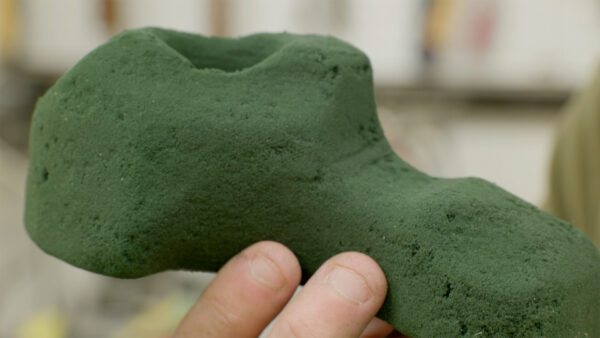
About ten minutes into sculpting the actual hold, I was sold on this foam. It was soft enough that I could push the shape around with a finger and sand it down where I needed to, and the texture I’d been worried about was mostly there on its own. Getting it smooth would have been the harder job. For mounting, I drilled a larger hole from the top and a smaller one through the bottom so a bolt could pass through into a T-nut on the wall, although I did those in the wrong order. I also tried sculpting a wet scrap, which made the foam much denser and very messy. That one goes on the list for another day.
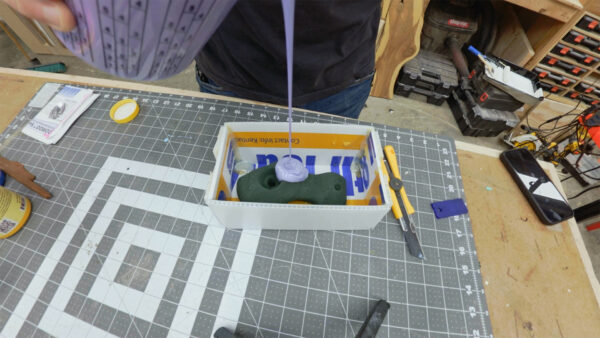
For the mold box I used Coroplast, the corrugated plastic that yard signs are made from. It cuts easily with a knife, and if you slice through just one layer along the corrugations, the other layer works as a hinge, so the box folds up and you can hot glue it together. Every seam needs sealing because silicone will find any gap. The hold gets hot glued to the floor of the box right along its edge so silicone can’t creep underneath. I learned it’s a lot easier to do that before the walls are up.
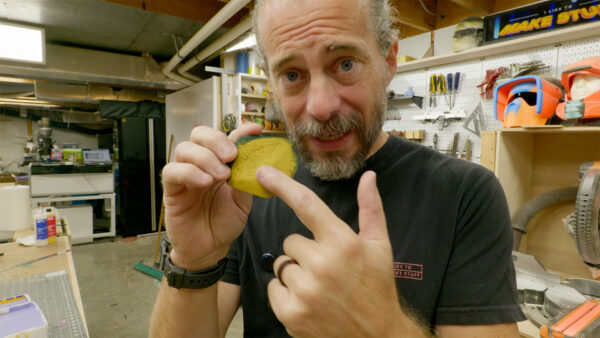
The silicone I had on the shelf had gone bad, so I ordered more. You’d normally degas silicone in a vacuum chamber to get a nice mold, but since this was all an experiment I just poured a thin stream over the top and let it run down to pop most of the bubbles. I had just barely enough to fill the molds. While those cured, I tested sealing the foam with Mod Podge, which seems to be basically thinned white glue. It made the surface stiffer and helped it take paint really well. One coat of yellow acrylic covered the test piece easily.
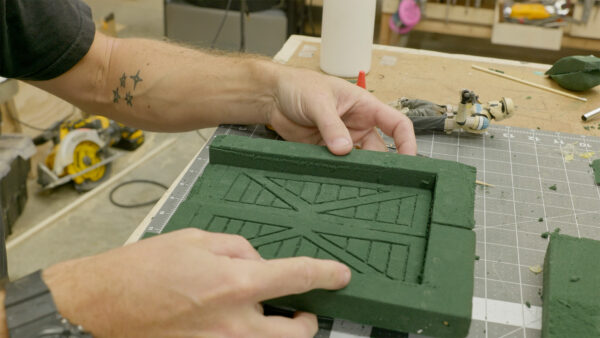
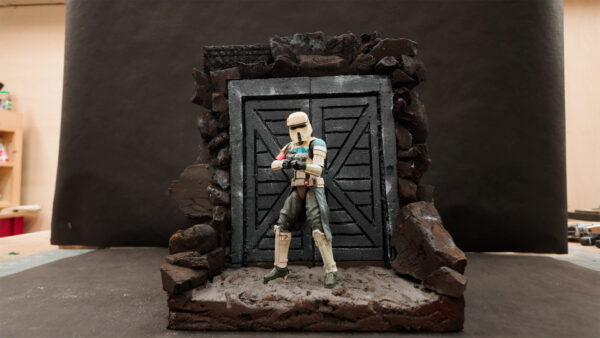
Next was the diorama. I’ll admit I know nothing about building dioramas for action figures, so I grabbed one I already had and cut a fresh block of foam into three slabs, one for the ground and two standing up behind. Wood glue held them together, and bamboo skewers helped keep everything lined up. My plan was a metal door set into a concrete and rock wall, with organic rocky ground in front. The foam carved easily, but any extra pressure from my hand left a dent, which is a problem when you’re trying to keep a door flat.
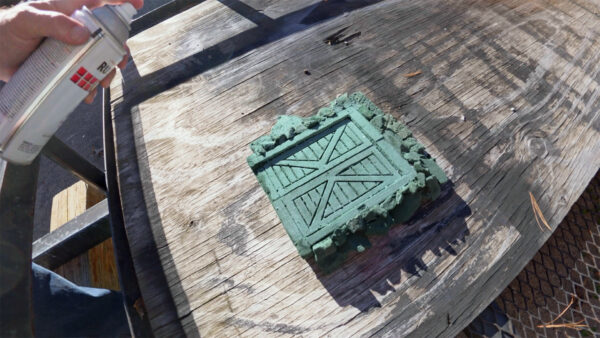
Sealing got tricky once the small rocks were glued on, since brushing Mod Podge over them kept knocking them loose. Spray paint melts styrofoam, but this isn’t styrofoam, and a clear spray finish sealed it without damaging it while also locking the rocks in place. For paint I used a base coat, a dark wash to fill the crevices, and dry brushed highlights on top. Then it was time to cast the holds in polyurethane resin with some play sand mixed in for grip and a translucent green dye. I used a lot more dye than I needed to.
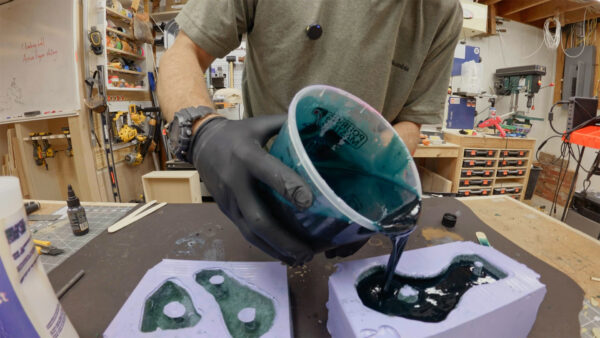
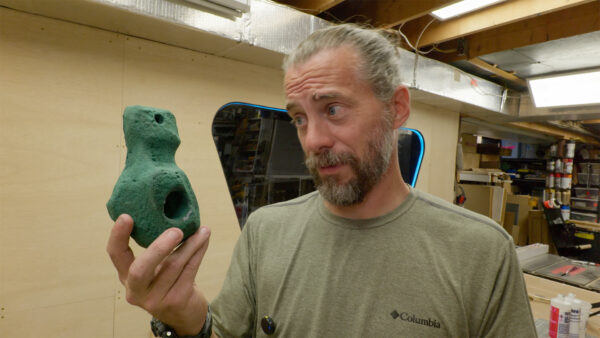
I poured the extra resin into a plastic lid, and as it started to cure it began foaming, bubbling, getting hot, and expanding well past the top before it sank back down. Cutting into it on the bandsaw, I could still hear it crackling inside. The holds came out with voids and felt light, and I’m fairly sure the culprit was moisture in the sand. Once they fully cured, they were solid, the texture was great, and they’ll work fine on the wall.
The diorama turned out to be my favorite part. This foam is fragile, but it’s very easy to shape. I will definitely be trying out more with this foam in the future. I really like working with it.
If there’s anything to take from this, it’s to walk the aisles of a store you don’t normally go to and look for something you’ve never tried. Even if you just write it down for later, you’ll have a new tool or material ready when a project needs it. Thanks for hanging out through all the dust and the resin weirdness. If you know a material I should try next, I’d love to hear about it.
Now, go make something awesome!
TOOLS
(purchasing via these affiliate links supports ILTMS)
Woodworking
- SawStop cabinet saw
- 8″ Dado stack
- Skil circular saw
- Dewalt 20v drill driver combo
- Dewalt Miter Saw
- Jet Wood Lathe 12×21
- Carbide lathe tool set
- Countersink drill bits
- Dewalt DW735 benchtop planer
- Orbital Sander
- Pancake compressor/nail gun combo
- Dremel tool
- Incra box joint jig
- 54″ Drywall T-Square
- Push Blocks
- Jigsaw
- Shop Fox 6″ Jointer
- Grizzly 14″ Bandsaw
- Grizzly Drill Press (WAAAAY overpriced (3x) on Amazon, buy from Grizzly directly.)
- Jet Drum Sander
- Kreg Rip Cut (circular saw guide)
- Kreg R3 pocket hole jig kit
- Shop Fox Hanging Air Filter
- 2HP Dust Collector
- 1 Micron bag
- Speed square
- 11″ Digital protractor
- Digital Angle Gauge
- Classic steel ruler (cork backed)
- Taper jig
- Flush cut saw
- 90˚ corner clamp (4 pack)
- Box Cutters (for eva foam)
Finishes & Adhesives
- Spray lacquer
- 100% pure tung oil
- Formby’s tung oil finished (tung oil/varnish)
- Danish oil
- CA Glue (medium)
- CA Activator
- Barge Contact Cement
- Critter Spray Gun
- Polycrylic
- Polyurethane
- Spar Urethane
3d Printing/CNC/Laser
- Glowforge (laser)
- X-Carve (CNC)
- Ultimaker 2 Extended 3D printer
- Ultimaker 3
- Original Prusa i3 MK 3
- Form1+ SLA 3D printer
- Silhouette Portrait (vinyl cutter)
- All filaments, 3d printing supplies from MatterHackers
Welding
- MIG welder *
- TIG welder
- Welding mask (auto darkening)
- Welding gloves
- Welding magnet
- Angle grinder *
- Cut off wheels
- Metal cutting bandsaw *
- 10″ Evolution Miter Saw for cutting Steel, Aluminum, Wood, etc.
Electronics
- Arduino Uno (just the Uno)
- Arduino Uno Kit
- Arcade buttons
- Raspberry Pi 3
- Multimeter
- Wire
- jumpers (Male to Female)
- Soldering iron
- Third hand kit
- Wire strippers (not the ones I have, but good ones)
- Thin solder
- Anti static mat
- Fiskars cutting mat
- Plastic parts cabinet (24 drawer)
- Plastic parts cabinet (64 drawer)
- Precision Screw driver kit