Want to start a screen printing business for under $300?!
- Screen Printing Supplies
- Screen Print Transparencies
- Applying Emulsion
- Emulsion and UV Light
- Exposing the Screens
- UV Light
- The Screens
- Screen Detail
- Let’s Screen Print
- Screen Printing Process
- Final Screen Prints
Seven years ago I made a video about screen printing t shirts and since then, screen printing has become significantly more accessible. To that point, it’s become even easier and affordable to start a screen printing business. I wanted to do a 3 color screen printed poster and give you the details on starting a screen printing business for under $300.
1. Screen Printing Supplies
First things first, we need to gather screen printing supplies. Everything I got for this project came directly from Amazon. We printed the artwork onto transparencies. We took the transparency and transferred it to screens – so you’ll need a pack of reusable screens. To do the transfer, you’ll also need the emulsion and emulsion tray. I used a UV LED light to expose the emulsion on the screens. I picked up a squeegee to move the paint through the screen.

2. Screen Print Transparencies
First, I needed to print the design onto the 11×17 transparencies. We used our large ink jet printer but you can do this on any ink jet printer OR you can take it to your local print shop and they can laser print it onto the transparency for you. Since I’m doing a three color screen print, I put registration marks on the corner of each transparency in order to line each one up perfectly. After having all the transparencies prepped, I needed to turn those designs into a screen.

3. Applying Emulsion
Before you can get the design onto the screen for screen printing, you have to apply emulsion to the screens. You’ll start by pouring emulsion into to the trough and once its evenly spread through the trough, you’ll drag it across the back of the screen. You want it to be one even pull so as you do that, lift the screen slightly at an angle making sure it fills the space.
4. Emulsion and UV Light
The emulsion uses UV light to cure it, so it’s best to do this in a dimly lit room.You want this to be even, so if there’s any darker blobs, they won’t expose correctly – if you need to do it again, you can take the emulsion up the back side to smooth it out. For the emulsion to try, set the screen aside in a small closet. While it dried, I transferred the remaining two designs onto the other screens.

5. Exposing the Screens
Once you have the emulsion dried on the back side of your screen, you’ll lay it down then put the transparency art backwards onto the screen. To keep consistent, I’m lining up the transparency to the bottom edge of the screen just as a point of reference. Then I used the registration marks I made at the beginning to line every screen up at print time. I added a little scotch tape to the corners just to keep the transparency from sliding around on the screen. At this point, we need to expose the emulsion. This means that whatever is under the black ink that’s being transferred will be washed away and we’ll have a screen to print. There’s a lot of information on exposing emulsion, but on our bucket, it gave us exact directions on what to do.
6. UV Light
We used a UV LED light and exposed it for 10-12 seconds. (Spoiler – we ended up having to expose it for about 5 minutes to get the result I wanted). After the UV LED light exposed the emulsion, I had to rinse it off. In the past, I’ve used soft bristled tooth brush to clean it off but that’s not recommended by the masses. Instead, I suggest using a power washer or a power washing attachment to your hose to really get it cleaned up well.

7. The Screens
Some of the details in the artwork didn’t quite expose as well as it should have. But the design itself has a texture so it worked in my favor. However, I did end up ordering a second set of screens with a higher resolution count that allowed for really clean lines. I went from a 160 count to a 320 count which allowed for a really clean text – I actually used this for just one of the screen prints and kept the 160 count for the other two since it really blended well with the grittiness of the design.
8. Screen Detail
If you have a higher detail, you want to have a higher count resolution which can cost a bit more. However, at this point, we’re still under $300. Even with the extra exposure time, you can still see a few places where the emulsion got blown out, to fix that, I’ll just add some painters tape and it will do the trick.

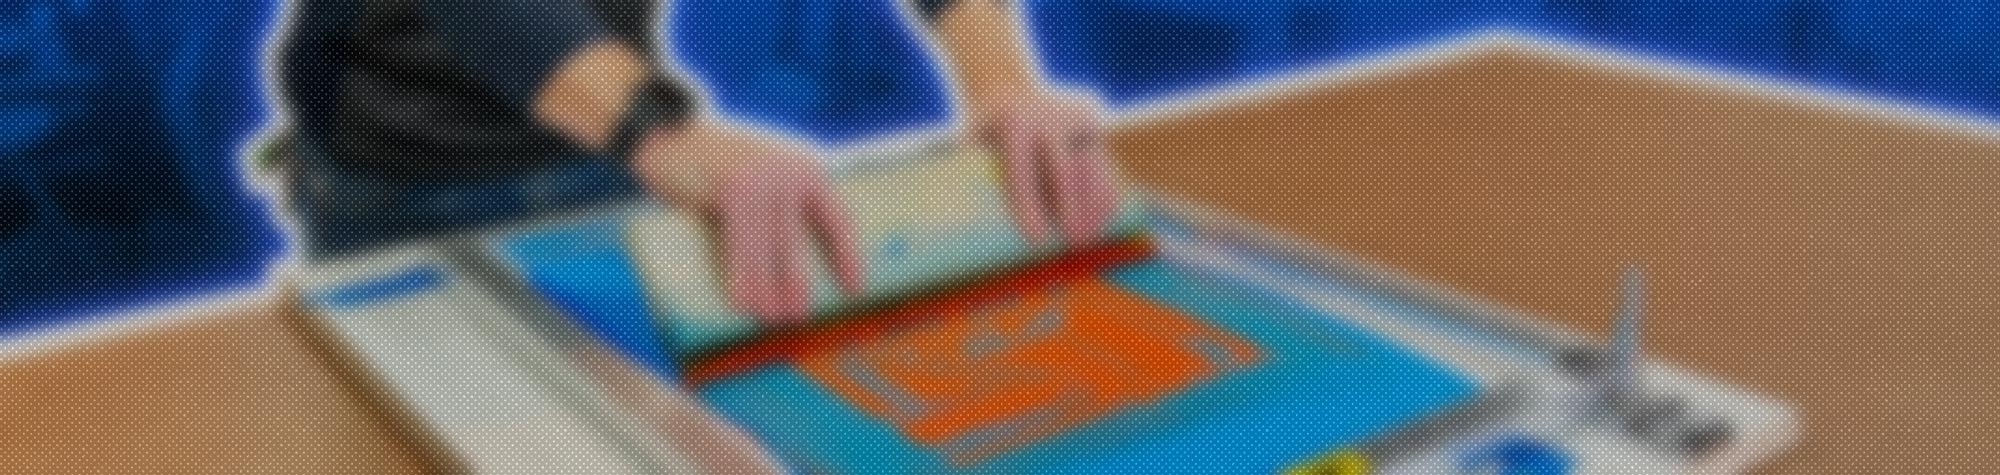
9. Let’s Screen Print
I used a big piece of melamine that I already had and clips to attach the screen firmly down to the board. These two things are not necessary, but they definitely can help. I printed on 11×17 watercolor paper. For poster printing, you want a heavier paper so that it’s less likely to curl. On my table, I marked out with painters tape where I’m laying my paper so each time I print on the paper, it’s the same every time. I mixed up a color, but you can pour straight from the container onto the screen.
10. Screen Printing Process
I put a thick bead evenly across the top with more than you think you will need so that you have enough to push through the screen. You will want to push down completely past the design, drag all the way past the design at the bottom and at the end you’ll scoop it up with the squeegee. Since I did a three color screen print, I had to allow the first layer of color to dry before adding the second and third colors. The same process was repeated two more times for the additional colors and designs.

11. Screen Prints
I wish I had this skill back when I was in a band. I screen printed all of our t-shirts but I could have added posters and other merch. I’ve used screen printing for several other things as well – I’ve put logos on different projects that have been commissioned, I’ve put logos on skateboards – tons of stuff – what would you use screen printing for?

Tools List:
(purchasing via these affiliate links supports ILTMS)