
It is time to completely dismantle the Karmann Ghia! This full-restoration project had to start by tearing it down so that I can start building it back up the right way. Come follow along with this on-going saga of Rebuilding My Dream Car.
1. Remove Doors and Glass
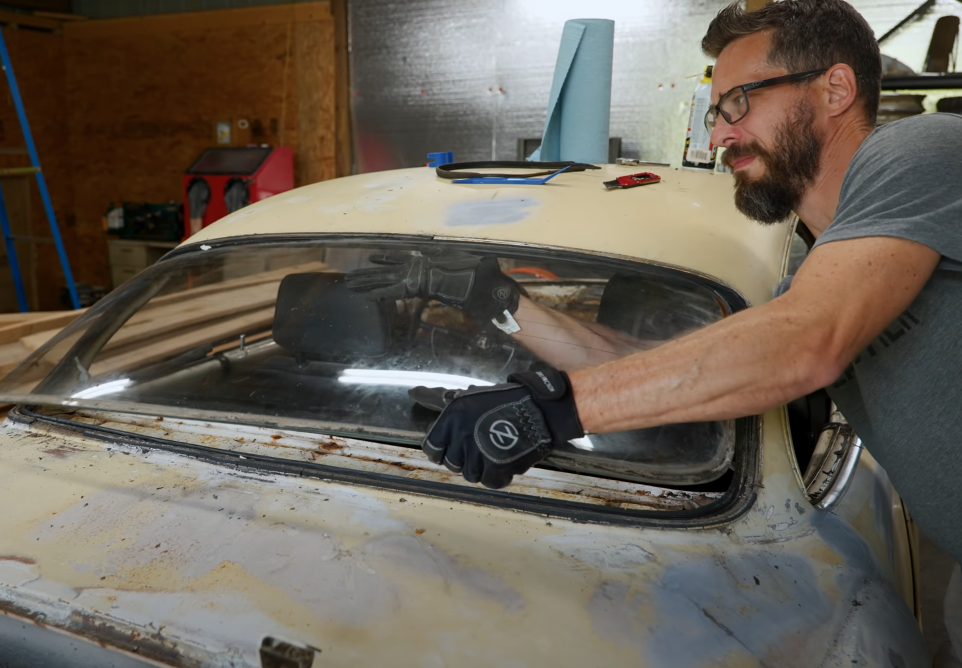
To fully disassemble the Karmann Ghia, I brought it into the barn where it’s protected from the elements. The big down-side is that I am now separated from my tools. In order to remove the doors, I had to have an impact driver or impact screw driver with a #4 Phillips head bit. They aren’t that expensive, so I bought one to keep out at the farm. After removing the doors, I was able to scrape the window seals off and carefully separate the windows.
I was very careful not to mix up hardware when tearing down the car. I got a roll of zip-lock sandwich bags to place specific items’ hardware inside. This way, I could keep sections of the car organized together without losing bolts of washers. Once the windshields were removed, I stripped the doors down and removed those windows as well. Now the Karmann Ghia’s doors were ready for paint removal.
2. Take Out the Interior
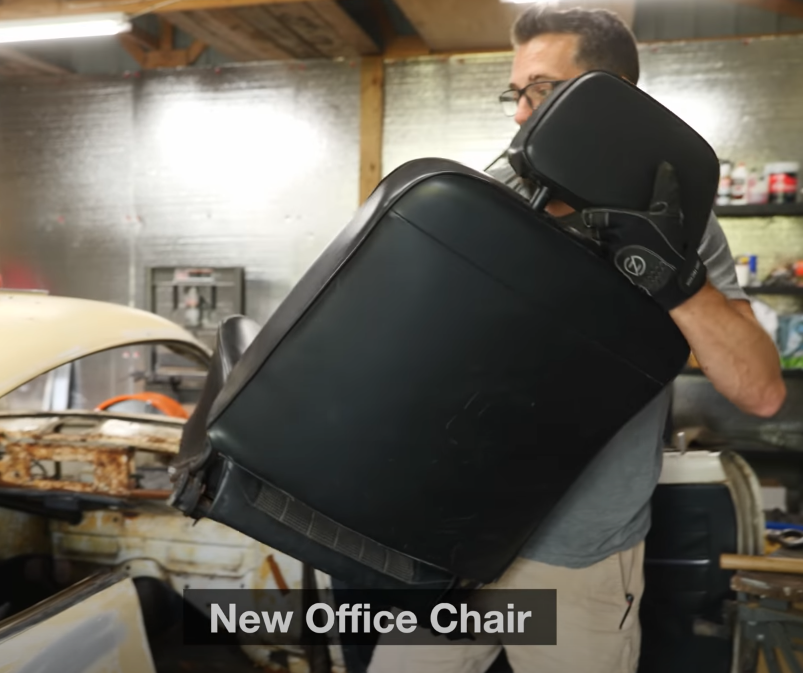
At this point, I had a large opening with the doors removed, and I can remove the interior more easily. The Karmann Ghia seats are removed by sliding them all the way forward, disconnecting a spring under the seat, and lifting them straight up. I’m not sure what I will do to refinish these seats. In the grand scheme of the rebuild process, the interior is near the end. Next, the dash and the steering column need to come out. Once empty, I can get a good look at the floor and the floor pan. I will need to replace the heater ducts as well the floor pan in many areas.
3. Remove Body From Chassis
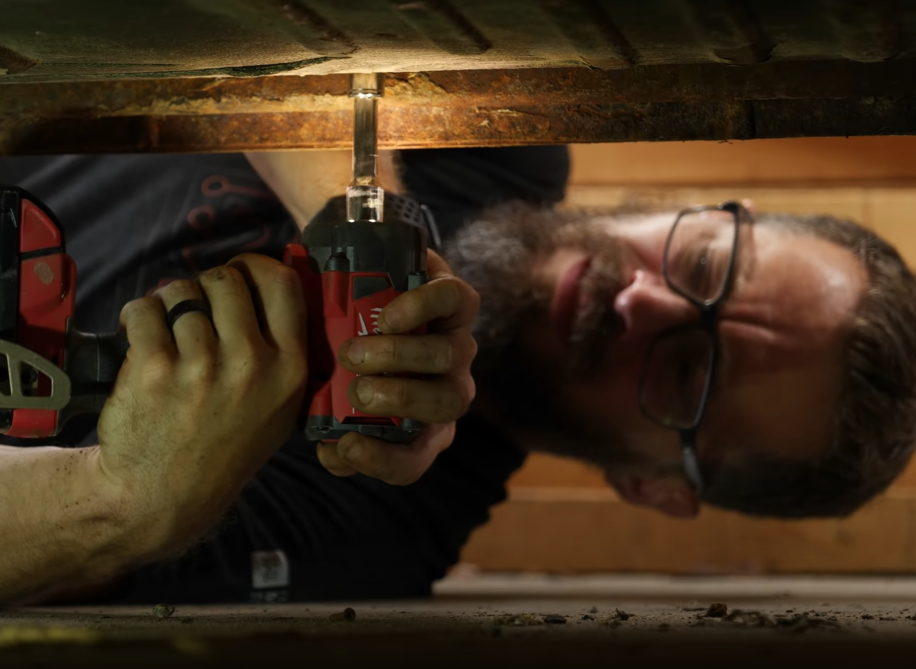
Like I mentioned in earlier installments of the Karmann Ghia build, this car has a body bolted to the rolling frame, or chassis. While the idea of simply unbolting the 22 fasteners seems pretty easy, I remembered that the car is over 50 years old. Wearing some eye protection, I crawled under the car and used the impact wrench to remove the rusty bolts. Once I was able to organize and store the bolts, I could lift with my knees and separate the body from the chassis.
Restoring My Karmann Ghia
Thanks for following along with this on-going saga of restoring my Karmann Ghia. This dream car build will take some time because I am constantly making content, and I don’t know what I’m doing. I hope this video can be a helpful guide to dismantling a Karmann Ghia, but more so, I hope this inspired you to try something hard. You may not think you are capable of doing something like this, but hey, neither am I, but I want to give it a shot.
Tools List:
(purchasing via these affiliate links supports ILTMS)
Automotive:
Other Stuff: