We are finishing up the master bathroom remodel! If you haven’t seen it yet, go check out part 1 where we demolished the room and roughed in the plumbing and electrical.
1. Prepare Walls
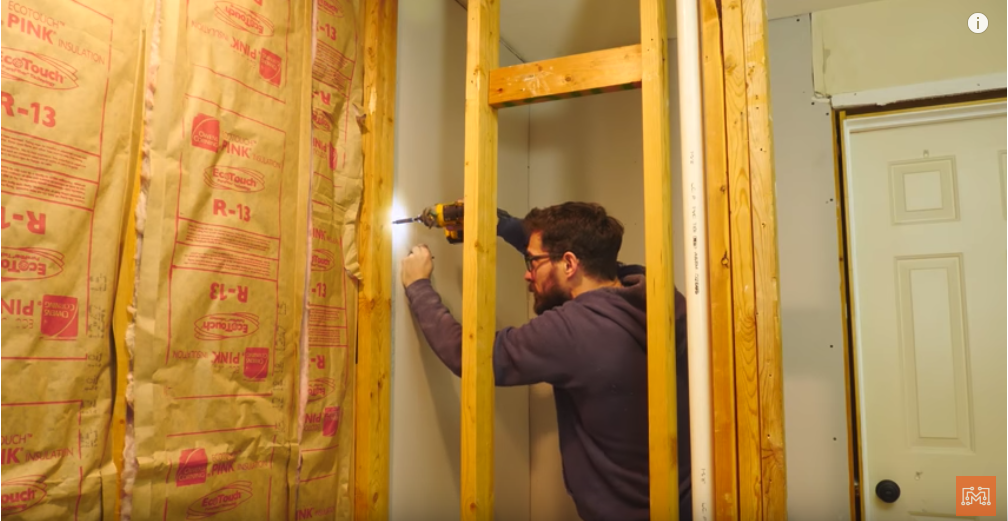
In Part 1, we left off with bare studs and roughed in plumbing and electrical. Before we can add anything else to this room, we have to add some wall treatment. In the US, we traditionally cover the framing studs with gypsum sheetrock sheets. Josh and I cut and screwed the panels in place, covering the entire room except the shower. We didn’t cover the shower because it will get a special waterproofing board later.
I added mud and corner braces before sanding the walls smooth. My wife added a few coats of primer before painting the walls white. We knew that painting this early would require us to do touch up paint later, but I thought that would be way less effort at the end of the project.
 2. Waterproof the Shower
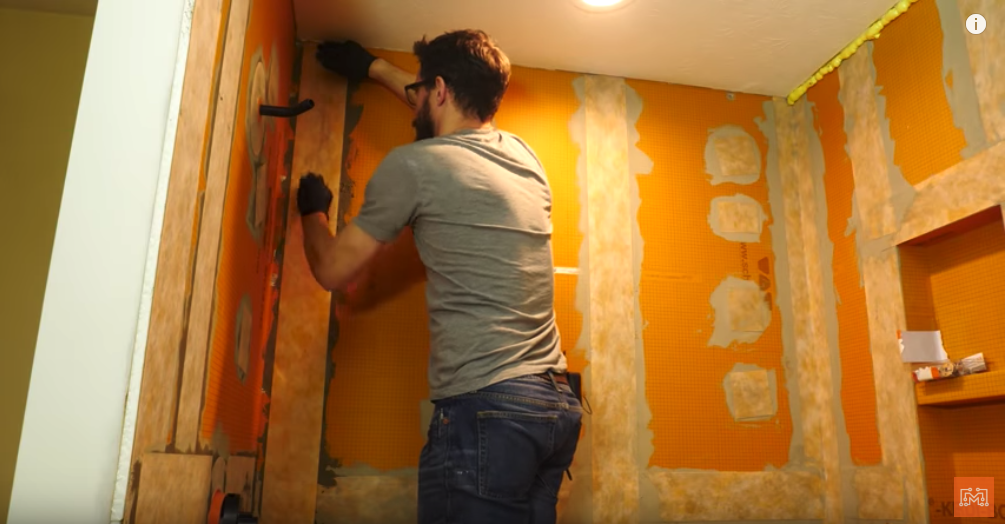
To make the shower, we are starting with just an open space. A company called Schluter makes a kit that has everything you need to turn that blank spot into an actual working shower. They include a shower pan that has a built-in slope for the water to run toward the drain; a step that keeps the water inside the shower; the actual drain; and waterproofing material that you lay over some special board, called Kerdi Board, to ensure that there are no leaks.
I used the company’s own tutorial videos as a guide, and started installing the products. Just like the Ditra mat that we laid down in the Mudroom, the shower pan and step needed to be pressed into some thin-set mortar. Next, I added the Kerdi boards to the walls in the same way I added the sheetrock to the other walls. These boards were attached to the studs with special washers and screws. You then apply some thin-set to the joints and cover it with strips of the waterproofing material. The whole process is just like sheetrock, but with different materials. Once the whole shower was dried, I did a leak test and everything was working great!
 3. Lay Tile
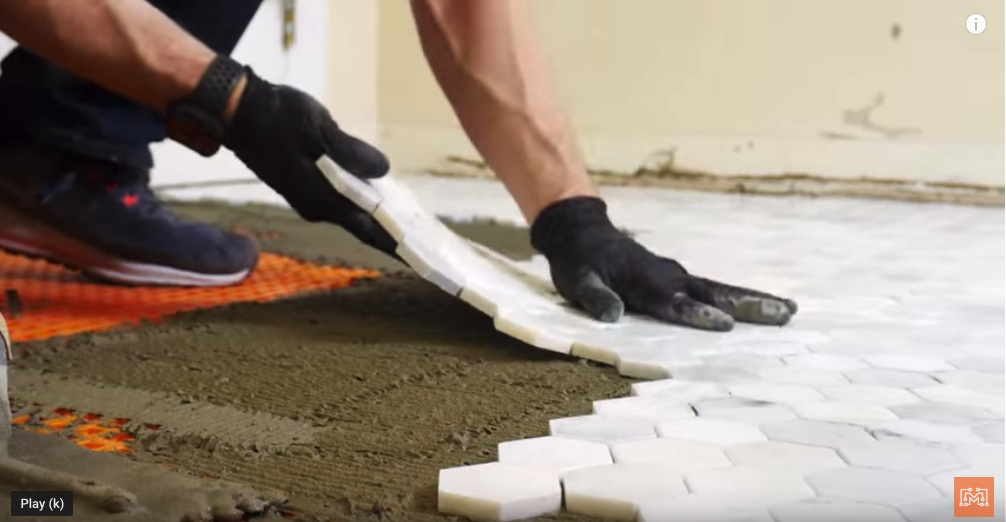
Just like in the Mudroom, a majority of the grunt work was going to be laying tile. For the bathroom floor, we used marble hexagon tiles and some silver grout. The shower floor would be the same color of marble, but in a penny round pattern and pearl grey grout. We decided to use larger subway tiles for the shower walls and to act as a wainscoting for the rest of the room.
This process is detailed in the Bits video we did about Laying Tile, if you have any questions about our process, go check that out. The only thing that was different this time, was that we used a new product called grout maximizer that you add to the grout. It has a sealing additive so you don’t have to go back and seal the tile later. This was awesome and saved us a lot of time!
Once all of the tile was laid and grout was added, we covered it with some protective paper and focused our attention upward.
 4. Add Lighting
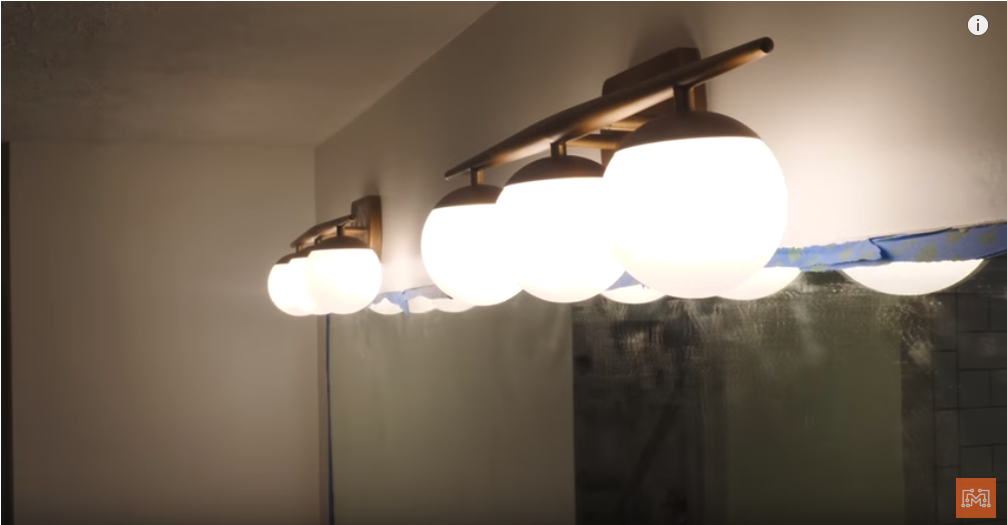
In Part 1, we added electrical receptacles where we planned on adding lights. We also installed a new exhaust fan that has a built-in bluetooth speaker so you can rock out in the shower. I hung the pendant lights above the bathtub area and over the toilet space, and added the recessed, water-rated LED light fixture over the shower. For the vanity area, I installed the two light fixtures, each with three lights.
Once everything was hooked up and turned on, it was amazing! This bathroom used to be so dark and muted because of the lack of light mixed with the dark blue wallpaper. With the bright white tiles and more effective lights, it is welcoming and vibrant.
 5. Install Tub, Shower, Toilet, & Vanity
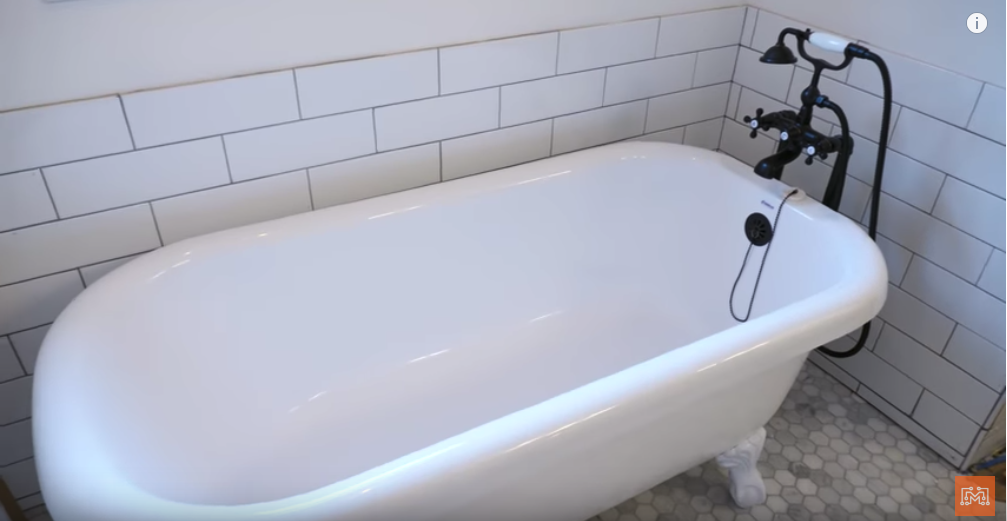
I know this title seems like an understatement, but for each of these iconic bathroom feature, we just followed the accompanying instructions. We added a classy claw-foot tub and connected the provided drain to the roughed-in plumbing. To connect the antique tub faucet, we had to drill through the tile and subfloor to connect the water lines. Again, we followed the instructions when connecting the water, and assembling the faucet.
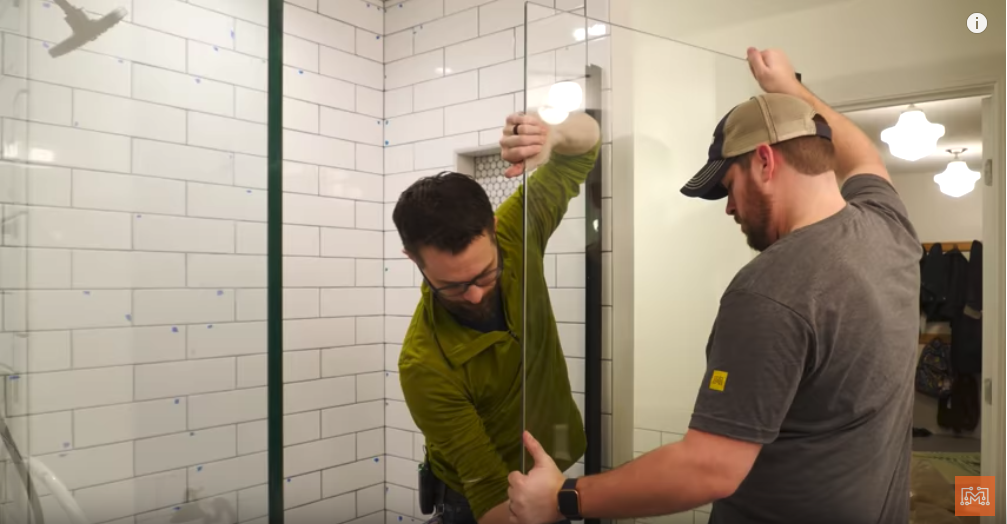
 The shower door was surprisingly easy (with two people) to install. We followed the measurements and used the provided templates to drill the support brackets into the shower walls. ONE MAJOR WORD OF WARNING…measure the door after you are completely done tiling the shower. We ordered the door with the planned opening measurements and found out the the final space was a half-inch more narrow. Our first door didn’t fit and we had to get a replacement. But once we got the new one in, it was just as easy to install.
 We installed the toilet into its new space and hooked up the water. We covered this in a Bits episode all about toilets and it was pretty easy. Just make sure not to tighten the flange bolts too tight or it may crack.
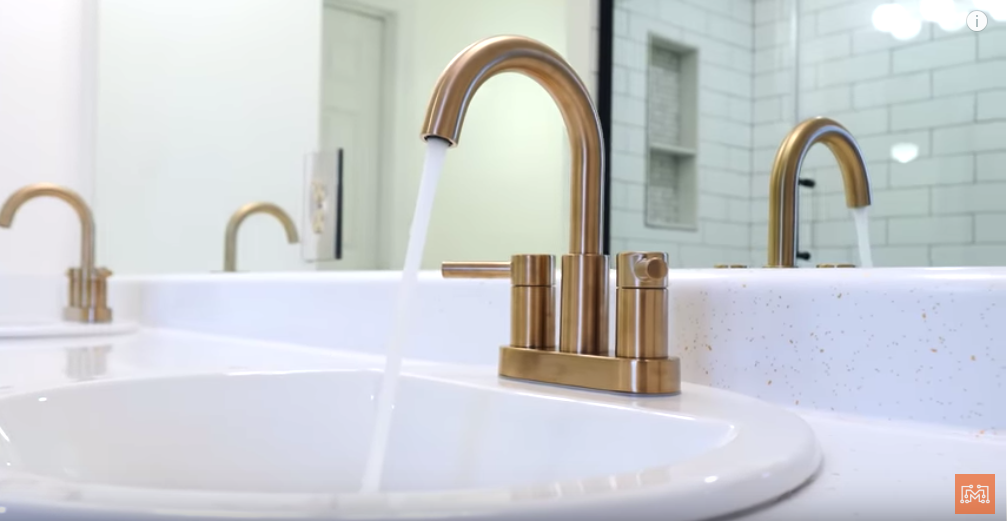
 My wife repainted the vanity a cool blue color to add an accent to the room. She really liked the vintage counter top and hardware, so we simply reinstalled them. I added new sinks and faucets just like we did in the Faucets Bits video, which again, was pretty easy.
 I Can’t Believe The Transformation!
Once the last decorative bit was in place, I was able to finally step back and see the room as a whole and I was amazed. Partially because it looks soo much better than the drab 1983 bathroom that is once was, but mainly because of the amount of work it took to get to this point. It was a lot of hard work and I’m pretty proud of the final product. I hope this master bathroom remodel series has given you some ideas on projects that you can do in your bathroom, and I’d love to see any progress that you’re making!
I would like to give a huge thank you to Lowe’s for partnering with us for this remodel project. All of the fixtures, products, and tools can be found on Lowes.com using the links to the right.
Tools List:
(purchasing via these affiliate links supports ILTMS)
Shower:
- Shower Waterproofing Kit from Schluter
- Kerdi Shower Wall Boards
- Sloped Shower Pan from Schluter
- Shower Drain from Schluter
- Shower Wall Niche from Schluter
- Step-Over Shower Curb from Schluter
- Waterproofing Membrane from Schluter
- Kerdi Screw & Washer Set
- Dreamline Glass Shower Door System
- Shower Mixing Valve from Moen
- Faucet Handle from Moen
- Shower Arm with Diverter from Moen
- Handheld Sprayer from Moen
- Rain Shower Head from Moen
Tile:
- Anatolia Marble Hex Tiles (Floor)
- Emser Marble Penny Round Tile (Shower Floor)
- Allen Roth Large Subway Tile (Walls)
- Thin-set Mortar from Mapei
- Pearl Grey Grout from Mapei (Shower)
- Silver Grout from Mapeo (Floor)
- Sealing Additive for Grout from Mapei
- Mixing Attachment for Drill
- 1/16″ Tile Spacers
- Bosch Laser Level
- DeWalt Drill & Driver
- DeWalt Oscillating Tool
Bathtub:
Lighting:
- Kichler Everly Light Fixture (Over Tub)
- SeaGull Academy Light Fixture (Over Toilet)
- Kichler Jasper Light Fixture (Over Vanity)
- Metal Lighting Brackets
- Recessed Lighting Housing
- LED Wet-Rated Recessed Light
- Electrical Conduit Fittings
Vanity:
- Valspar Furniture Paint (Color: Ocean Soul)
- Kohler Bryant Round Sink
- Jacuzzi Duncan Faucets
- Delta Breeze Exhaust Fan with Bluetooth Speaker
Other Stuff: