
We partnered with Lowe’s once again to remodel our master bathroom. This is a big project, so we’re splitting it into two parts; the demolition & rough in, and the installation & finishing.
1. Make a Remodel Plan
The bathroom in our house, like the mudroom, hasn’t been updated since it was built in 1983. Normally, that wouldn’t be a problem, you could just update some fixtures and paint the walls. But this bathroom has a funky layout. There are two showers and when you walk into the room, you look straight at the toilet (and anyone who may be on it). So rather than just updating the cosmetics, I’ve decided to completely remodel the bathroom by changing and simplifying the layout as well as doing some beautification.
This plan involves removing the dedicated stand-up shower at one end of the room and transferring the toilet to the more discrete location. The shower/tub combo that is also in the room will be replaced with a more modern, tile and glass shower. And in the awkwardly large space that the toilet once occupied will house a soaking tub.
Moving these fixtures also means moving drains and supply lines from under the floor. I am quite fortunate that I have access to these lines from my basement shop. So I had to reroute and replace some of the drain lines to accommodate the new toilet position, switching around the shower, and adding the tub. While the room was gutted, I also wanted to add some new lighting and a new vent fan. It’s going to be a lot of work, but we’re going to tackle it one piece at a time.
While this kind of work can be fun, please consult your local building codes to ensure that you are doing work to code. Most towns have inspection regulations that require an official to review any electrical, plumbing, or drainage work prior to completing the project. Check your local laws before you tackle such a large and expensive project.
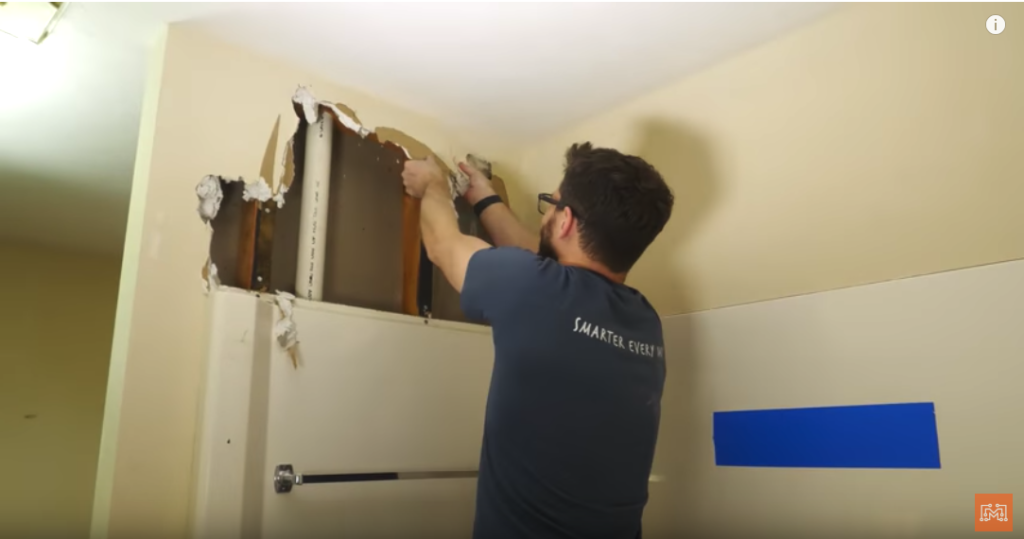
 2. Demolition
Demolition can be the most daunting and/or the most fun part of any remodel. Most homeowners have a natural affinity to smashing holes in their walls, which is completely understandable. But making a clear plan on which walls can be removed and which walls are necessary (load-bearing and/or hiding utilities). You should definitely consult a contractor to see which walls can be knocked out and which ones have to stay.
Before you get to hammer-happy, you may be able to donate older fixture to places like Habitat for Humanity or some re-sale vendors. Unfortunately, larger items like shower inserts or linoleum flooring has to be cut out and properly disposed of.
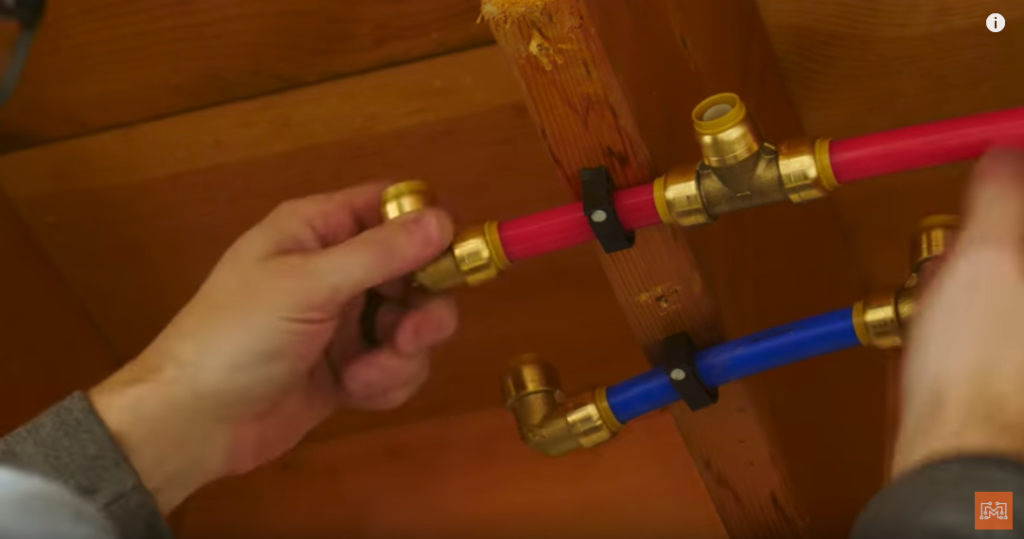
 3. Rough in Plumbing
Again, ensure that you are checking local codes or hiring a responsible plumber for this process before proceeding. Because we were moving the larger fixtures in the bathroom around, we had to rerun new supply and drainage lines. Josh began to sweat together some new copper piping and found that it was pretty hazardous to do in our situation. He had to make a metal heat shield to protect the wooden floor joists and rerouting all new copper piping would cost a fortune and take a lot of time. Not to mention the hazard of using a blowtorch in the tight wooden spaces. To fix this problem, I decided to use PEX tubing, a temperature resistant plastic tubing that can snap (or be crimped) into fittings. This system was so much easier to install.
The PVC drainage was fairly easy to replace. I just had to map out the new drain locations in the bathroom and cut out the individual drains that connected to the major drain line. I made sure to add increased diameter piping for the toilet and added a slope so that the water could flow away easily. I got all of the new fittings from the plumbing aisle at my local Lowe’s. I used PVC cement to glue the new pieces together, but left the pieces closest to the drains loose until they were hooked up.
 4. Rough in Electrical
I’m going to say it again, please consult your local codes or hire a professional for this step. In order to accommodate new lighting and new switches, I had to splice into some existing wires above the vanity. I added a junction box that is accessible from the attic to run wires above the bathroom ceiling for the new light fixtures.
I used some lighting support bars to make new drop boxes for pendant lights above the toilet and the bathtub. We added a recessed light fixture and a wet-rated LED light above the shower. The new switch would also operate a new exhaust fan that has a built-in bluetooth speaker.
 Please Consult Professionals!
When preparing a space for major renovation, please consult building professionals and local building codes. Going into a DIY project with untested confidence can be a disastrous endeavor. These initial steps are the most important because you are preparing the canvas for the rest of your work, if something is wrong now it will be very difficult and expensive to fix it later. Don’t work beyond your skill or knowledge level. When in doubt, seek the right answer from the right professional.
We’d like to thank Lowe’s for sponsoring this project. If you want to learn more about the products or tools we used, check out the links to the right.
Tools List:
(purchasing via these affiliate links supports ILTMS)
Tools:
PEX Tubing:
- PEX Tubing
- 1/2″-1/2″ Sharkbite fittings
- T-Fittings from Sharkbite
- 90-degree Fittings from Sharkbite
- Shower Installation Kit from Sharkbite
- PVC/PEX Cutter
Plumbing Fixtures:
Other Stuff: