
I am so excited about the new show, The Mandalorian, coming out on Disney+; so much so that I wanted to recreate the blaster from The Mandalorian. This is not a real rifle, this is simply a wooden prop, be smart about making replicas of space weapons.
- Find Reference Material
- Carve the Butt Stock
- Find Pipe to Match the Barrels
- Layer Detail Panels
- Paint & Weather
1. Find Reference Material
Because we are making a prop from a show that hasn’t been released, there isn’t a lot of detailed reference material. I bought a scale figurine of the Mandalorian, which came with the long blaster. Because of the size, it lacks detail but I can get the overall scale of the weapon. The other piece of reference material we have is an Instagram photo of the rifle from the show’s producer, Jon Favreau. In it, you can see the front of the blaster and some additional details. Armed with these two references, I imported a photo of the toy into Fusion 360 and scaled it to life-size. This scaled image allowed me to measure the individual components and determine the most suitable materials for the blaster.

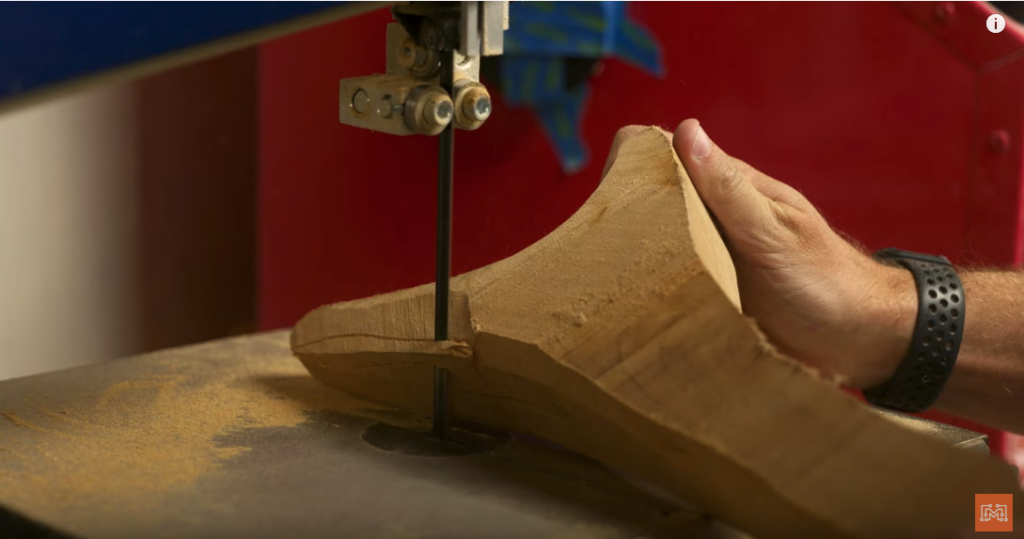
2. Carve the Butt Stock
Using the Fusion 360 scaling, I created a paper template of the rifle’s stock shape. There are many chunks of basswood in my shop which are perfect for carving and shaping. I used the paper template and the bandsaw to rough cut the basswood. To match the shape of the toy’s stock, I used a smaller blade on my bandsaw to make the detailed shaping and curved contours. The final shaping was done with files, sandpaper, and elbow grease. Now that this major component is ready, and looks just like the toy, we can continue to make the rest of the blaster.
3. Find Pipe to Match the Barrels
I had some spare pipe laying around that almost perfectly matched our scaled drawings. The barrel was made from a 1″ piece of aluminum pipe and the return tube underneath was 1/4″ steel pipe. To make sure the long barrel is firmly attached to the rest of rifle, I wanted to build the bulk of the blaster around it. It was important to me that the metal barrel remain intact to increase rigidity.
Using the reference photo and the toy, Josh designed the pieces that would fit around the barrel and the return tube in Fusion 360 and 3d printed them. That method made the most sense because they were small and needed to fit snuggly around the pipes.

4. Layer Detail Panels
For the bulk of the Mandalorian’s rifle, I cut down another piece of basswood and began layering on the futuristic details. The sides were made of thin panel pieces with a wrap-around accent toward the barrel connection. Again, we used paper templates to cut out these pieces and glued them to the rifle body. Making sure to leave room for the barrel, I continued to build out the nooks and crannies and the eye-catching features shown in the photo. After I made the last cap to cover the barrel attachment, I turned to the lathe.

For the rifle’s scope, I turned another piece of basswood on the lathe to match a template that Josh cut out on the laser cutter. To ensure the right spacing and details, we made a template from the Fusion 360 drawing, imported it into the Glowforge’s software and cut it out. This way, I could mark and carve the different sections of the cylindrical scope. To complete the scope, Josh designed a simple lens cut out of acrylic that would be glued into the scope.

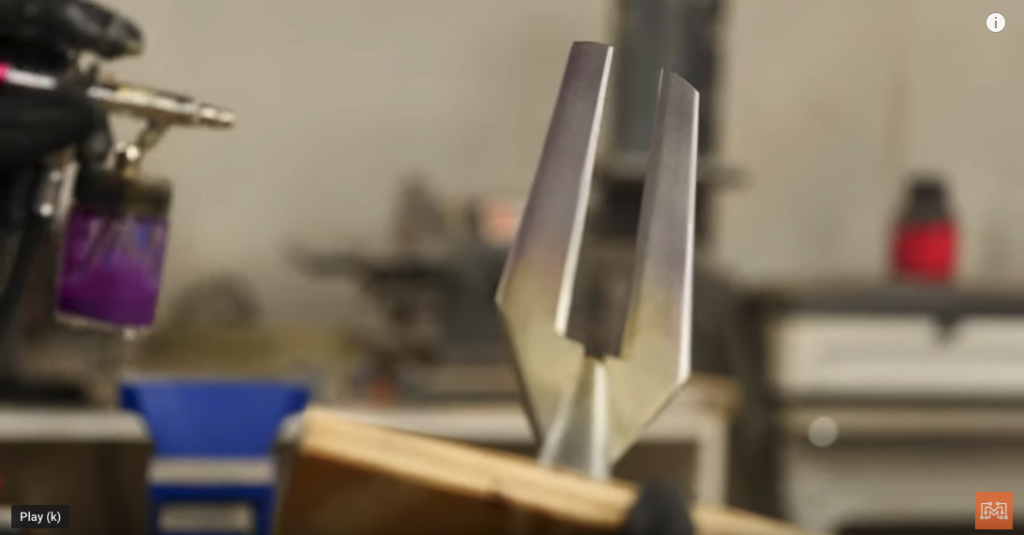
The most recognizable element of the Mandalorian’s rifle is the front fork. Instead of making this piece out of thin aluminum, I wanted to give it dimension. Once again, using templates and basswood, I cut out the shape and began to sand in some bevels and chamfers. To attach the forks to the front of the barrel, I turned a small cone out of basswood and cut a slot down the front. The slot perfectly wedged onto the forks and the whole assembly snuggly fit inside the barrel. To give it the tempered metal look seen in the photo, I used a layering technique with an airbrush.
5. Paint & Weather
Now that each element is ready for assembly, it was time for paint. I used filler primer to coat each major assembly before applying layers of spray paint; metallic silver, gun metal, and bronze. Once each piece was dried, I assembled the rifle making sure to arrange the pieces in the right order. I attached the body to the stained butt stock, screwed down the barrel to the body, slid on the the barrel details, mounted the forks, and glued on the scope.

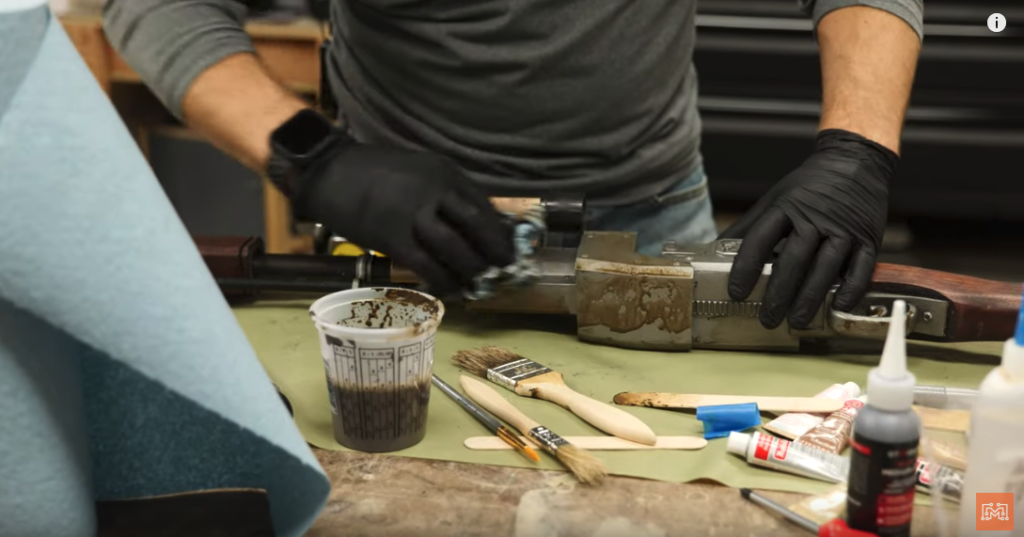
While the rifle looked amazing, it wasn’t a weapon fit for a seasoned Mandalorian bounty hunter; it needed to be weathered. I used a combination of dark paint washes, silver paint markers, and dirt-colored dry brushing. It is important to think of how the weapon would be used by the Mandalorian when weathering. Apply painted scratches or wear marks where they would theoretically exist. I picked a stopping point and stood back in amazement.
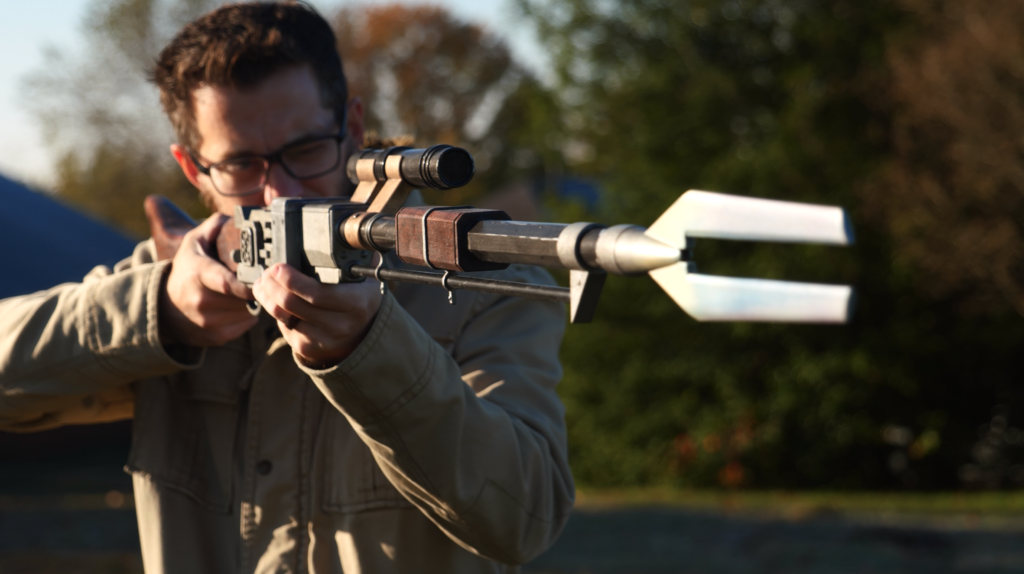
It looks Amazing!
I am so excited for this show and so excited at how this prop Mandalorian blaster turned out! I was really worried that I wouldn’t be able to recreate it with such little reference material, but I am truly shocked at how cool it is. Of course, there are tons of ways to accomplish this project. A prop-maker called Odin Makes made one out of styrene and foam and it looks super cool too. The point is, that if there is something that interest you, know that you probably don’t have everything that you need or all of the answers figured out up front. Don’t let that be a discouragement that prevents you from starting. Make the first cut and figure it out as you go, it’s really fun and you will be happy with the result.
Tools List:
(purchasing via these affiliate links supports ILTMS)
Woodworking:
- SawStop cabinet saw
- Skil circular saw
- Dewalt 20v drill driver combo
- Dewalt Miter Saw
- Jet Wood Lathe 12×21
- Carbide lathe tool set
- Orbital Sander
- Pancake compressor/nail gun combo
- Dremel tool
- Push Blocks
- Jigsaw
- Shop Fox 6″ Jointer
- Grizzly 14″ Bandsaw
- Grizzly Drill Press (WAAAAY overpriced (3x) on Amazon, buy from Grizzly directly.)
- Shop Fox Hanging Air Filter
- 2HP Dust Collector
- 1 Micron bag
- Box Cutters (for eva foam)
3d Printing/CNC/Laser:
- Glowforge (laser)
- Ultimaker 2 Extended 3D printer
- Ultimaker 3
- Original Prusa i3 MK 3
- Form1+ SLA 3D printer
- All filaments, 3d printing supplies from MatterHackers
Welding:
Other Stuff: