
We need three pendant lights in the new kitchen. I could spend a lot of money buying some, or I could make some really cool DIY pendant lights using the wood in my shop.
1. Decide On A Design
Like most things I make, I have a rough idea before I begin and I let it take shape as we go. For these pendant lights, I am basing the design on some commercially available options that my wife found. Of course, they were expensive and I wanted to save money, so I’m making my own pendant lights. Basically, the light will be a larger cone holding the bulb with a small cone, inverted on top. Inside the upper cone, there will be a contrasting wooden dome. Now, I have to figure out the best way to make this.
First, I thought of using sheet metal and bending the cones into their round shapes. I could tack weld the two pieces together and paint the outside a consistent color. While I’m sure I could find a template to make the cone shape, I was less confident in my ability to roll the shapes. I thought about making a segmented bowl blank that I could turn on the lathe. Josh mentioned using some left over wood veneers to make the cones. All of these options were viable, so let’s give them a try.

2. Veneer Option
To make the flat shape that you can roll into a cone, I used blocklayer.com to calculate and export the right shape. I took this pdf file and cut the large maple veneers using my Glowforge laser cutter. Be careful though, if you cut through large veneers with the laser, they will curl up and interrupt the cut job. I scored the shapes into the veneer instead and broke them free on my workbench. I really liked the natural look of the wood grain curled into shape. To help coax the wood into the round shape, you should submerge it in water for a few hours to make it more pliable. Then use a mandrel or form to wrap the damp wood so it holds it shape.
Josh designed and 3d printed a containment ring to help make sure the veneer stayed in the perfect circular shape. After the light dried, I liked it, but didn’t love it. I’m sure if I were to pursue this design more, I could make something that would look really nice, but I wasn’t feeling it. I decided to pivot to my original idea of turning the shape on the lathe.
3. Turning Plywood Pendant Lights
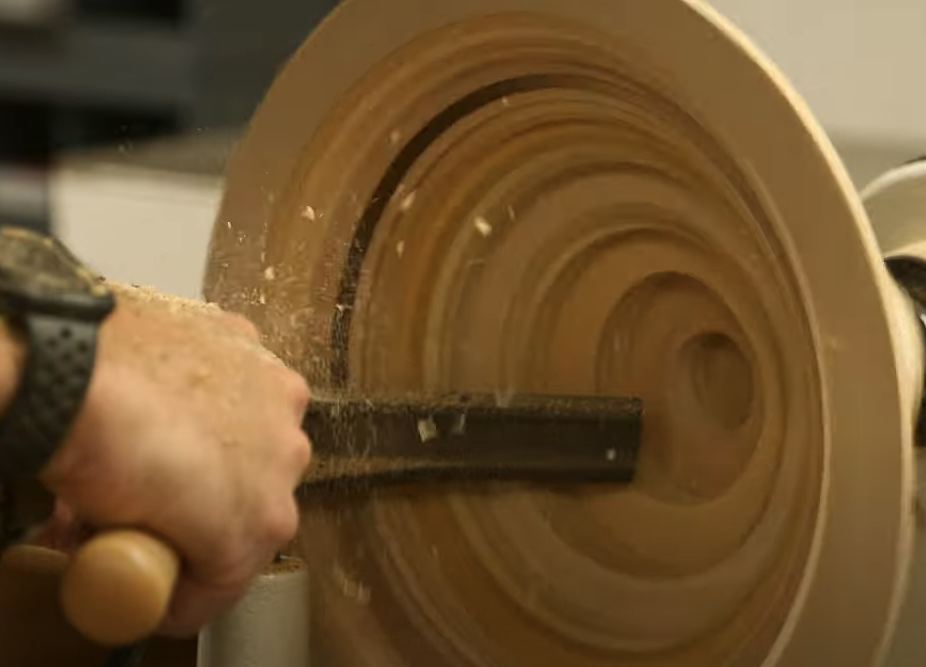
There is a method of creating a wooden blank called segmented blanks. You create this ring of wood by cutting segments into specific geometric trapezoids. Paul Jackman has an amazing calculator to help determine the best way to make these segmented rings. This methods really works if you are turning hardwoods and you don’t want to waste a lot of material. In my case, I am cutting pieces of scrap plywood into rings and stacking them into a pyramid shape. The goal is to turn away the stair steps, creating a flat slope on the inside and the outside. Once the glue dried on my pyramid blank, I mounted the blank on the lathe.
Rather than dulling up my carbide lathe tools on the plywood, I thought it would be much faster to use the turboplane from Arbortech. The spinning disc blade made quick work of the high points, leaving a pretty flat surface. Next, I used my lathe tools to flatten the faces. Now, because this is plywood (not fancy Baltic birch plywood) there are some voids and rough patches in the surfaces. I decided to cover the faces with water-down wood filler and sand them perfectly smooth once dried. I really liked this process and my wife liked the exposed plywood rings on the inside.
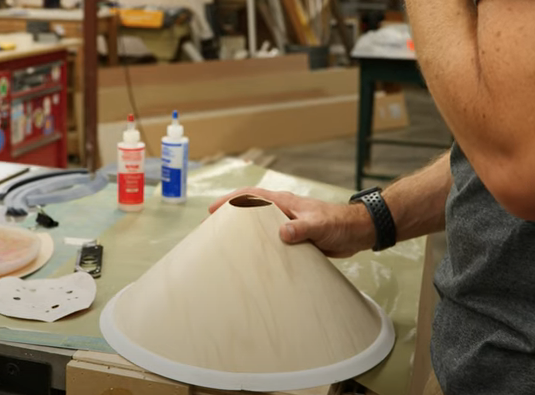
4. Put It All Together
Now that I have the right wooden shape and it is nice and smooth, I had to make the rest of the pendant light elements. First, I turned down a block of solid cherry to make the wooden dome that will sit on top. Next, I had to slightly modify a lamp cord so it could fit inside the pendant light and connect to the ceiling box that I installed earlier. Finally, I painted the outside of the light white to highlight the contrast of materials.
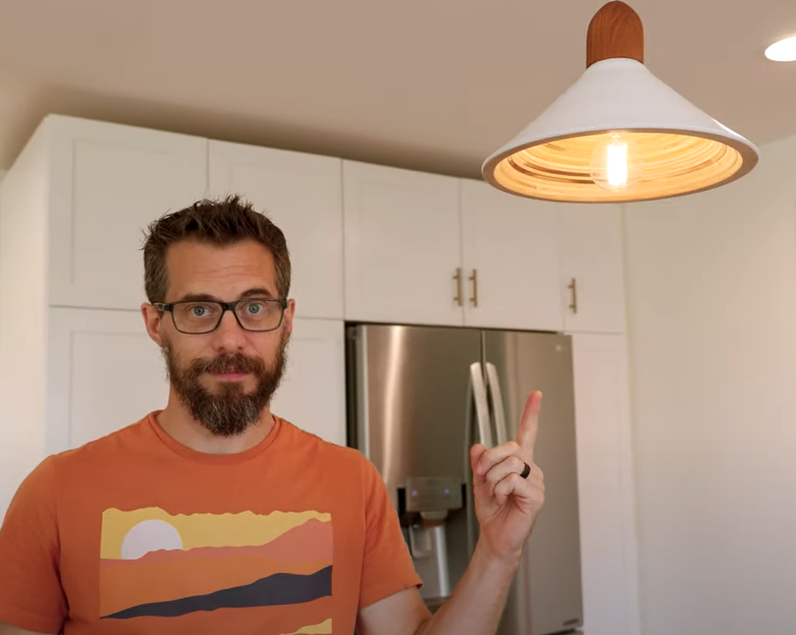
I was really happy with this result and the journey it took to get here. I love iterating on a project and I could determine what I liked and didn’t like each step of the way. Most importantly though, my wife immediately approved of the pendant light when I hung it, that never happens! Yes, I do have to make two more pendant lights, but they don’t all have to be the same. My wife’s taste is very fun and eclectic and she suggested making different shapes with the same design elements. So who knows what the other lights will be.
Tools List:
(purchasing via these affiliate links supports ILTMS)
Woodworking:
- SawStop cabinet saw
- Dewalt 20v drill driver combo
- Dewalt Miter Saw
- Jet Wood Lathe 12×21
- Carbide lathe tool set
- Countersink drill bits
- Orbital Sander
- Dremel tool
- Jigsaw
- Shop Fox 6″ Jointer
- Grizzly 14″ Bandsaw
- Shop Fox Hanging Air Filter
- 2HP Dust Collector
- 1 Micron bag
- Box Cutters (for eva foam)
Finishes & adhesives I like:
3d Printing/CNC/Laser:
Other Stuff: