
I’m at the age where Pokémon was not really a thing for me. It came out when I was in college, which means it completely flew under my radar for years. But I have four kids, and they are very much into Pokémon, so I decided to meet them where they were. I figure if I am going to be interested in what they are interested in, I might as well pick up some cards too. Before I knew it, I had a decent pile of them myself.
For a while, I just shoved everything into the cheapest binder I could find from Target. Most of the cards I had were not worth anything, so there was no reason to go fancy. But then I had some beginner’s luck and opened a pack that turned out to be what collectors call a “god pack”, where every card is worth a pretty serious amount of money. Those cards need to be graded and protected properly, so I set them aside. That whole experience got me thinking about the rest of my cards and how I was storing them.
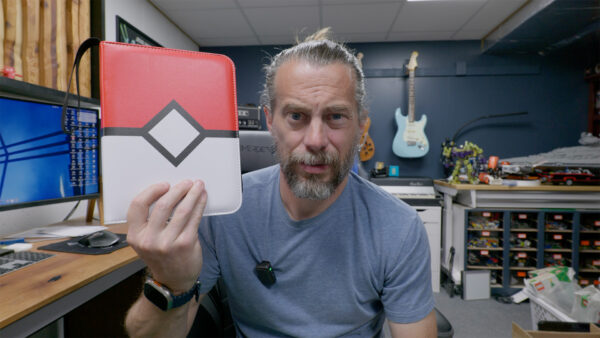
My kids had a smaller binder that I thought was way cooler than mine. It had metal rings on the inside, swappable pages, and an overall better feel to it. I kicked around the idea of making something similar out of leather with a zipper and straps, but then I realized I could just buy one of those for not much money. If I was going to put the time in to build one from scratch, it needed to be something unique. And by unique, I do not mean a great idea. I just mean different.
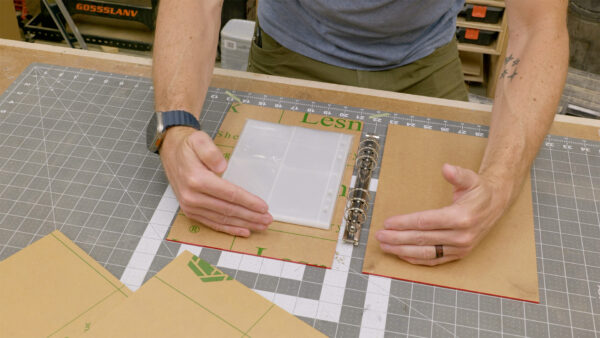
To make that happen, I picked up a stack of materials to experiment with. I grabbed some pages that each hold four cards per side with three-ring holes punched down the edge. I got three-ring binder replacement parts, which you can actually buy on their own to fix broken binders or build new ones from scratch. Then I picked up acrylic in red, yellow, black, and white. The plan was to build the whole binder out of acrylic as a little clamshell box that would hold the pages inside, with walls all the way around so nothing could fall out.

The hinge was the part I had to think through the most. A lot of hinge builds for flat projects like this use fabric, where you sandwich a piece of fabric between two hard panels and let the fabric do the bending. My podcast cohost David Picciuto built a wooden trapper keeper using that method, and it looks great. But for this build, I did not want anything visible on the outside, and I also did not want the extra thickness of two layered panels. Instead, I ordered acrylic hinges, which are thin flat pieces of acrylic that bond to other acrylic and stay completely hidden on the inside.
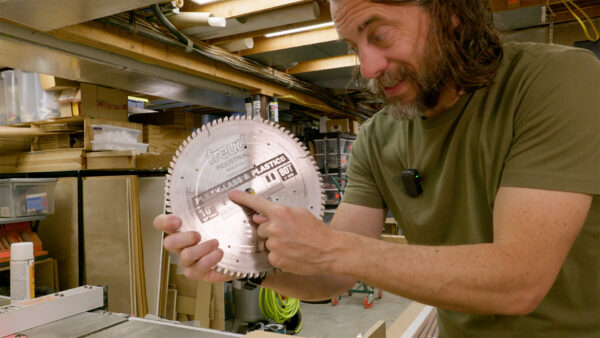
Once the hinges showed up, I could finally start sizing up the covers and spine. I cut everything on my table saw using a blade made specifically for plastics. A regular blade will get through it, but the plastics blade has 80 teeth and actually melts through the material cleanly instead of chipping out. It still throws a lot of fine particles around, so it gets messy either way. After I had the two covers and the spine cut to size, I could start thinking about what to put on the outside of the book.
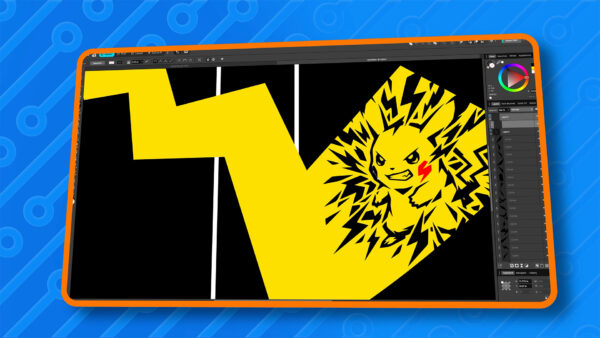
I am not a graphic designer by any stretch, so I went to Etsy and bought some digital files from an artist I liked. I brought those into my laser cutter and cut out the design, including a Pikachu on the back panel and some small detail pieces in different colors. The plan was to inlay those detail pieces into the black acrylic so the contrasting colors would peek through. Lining everything up was a little nerve-wracking, but most of it came together without too much drama.
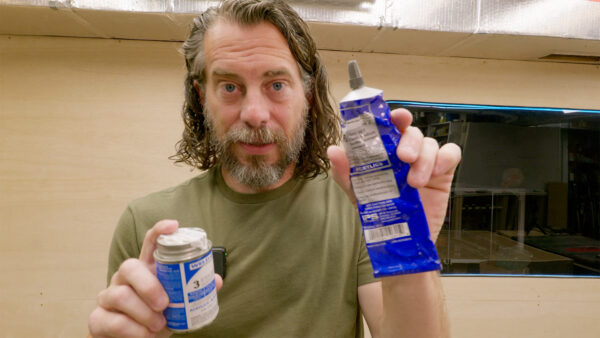
Gluing acrylic is one of those things that sounds simple until you actually try it. The glue is really a solvent that chemically bonds the two pieces into a single piece. It comes in a thin runny version and a thicker version, and I reached for the thin stuff out of habit. You draw it up into an applicator bottle with a needle on the end, then squeeze a tiny bit out along the seam, and the solvent wicks through the joint and pulls everything together.
The problem is that even with the right technique, big drops can fall out at the wrong moment and leave a mark on the surface. I got a couple of those drips, which is annoying, but they all ended up on the inside where you cannot really see them. About halfway through the build it hit me that I should have been using the thick stuff the whole time, since these were all big flat pieces bonded to other flat pieces. The thick glue would have been easier to control and probably would have bonded just as well. Live and learn.
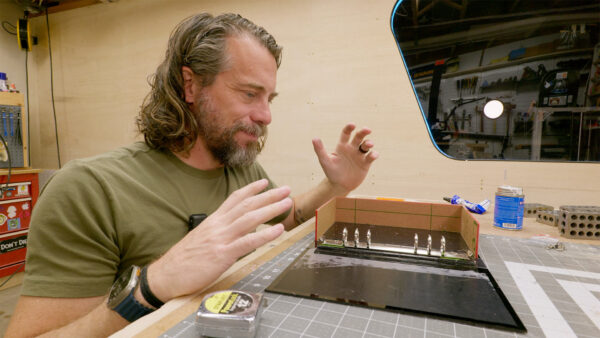
To keep the binder closed, I modeled some tiny corner pieces with a recess for a magnet and ran them off on my 3D printer. I glued them into the inside corners so that when the front and back covers come together, the magnets snap shut. You cannot use acrylic cement to bond a 3D print to acrylic because they are different types of plastic, so I used CA glue instead. If you ever go that route, do not use the activator spray anywhere near the acrylic. It leaves a nasty white haze and ruins the surface.
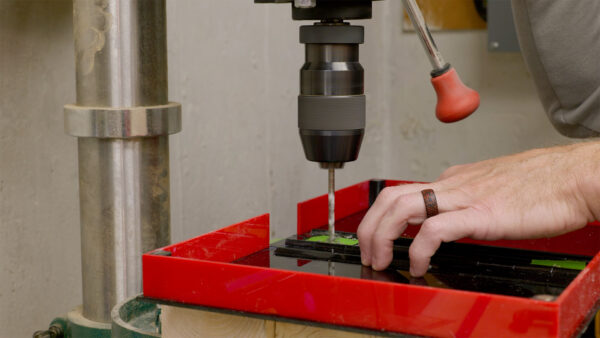
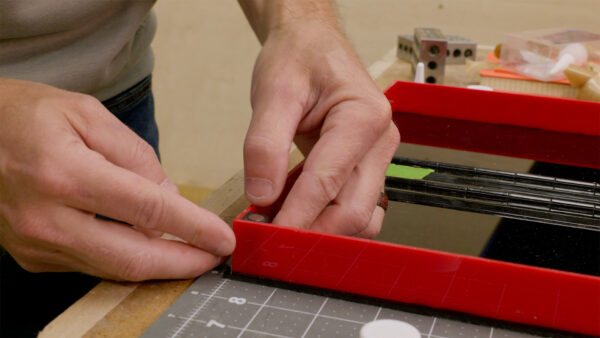
The last step was drilling the holes for the three-ring binder hardware. Acrylic is brittle, and if you go too fast it will shatter, so I took my time on each hole. One of them sits right where two pieces overlap, which meant the bit was passing through one full layer and then only half of another, and I had to baby it through. When it came time to mount the rings, I realized my holes did not quite line up, so I had to drill an extra hole next to the first one and tear out a little bit of the yellow acrylic to make room. Not the prettiest fix, but the hardware covers it.

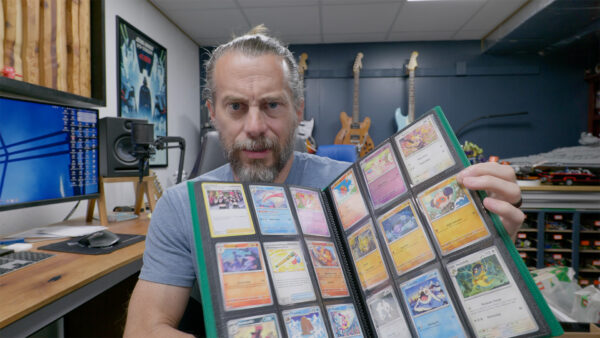
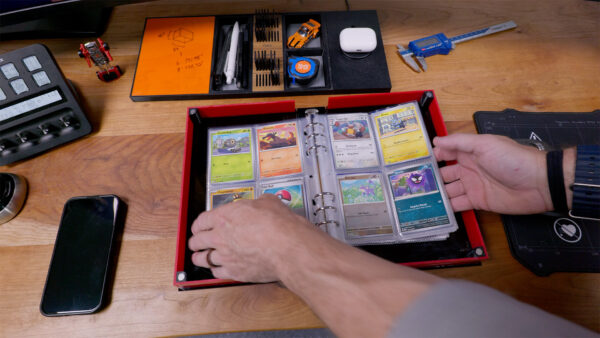
I loaded the binder up with the cards I have been collecting, and even with all the small headaches along the way, I am really happy with how it turned out. Was this efficient? No. Was it cost effective? Also no. Was using acrylic the right material for something that could have been built out of almost anything else? Definitely not. But it was a lot of fun to build, it looks cool on the shelf, and my kids thought the laser-cut Pikachu was a pretty big win. Sometimes that is the whole point.
Thanks for hanging out for this one. Now, go make something awesome!
TOOLS
(purchasing via these affiliate links supports ILTMS)
Woodworking
- SawStop cabinet saw
- 8″ Dado stack
- Skil circular saw
- Dewalt 20v drill driver combo
- Dewalt Miter Saw
- Jet Wood Lathe 12×21
- Carbide lathe tool set
- Countersink drill bits
- Dewalt DW735 benchtop planer
- Orbital Sander
- Pancake compressor/nail gun combo
- Dremel tool
- Incra box joint jig
- 54″ Drywall T-Square
- Push Blocks
- Jigsaw
- Shop Fox 6″ Jointer
- Grizzly 14″ Bandsaw
- Grizzly Drill Press (WAAAAY overpriced (3x) on Amazon, buy from Grizzly directly.)
- Jet Drum Sander
- Kreg Rip Cut (circular saw guide)
- Kreg R3 pocket hole jig kit
- Shop Fox Hanging Air Filter
- 2HP Dust Collector
- 1 Micron bag
- Speed square
- 11″ Digital protractor
- Digital Angle Gauge
- Classic steel ruler (cork backed)
- Taper jig
- Flush cut saw
- 90˚ corner clamp (4 pack)
- Box Cutters (for eva foam)
Finishes & Adhesives
- Spray lacquer
- 100% pure tung oil
- Formby’s tung oil finished (tung oil/varnish)
- Danish oil
- CA Glue (medium)
- CA Activator
- Barge Contact Cement
- Critter Spray Gun
- Polycrylic
- Polyurethane
- Spar Urethane
3d Printing/CNC/Laser
- Glowforge (laser)
- X-Carve (CNC)
- Ultimaker 2 Extended 3D printer
- Ultimaker 3
- Original Prusa i3 MK 3
- Form1+ SLA 3D printer
- Silhouette Portrait (vinyl cutter)
- All filaments, 3d printing supplies from MatterHackers
Welding
- MIG welder *
- TIG welder
- Welding mask (auto darkening)
- Welding gloves
- Welding magnet
- Angle grinder *
- Cut off wheels
- Metal cutting bandsaw *
- 10″ Evolution Miter Saw for cutting Steel, Aluminum, Wood, etc.
Electronics
- Arduino Uno (just the Uno)
- Arduino Uno Kit
- Arcade buttons
- Raspberry Pi 3
- Multimeter
- Wire
- jumpers (Male to Female)
- Soldering iron
- Third hand kit
- Wire strippers (not the ones I have, but good ones)
- Thin solder
- Anti static mat
- Fiskars cutting mat
- Plastic parts cabinet (24 drawer)
- Plastic parts cabinet (64 drawer)
- Precision Screw driver kit