
Making a Barn Door in your house is efficient and great beginner woodworking project, but I wanted to spice it up by using a cool resin art panel. Come see some easy door making tips, some struggles with resin, and some problem solving as I make a Barn Door with Resin Art Panels.
1. Half-Lap A Door
To build a door, there are some terms to understand. Rails are the horizontal pieces of wood the make up the top, bottom, and any cross pieces. Stiles are the vertical members of the door like the left and right pieces of wood. To make the door an actual door and not just a huge frame, there need to be a Panel suspended inside the rails and stiles. Doors are usually suspended from one stile on hinges and the door swings on that pivot. Because of the rectangular construction, hinged rail & stile doors need some cross member support. Usually for wood doors, this means adding a diagonal piece that starts at the top corner (opposite of the hinges) and extends downward to the lower corner (next to the hinges).
Barn doors are cool not only because they don’t hinge and swing out into the room. Barn door hardware hangs vertically from a track suspended from rollers. This has an advantage in the design of your door because it doesn’t need the diagonal cross member. The barn door I’m making in this project will be made of maple rails and stiles, have a plywood panel on the bottom, and will leave room for a resin art panel on the top.
The easiest half-lap joint is made by offsetting two layers of wood, making pockets half the thickness of the stacked boards. I used this method to assemble the rails and stiles as well as a dividing rail to separate the two internal panels. Once the door was glued together and square, I could work on the resin art panel that goes in the top space.

2. Pour Some Epoxy
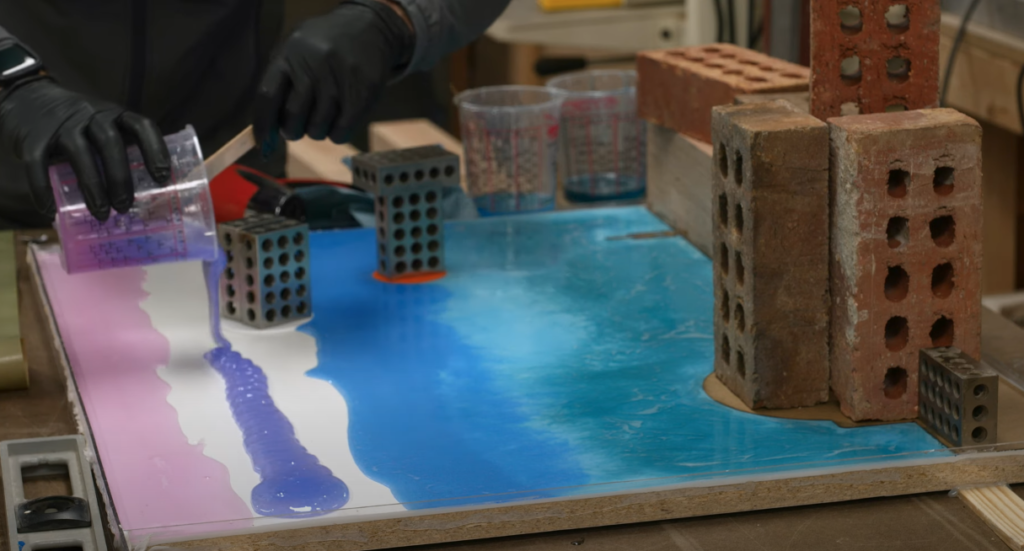
First off, I have to admit that my affinity for resin art outweighs my experience with resin art. I like how some of the trendy resin art pieces look, but I’m not really confident in my ability to make it. There are great resin artists like Jess from Crow Creek Designs, When Geeks Craft, and our good friends Evan & Katelyn. The idea behind the resin art panel is that I wanted to replicate the sunset image of Luke’s boyhood home in the first Star Wars movie. I used the Glowforge laser cutter to cut some acrylic to create the silhouette of the house and the planet’s two suns. I placed these pieces in a mold that match the door’s opening and pour several layers of tinted epoxy. Using a heat gun, I tried to blend the colors together to create a gradient, sunset look. Ehh, it wasn’t quite what I wanted and I chalk that up to inexperience.
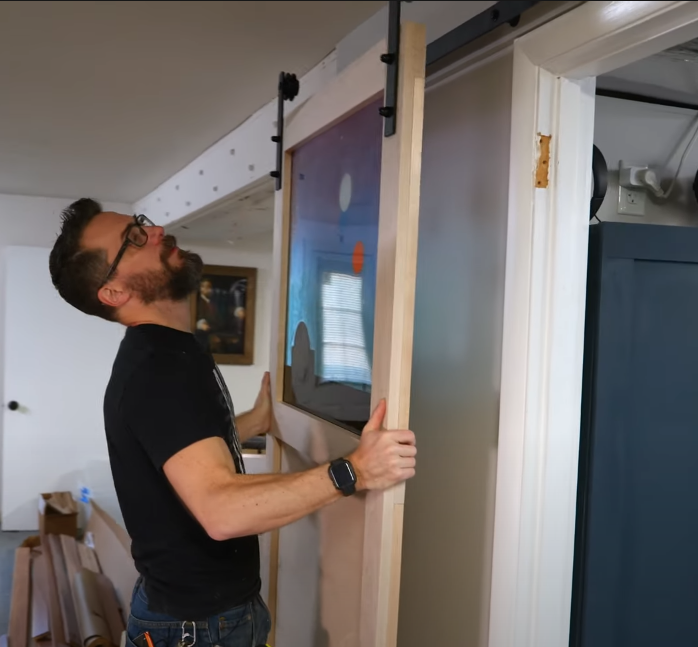
3. Add Barn Door Hardware
Now that the door was finished, It was time to add the Barn Door hardware. I got a kit from Amazon that included the metal rail I fastener above the door way, the rolling hangers that I attached to the door, and a door keeper for the lower door to ride in. I simply followed the instructions that came with the kit, so there wasn’t much problem solving here. The real trick was to measure the door, then measure the hanging hardware and mount the rail high enough for the door to glide just above the floor. These measurements are critical to how the door slides and an uneven floor could stop the door from opening all together, so take your time and measure the height all along the door’s path.
Barn Doors are Cool.
Yeah I said it, barn doors are cool, or they can be cool. I really like the slim action and functionality of a sliding door. If you have some spare wall space next to a door opening and don’t want to sacrifice room space for a swinging door, then it may be an option for you. Functionality is great, but I was never a fan of the rustic look most barn doors have. My new door represents my style, my likes, and my desires. You can make a barn door for your house and you can make it look like whatever you want.
Tools List:
(purchasing via these affiliate links supports ILTMS)
Woodworking:
- SawStop cabinet saw
- Dewalt 20v drill driver combo
- Dewalt Miter Saw
- Orbital Sander
- Pancake compressor/nail gun combo
- Shop Fox Hanging Air Filter
- 2HP Dust Collector
- 1 Micron bag
- Speed square
- Rabbeting Bit
Finishes & adhesives I like:
3d Printing/CNC/Laser:
- Glowforge (laser)
Other Stuff: