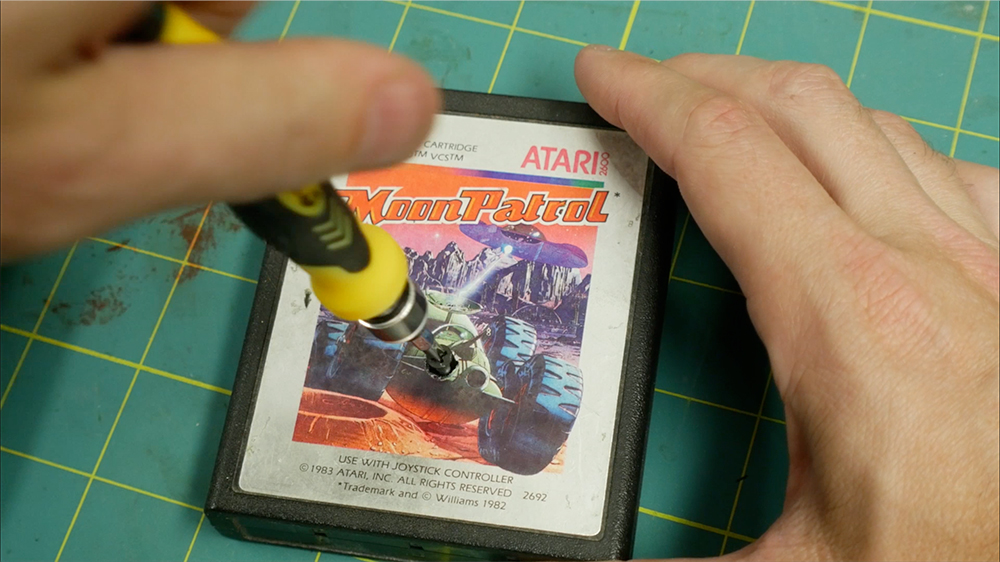
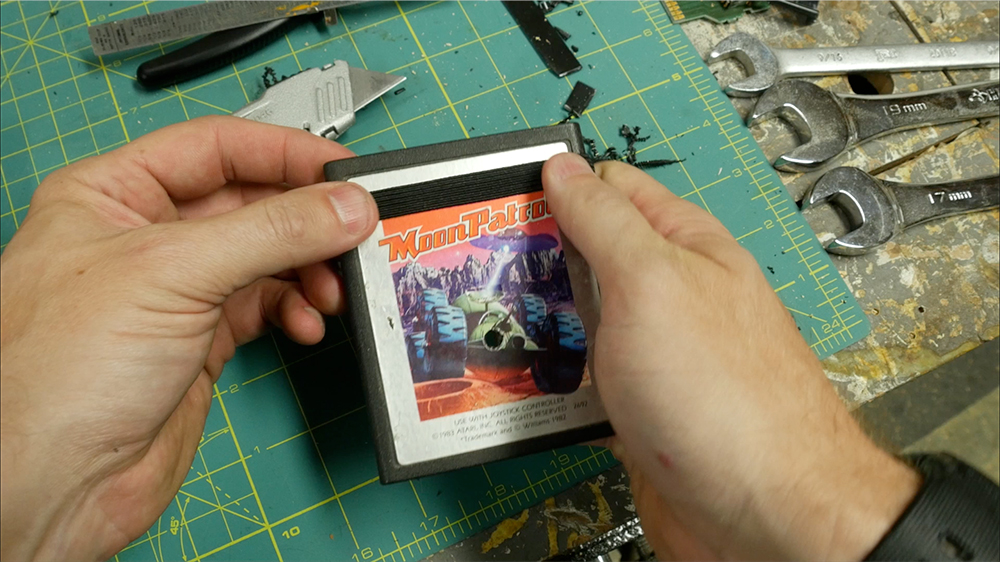
I started with an Atari 2600 game cartridge. They’re all similar but are slightly different in regards to shape and form.
This game had one screw to remove under the title graphic.
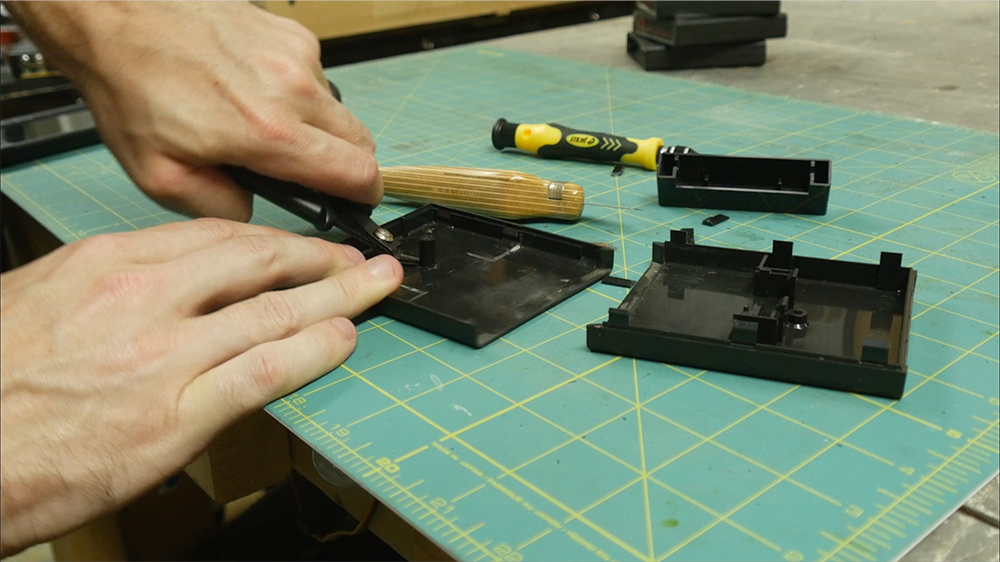
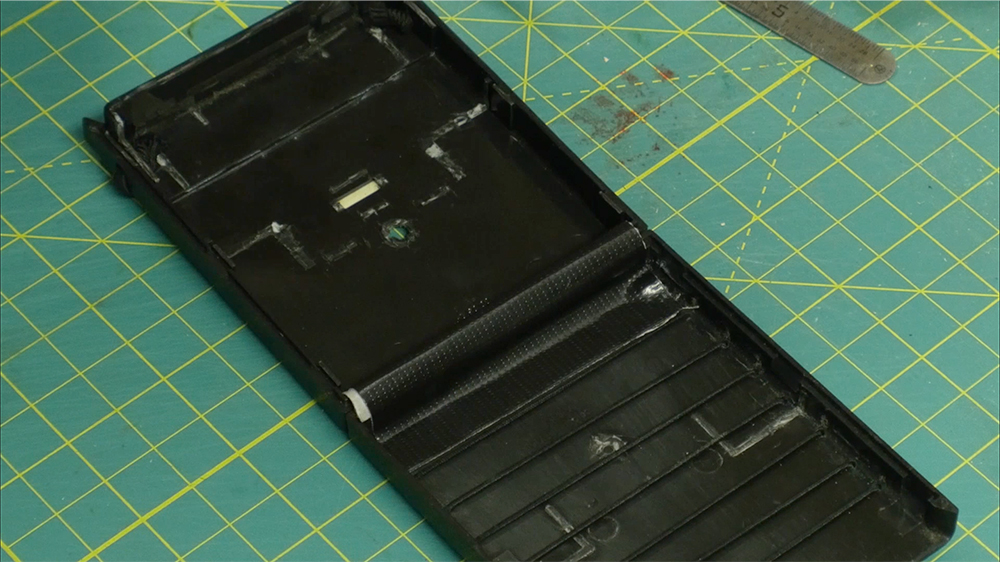
I used some flush cutters and a knife to remove all of the internal plastic pieces. These come out pretty easily.
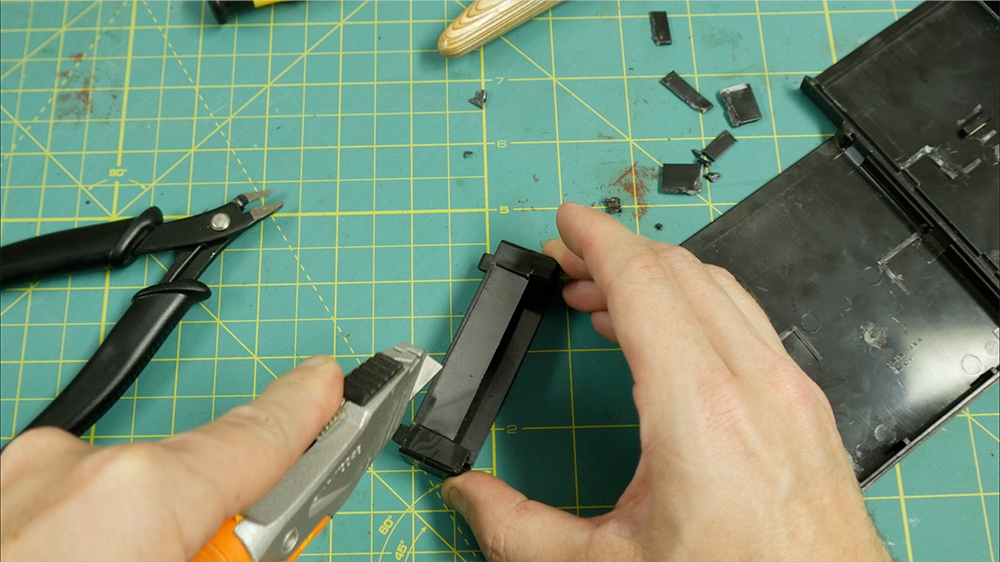
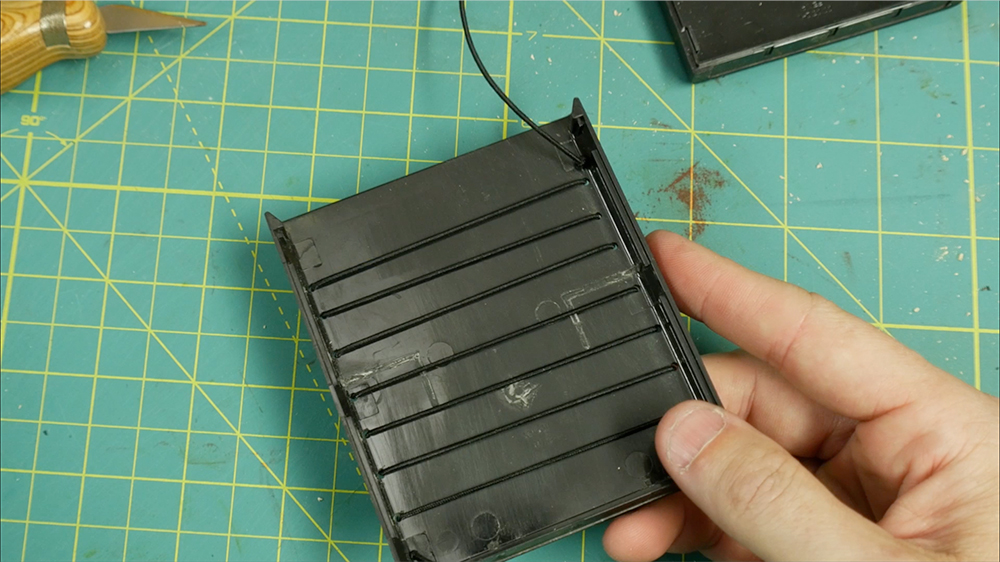
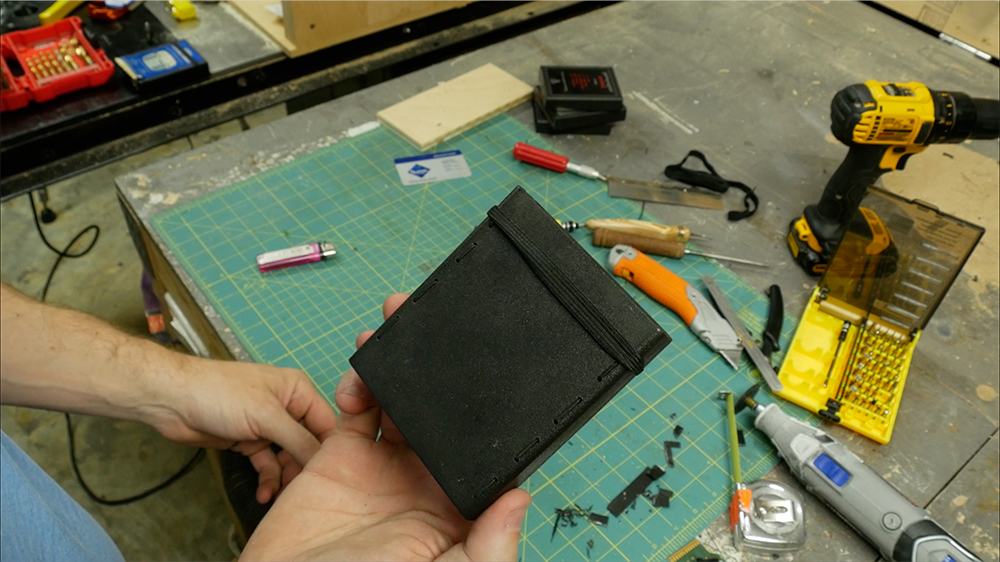
I removed most of the top panel (spring loaded sliding piece) leaving just enough to cover the top opening of the game.
I started this with a knife but a Dremel with a cut off wheel went much quicker.
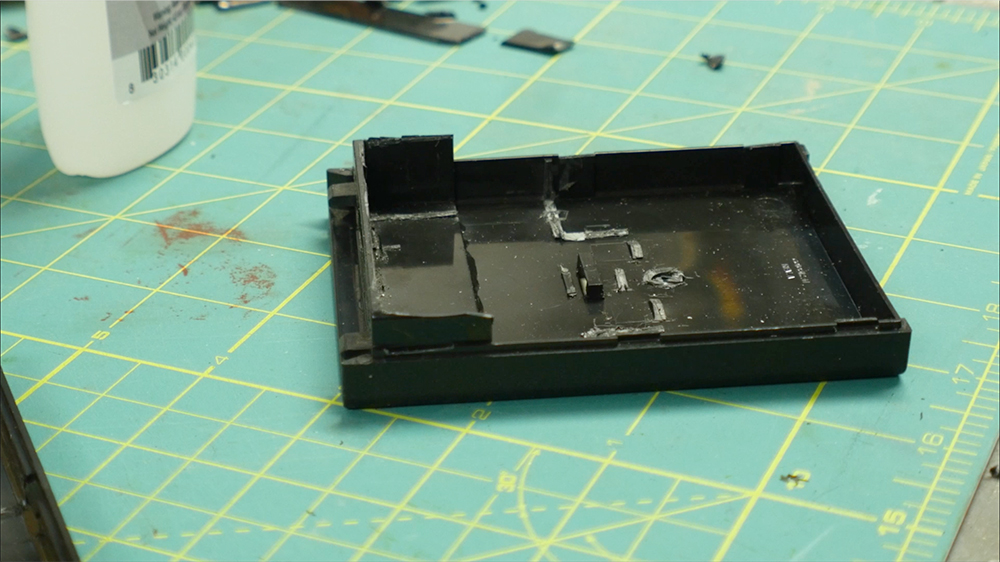
I used to super glue to permanently attach it inside the front piece of the game cartridge (the piece with the art work).
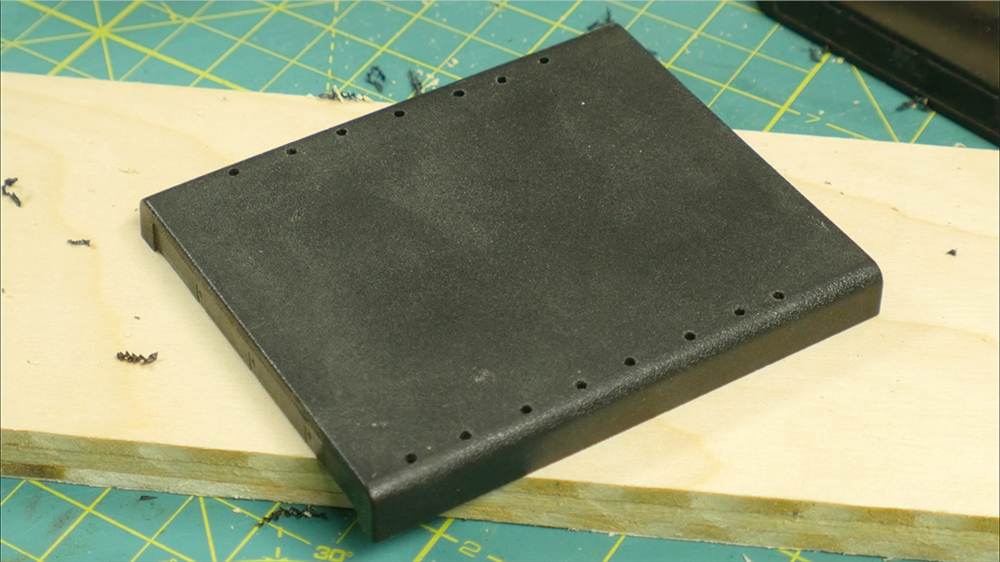
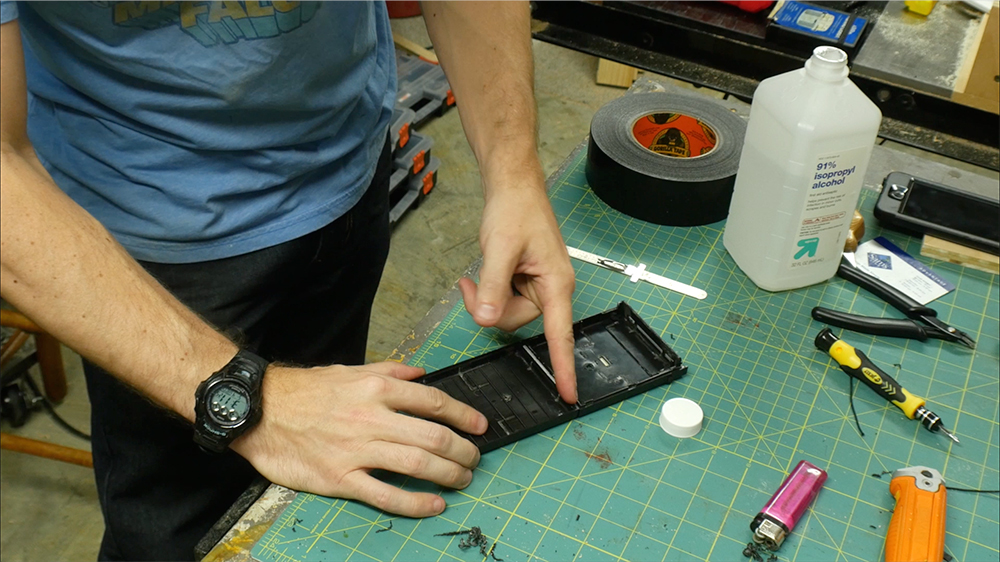
On the back panel, I drilled several small holes into the back face, on both sides.
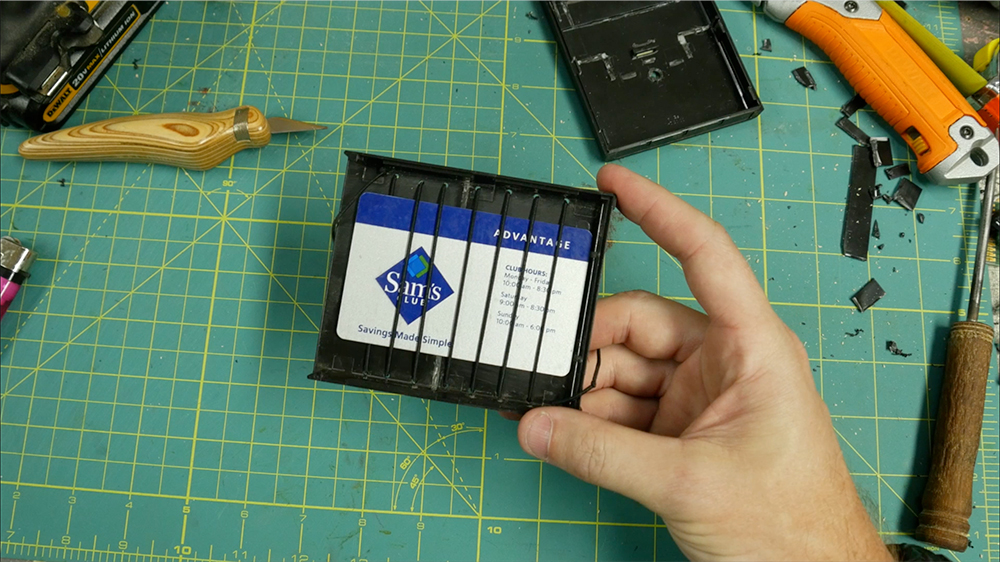
I fed through some 1/32″ elastic cord and tied a knot at one end (on the inside). From the knot, I tightened the cord (not stretched tight, just not loose) and tied a knot at the opposite end, again on the inside.
This left a series of crossing straps to hold cards. As long as these aren’t too tight initially, you can add quite a few cards.
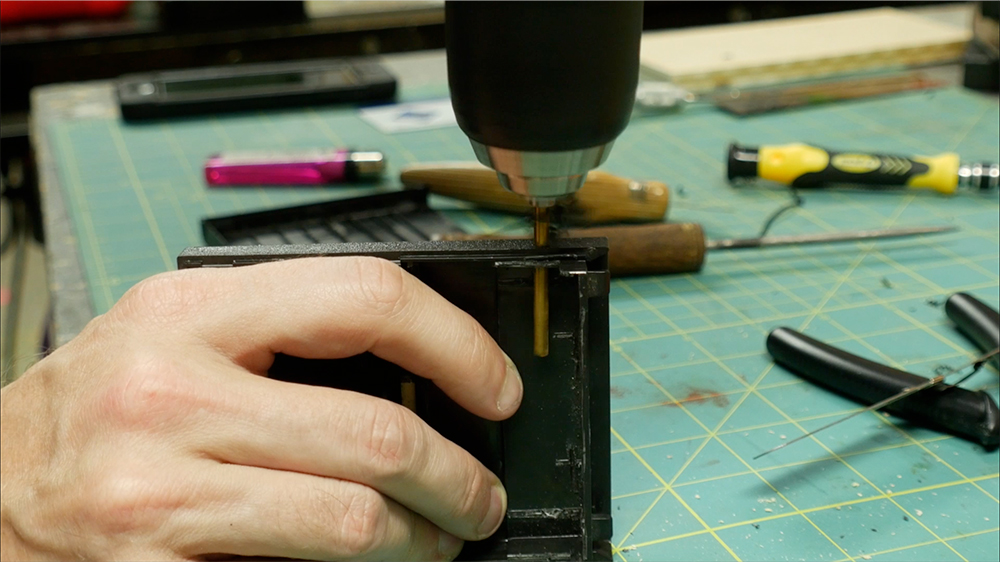
Near to the top of the front panel, I drilled a larger hole on each side.
I found that about 1/2″ down from the top was a good spot for these.
I fed through a 3/8″ elastic strap, knotting it on the inside of each hole.
This stretches enough to lift over and hold the two pieces of the cartridge together.
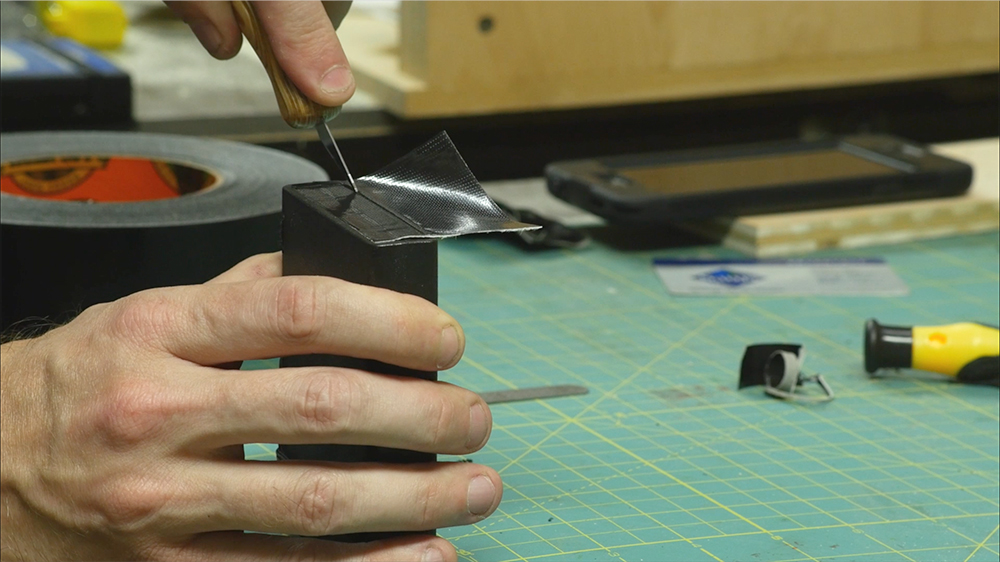
With the two panels held together by the elastic, I added a piece of Gorilla tape across the bottom face. I used a straight edge to push the tape down into the recessed area. I used Gorilla tape because it seems to last WAY longer than regular duct tape.
I used a sharp knife to trim away the excess tape, leaving tape in the recessed area only.
Opening up the cartridge, I wiped some rubbing alcohol to on the exposed adhesive to dampen it a bit.
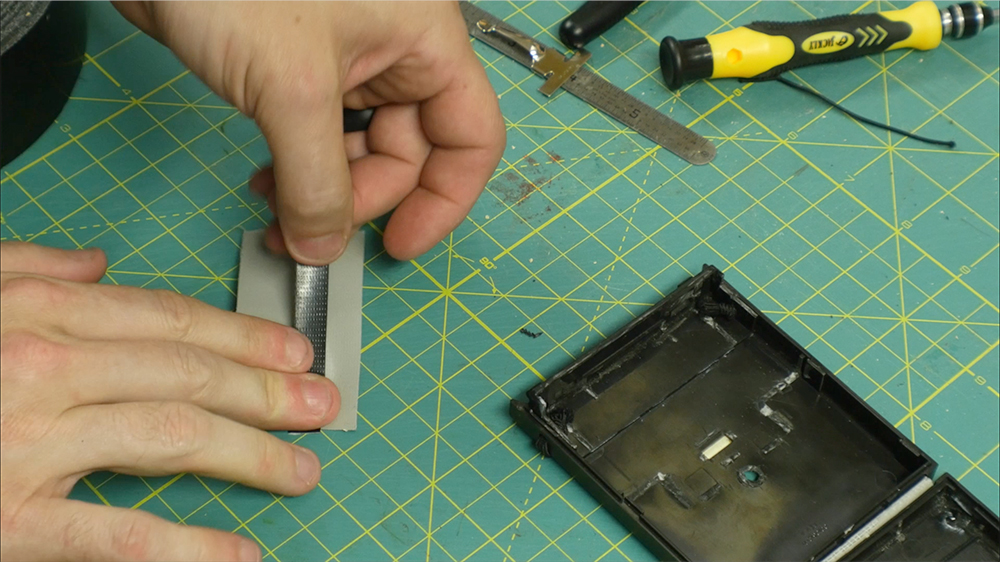
I cut another panel of tape, then a thin strip. I added the strip to the sticky side of the panel to create a non-sticky area.
I folded the panel over the joint to create a hinge on the inside of the cartridge.
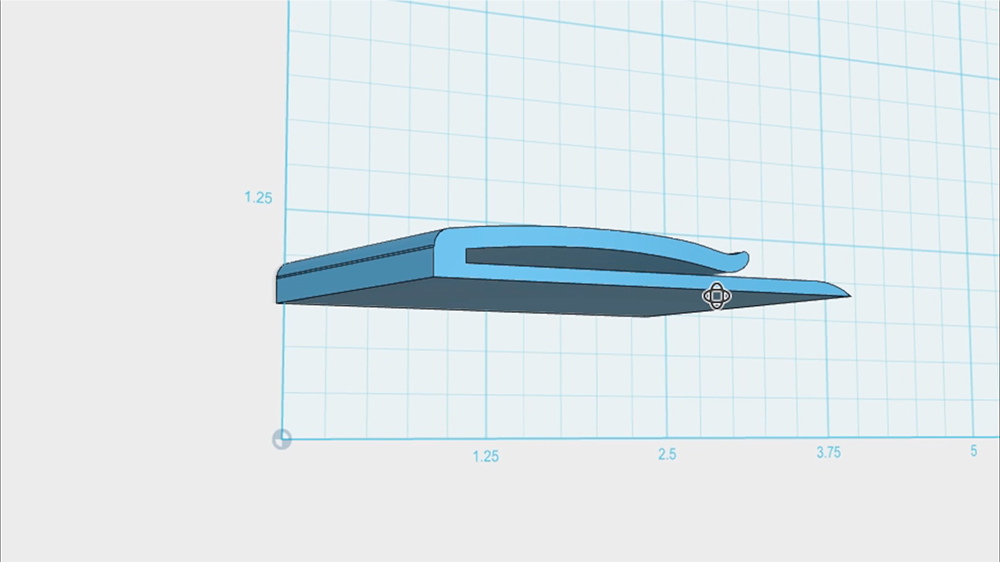
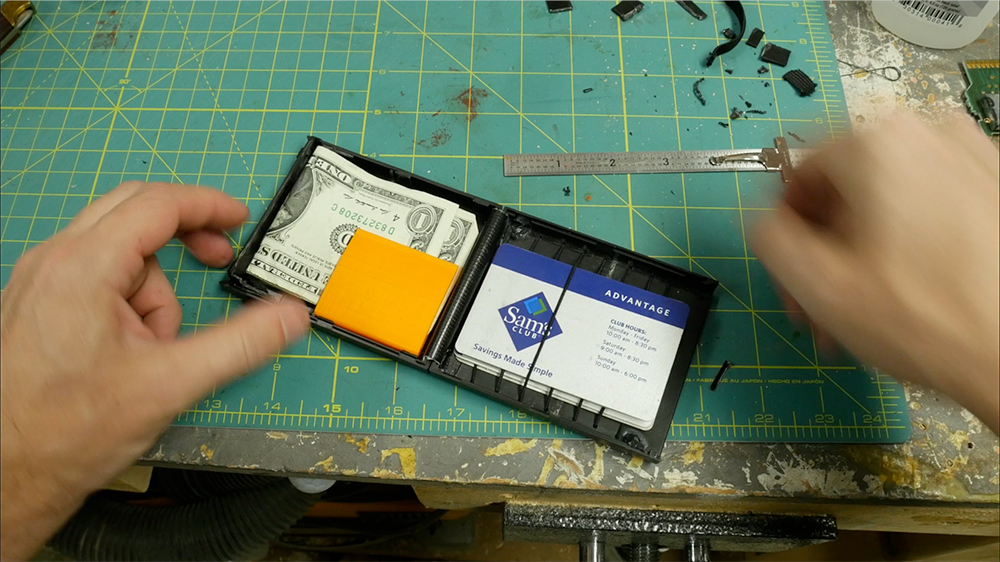
In 123d Design, I modeled a simple money clip then 3d printed it. If you don’t have a 3d printer, you could easily purchase a money clip here.
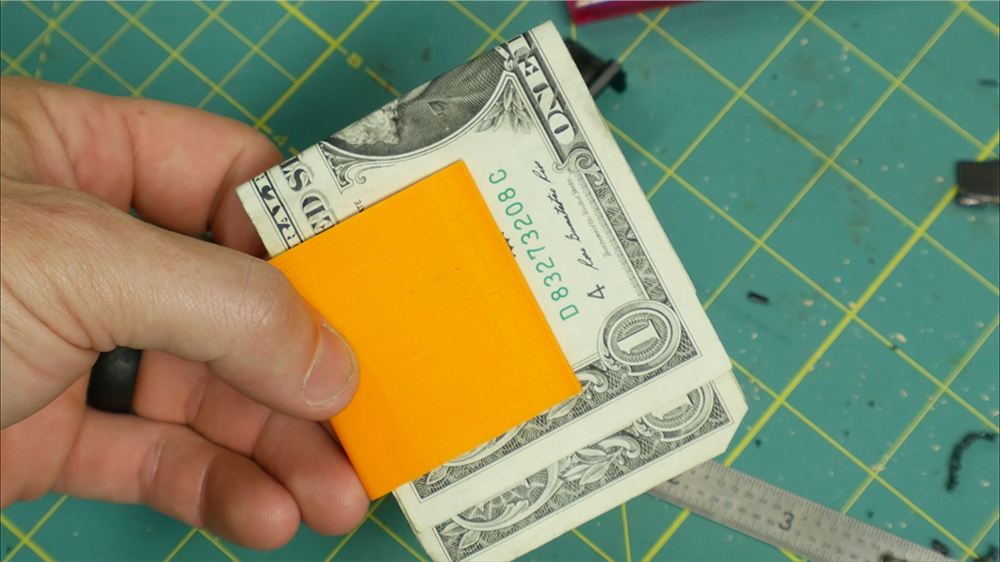
It took a few iterations to make a design that worked well. I had to make it have enough tension to hold the bills, but also be thick enough to hold more than one or two dollars.
I used super glue to attach the clip to the front panel.
That’s it! Obviously it might not be comfortable if you carry your wallet in your back pocket, but it works great for a front pocket.