

You probably thought I completely gave up on the Karmann Ghia. I haven’t. Not yet. Over the last couple of years I’ve replaced a huge amount of the metal on this car, to the point that it’s basically the Ship of Theseus. If you replace enough of something, is it even the same thing anymore? Honestly, it doesn’t matter. It’s going to be a car one way or another. But there was still one section I hadn’t touched, and it happened to be the last rotten panel on the entire car. Funny enough, it was also the first panel I ever cut out of it.
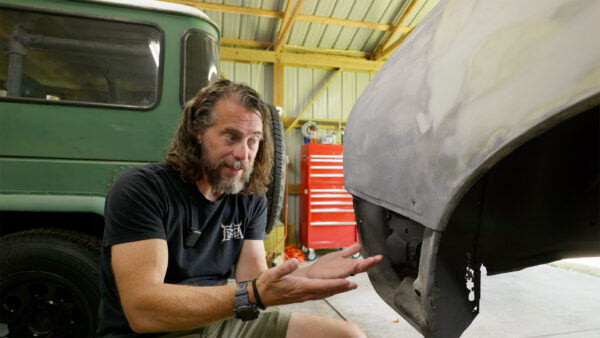
So why did the first panel I cut end up being the last one I replaced? The honest answer is fear, procrastination, and a little bit of worrying about how the videos would perform. None of that is a great reason, so this time I set myself a challenge. It was Tuesday, right after lunch, and I was leaving for a trip that weekend, which gave me a little less than a normal work week. My goal was to have all of the metalwork on this car completely finished by Friday afternoon. No more delays, no more excuses.
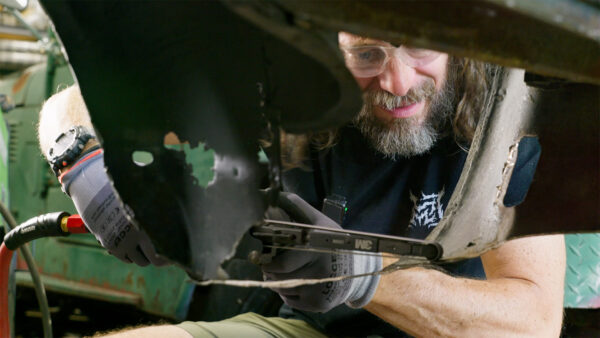
Part of why I’d been dreading this panel is that when you replace any piece of a car, it’s attached to a bunch of other stuff that may or may not need replacing. This panel was welded along the top to one piece, along the bottom to something really thin and fragile that had to stay, and to a third piece with a huge hole in it that I couldn’t find a replacement for. So the job was to cut out the rot, keep the three surrounding pieces intact, patch the one with the hole, weld the new panel in so everything fit, and then cover it with an outer piece that wasn’t quite big enough. For someone who does this work all the time, no big deal. For me, pretty intimidating.
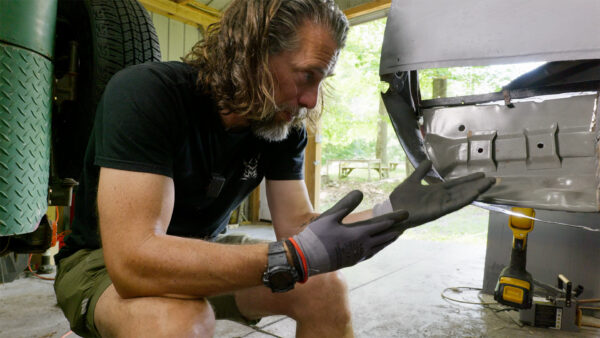
My plan was to figure out exactly how everything was attached, whether it was seam welds, spot welds, or folded-over metal, and then detach it all without destroying the stuff around it. And here’s the thing: it was way easier than I expected. I have this tendency, and maybe you do too, where if something seems difficult I put it off, and the longer I put it off the bigger it gets in my head. I walk around carrying the weight of this undone thing. About an hour and twelve minutes after I started working, I had the replacement piece roughly held in place. All that dread was just wasted energy. With the new panel positioned, I could see where it interacted with the rotted areas, trace a backing piece I needed to make, and cut away the bad metal in straight lines to make welding easier.
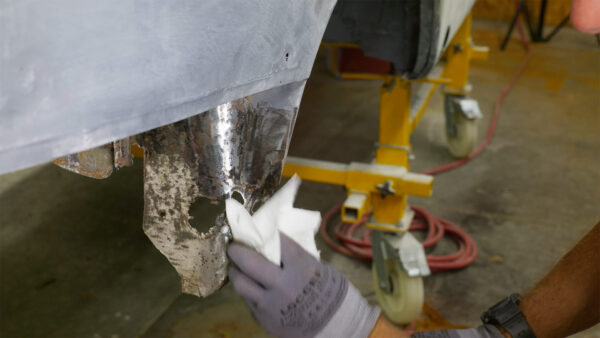
Before any welding could happen, there was prep. The replacement panels come pre-painted, and you can’t weld to paint, so everything had to be stripped to bare metal and sprayed with weld-through primer, which protects the surface until epoxy primer goes on but still lets you weld through it. I also had to deal with the rust I couldn’t grind away, so I converted it with Rust Mort, which turns rust almost immediately into a black, stable surface that stops it from spreading. I’ve used Ospho for years too, and I’m pretty sure it’s chemically the same stuff. There are other options as well: a gel-style rust dissolver that works great but can’t be welded through, a water-based converter from Evapo-Rust that’s gentle enough to touch, and encapsulating paint for the hard-to-reach spots where all you can do is seal the rust in place.
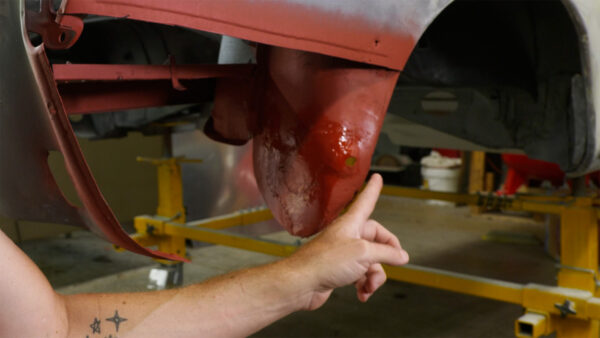
My camera battery died partway through, so some of the work happened off camera, but by Wednesday I had the inner section completely patched up. And yes, it was ugly. Over the course of this project I’ve been trying to get better at welding, especially on sheet metal, which is genuinely hard for me. For a long time I wasted effort making welds look nice even when they’d never be seen again. Eventually I learned the lesson: if it’s strong enough and nobody will ever see it, it’s okay for it to be ugly. Once this section gets covered up, nobody is ever going to look at it again.
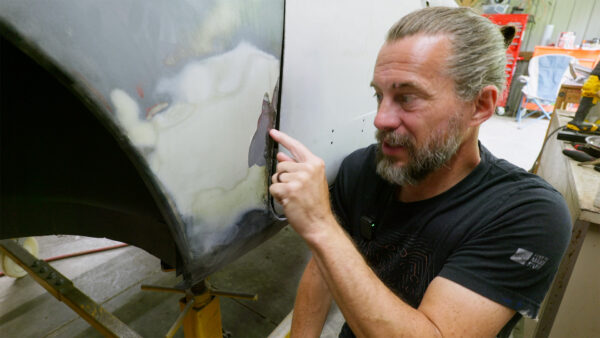
I also crossed off something that had worried me for this entire project: the door. After doing all this bodywork around the opening, the door didn’t fit anymore, and I’d always wondered what you even do in that situation. Do you undo your work? Modify the door? It turned out the very first piece I ever installed on this car was the culprit. I had folded a seam around in a way that made the area too thick, and it stuck out enough to interfere with the door. So I cut it, did a little more welding to put things back together, and now the door works. It’s ugly, but body filler is coming, and I’ve made peace with that. People who really restore cars try to do the work in the metal and use filler sparingly. That’s just not me. This car is never going to be worth a lot of money, and that’s not the point. I want it to look good, be safe, and be drivable for me and eventually my kids.
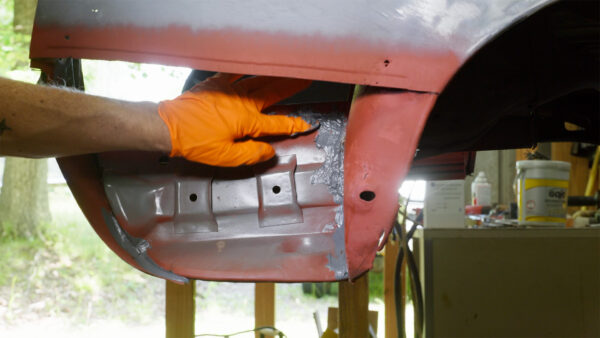
With the main piece welded in, I wanted to keep water out of all those seams, so I ran seam sealer through them with a caulking gun to block moisture, mud, and grime from getting in and starting the rust cycle all over again. That sealer is paintable after about an hour, which worked out because the whole area needed epoxy primer. I’ve learned that epoxy primer is the best way to protect bare metal. I’d already shot most of the body with a gallon of it through a sprayer, but this time I used a two-part spray can, where you press a tab in the bottom to mix the chemicals inside and shake it up. Since the pot life is limited and the stuff isn’t cheap, I prepped every area I could and used the entire can across the car.
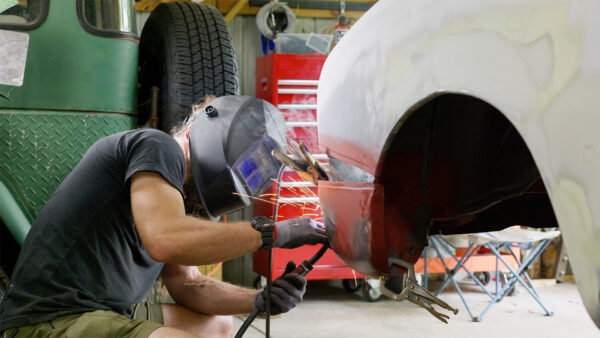
Fitting the outer panel taught me something about my own past decisions. When I cut this panel out two years ago, I used a flange tool to add a stepped edge, so the old and new pieces could overlap while sitting on the same plane, and then you just weld along the seam. For every panel since then, I did butt welds instead, cutting pieces edge to edge, and honestly it never worked that great for me. Since the flange was already there, I added a matching flange to the new piece and overlapped them. If I could go back and do this whole car again, I’d flange and overlap every single panel. It’s easier to clamp, less likely to burn through, and just way less frustrating.
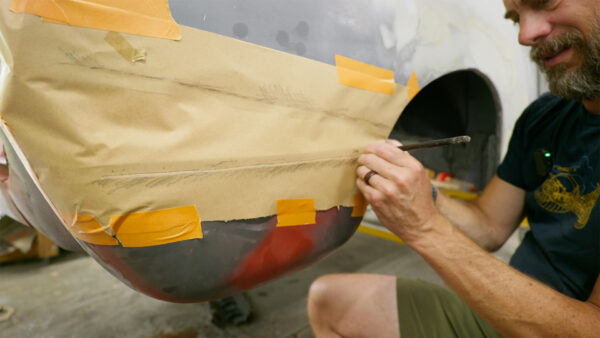
The last gap needed a filler piece with a weird shape, tapering and curving around an end, so instead of fighting the metal directly I made a template. I taped craft paper over the area and did a pencil rubbing of the lines, like a grade school leaf project with higher stakes. A leak in the wall meant I was doing this while sitting next to about a half inch of standing water, which was annoying but not a real problem. The rubbing worked way better than I thought it would. I transferred the template to metal, spent about thirty minutes hammering it into shape, tacked it along the long seams, and hammered the rest into place as I welded. It’s not perfect, and the overlapping panels didn’t line up quite like I hoped, but it’s done.
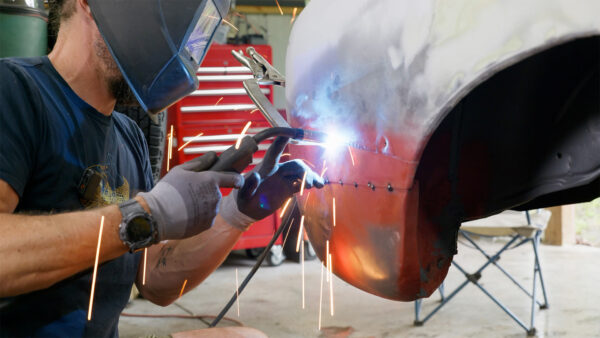
At 4:57 on Thursday, a day ahead of my own deadline, the last panel went in, and with it, all of the major metalwork on this entire car is finished. Next comes body filler, a lot of sanding, and a fresh coat of primer that will make all these layers and colors disappear and hide my crimes. But for now I’ll leave you with the advice I clearly needed myself: stop putting it off. Just do the thing. It’s probably faster and easier than you expect, and then it’ll be done.
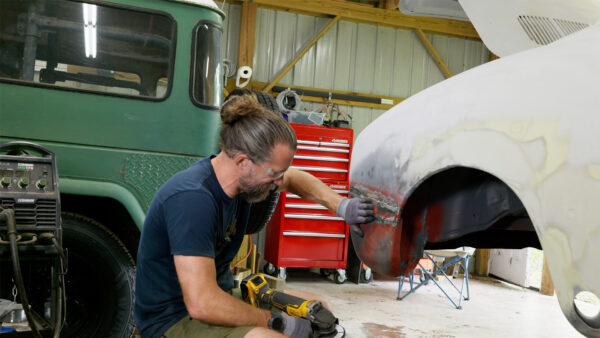
Thanks for hanging out with me on this one. Now, go make something awesome!
TOOLS
(purchasing via these affiliate links supports ILTMS)
Woodworking
- SawStop cabinet saw
- 8″ Dado stack
- Skil circular saw
- Dewalt 20v drill driver combo
- Dewalt Miter Saw
- Jet Wood Lathe 12×21
- Carbide lathe tool set
- Countersink drill bits
- Dewalt DW735 benchtop planer
- Orbital Sander
- Pancake compressor/nail gun combo
- Dremel tool
- Incra box joint jig
- 54″ Drywall T-Square
- Push Blocks
- Jigsaw
- Shop Fox 6″ Jointer
- Grizzly 14″ Bandsaw
- Grizzly Drill Press (WAAAAY overpriced (3x) on Amazon, buy from Grizzly directly.)
- Jet Drum Sander
- Kreg Rip Cut (circular saw guide)
- Kreg R3 pocket hole jig kit
- Shop Fox Hanging Air Filter
- 2HP Dust Collector
- 1 Micron bag
- Speed square
- 11″ Digital protractor
- Digital Angle Gauge
- Classic steel ruler (cork backed)
- Taper jig
- Flush cut saw
- 90˚ corner clamp (4 pack)
- Box Cutters (for eva foam)
Finishes & Adhesives
- Spray lacquer
- 100% pure tung oil
- Formby’s tung oil finished (tung oil/varnish)
- Danish oil
- CA Glue (medium)
- CA Activator
- Barge Contact Cement
- Critter Spray Gun
- Polycrylic
- Polyurethane
- Spar Urethane
3d Printing/CNC/Laser
- Glowforge (laser)
- X-Carve (CNC)
- Ultimaker 2 Extended 3D printer
- Ultimaker 3
- Original Prusa i3 MK 3
- Form1+ SLA 3D printer
- Silhouette Portrait (vinyl cutter)
- All filaments, 3d printing supplies from MatterHackers
Welding
- MIG welder *
- TIG welder
- Welding mask (auto darkening)
- Welding gloves
- Welding magnet
- Angle grinder *
- Cut off wheels
- Metal cutting bandsaw *
- 10″ Evolution Miter Saw for cutting Steel, Aluminum, Wood, etc.
Electronics
- Arduino Uno (just the Uno)
- Arduino Uno Kit
- Arcade buttons
- Raspberry Pi 3
- Multimeter
- Wire
- jumpers (Male to Female)
- Soldering iron
- Third hand kit
- Wire strippers (not the ones I have, but good ones)
- Thin solder
- Anti static mat
- Fiskars cutting mat
- Plastic parts cabinet (24 drawer)
- Plastic parts cabinet (64 drawer)
- Precision Screw driver kit