
I’ve been pretty quiet about the Karmann Ghia lately, and I know that makes it look like nothing’s happening. The truth is, I’ve been chipping away at the metalwork for months now — I just can’t keep making the same “I welded another panel” video over and over. But progress is real. I got the entire rear section replaced with new metal, which means the back end of the car is almost done. That said, it was really only about two days of actual work stretched across a couple of months, because if I can’t make a video about it, it’s hard to justify the time. The last exterior piece left to replace is a section I’ll get to eventually, but today’s project was about something on the inside of the car that needed to come first.
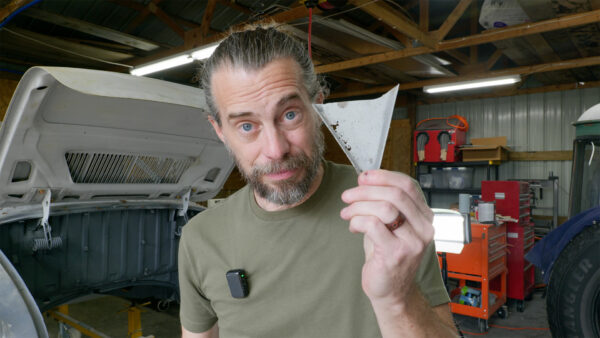
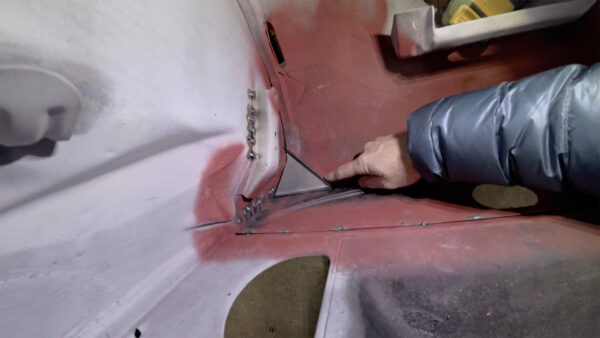
With old Volkswagens, pretty much every part of the car is being reproduced by somebody somewhere. Need a weird little body panel? You can just order one and weld it in. I’ve tracked down almost every replacement panel for this car — except one. A while back, when I replaced the front bottom section, I had to pull out this small bracket. I figured I’d just find the part number, order a new one, and weld it in later. Problem is, I don’t know what it’s called, and I can’t find it anywhere online. Nobody seems to make it. So I decided to just make one myself. At first glance, it seemed like a simple enough piece, but I’ve been doing this long enough to know that “looks simple” usually just means I don’t fully understand the problem yet.
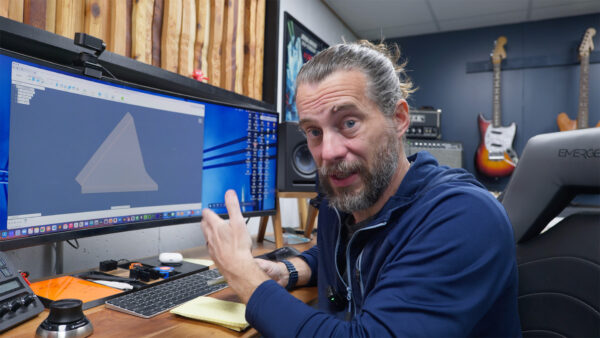
The first step was getting this bracket modeled up in Autodesk Fusion. I took a bunch of measurements and then photographed the original piece so I could trace the exact curve in Fusion — this bracket has a contour that matches the inside of the car, and the opposite side is a mirrored version, so getting it right mattered. Building it as a sheet metal part meant I could use the flat pattern tool to unfold the model and see exactly what the piece looks like before any bends. That flat pattern is what I’d eventually cut from steel with a laser. If you’re interested in learning how to do stuff like this in Fusion, by the way, we have an online course called Fusion for Makers that covers sheet metal modeling, flat patterns, and a lot more. It’s a great starting point if you’re a maker who wants to get better at designing parts before you build them.
With the flat pattern ready, the next challenge was designing a die — basically a two-part mold you can press sheet metal into using a hydraulic press. The bottom piece is the negative (outside shape) and the top piece is the positive (inside shape). You sandwich a flat piece of steel between them, squish the whole thing together, and in theory you end up with a nicely formed part. In practice, I struggled just figuring out how to start modeling the die. The bracket has three folded sides, but one of them doesn’t have a L-shaped return on it, which made the geometry awkward. I also realized early on that stacking layers of printed plastic and flat steel was going to be like an overstuffed sandwich — everything would want to slide around under pressure. Alignment was going to be a real issue.
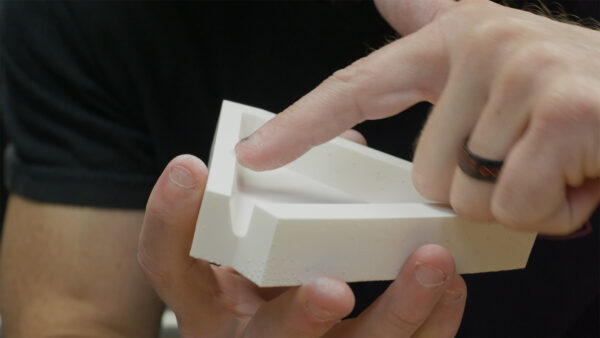
I printed the die on an SLA printer using a rigid resin material, and the print quality was unbelievable. The detail you can get from SLA printing is in a completely different league from FDM. The rigid resin I used is shockingly hard — I couldn’t really show it on camera, but it genuinely felt like it could take serious abuse. I was excited to test it. Of course, the very first thing I discovered was that I hadn’t built any tolerance into the model. The inner piece was exactly the same size as the outer cavity, which meant it wouldn’t fit. On top of that, I’d left sharp 90-degree edges where the metal needed to fold, which was going to make the steel fight back instead of flowing smoothly. So I went back, adjusted the model, added clearance, and reprinted.
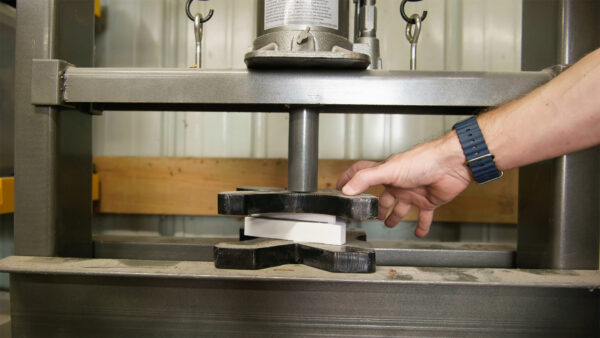
Cutting the steel blanks on the laser was one of those moments that just never gets old. Watching a laser slice through 18-gauge steel in a couple of seconds flat is genuinely wild — there’s no way I’d ever get that kind of precision cutting by hand. With the blank cut, I loaded everything into the die, stacked it on the hydraulic press, and gave it a squeeze. The first attempt actually went better than I expected — nothing cracked, nothing exploded — but the result was only partway there. The bottom surface that should have been flat came out curved because the sides hadn’t fully folded. The steel was just too thick for the die geometry, so I switched from 18-gauge down to 22-gauge, which is about half the thickness and actually much closer to the original bracket I was trying to replicate.
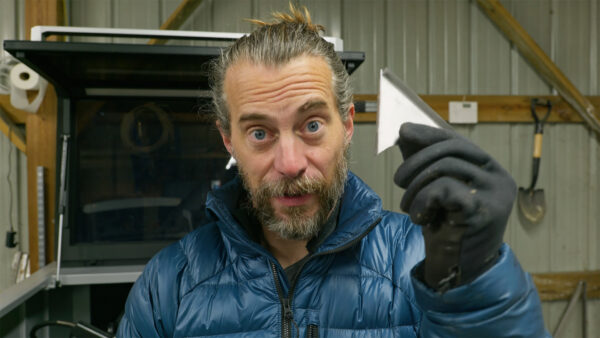
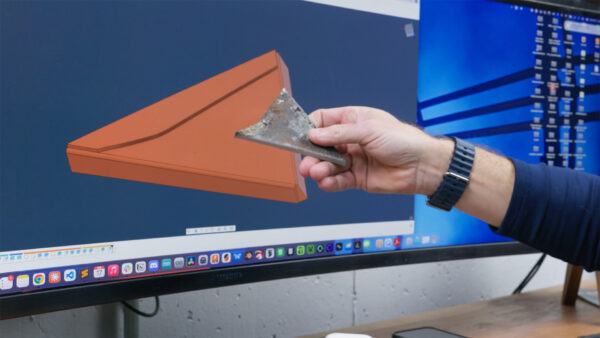
The second attempt went a lot better, but it came with its own drama. I’d added a small alignment notch to keep the die halves registered, and I’d sanded down a bunch of the sharp corners that were causing the pieces to bind. The die halves fit together much more snugly this time — too snugly, as it turned out. The press worked great and the metal formed beautifully, but when I tried to separate the die afterward, the pieces were completely stuck. I ended up chipping the resin trying to pry them apart and eventually broke the bottom half of the die getting the part out. On the bright side, the formed metal piece looked fantastic. When I held it up against the original bracket, the folds lined up, the length was right, and the overall shape was nearly identical. Just needed a small weld to connect two flanges in the corner, and it was ready to go.
Breaking the die to free the part is obviously not ideal, but since I only needed one of these brackets, it worked out fine. The mirrored version for the other side of the car will need its own die anyway, and now I know a lot more about how to do it — things like adding draft angles for release, rounding internal corners, and maybe even building in a slot for a wedge so you can separate the halves without destroying them. This was one of the simplest shapes you could possibly press with a die, but it opened up a whole world of possibilities for more complex parts down the road. I’ve got a harder version of this same kind of work coming up on the back end of the car, so this was a great trial run. Thanks for following along with the build — if you’ve got ideas on how to improve the die design or the release process, I’d love to hear them. Now, go make something awesome!
TOOLS
(purchasing via these affiliate links supports ILTMS)
Woodworking
- SawStop cabinet saw
- 8″ Dado stack
- Skil circular saw
- Dewalt 20v drill driver combo
- Dewalt Miter Saw
- Jet Wood Lathe 12×21
- Carbide lathe tool set
- Countersink drill bits
- Dewalt DW735 benchtop planer
- Orbital Sander
- Pancake compressor/nail gun combo
- Dremel tool
- Incra box joint jig
- 54″ Drywall T-Square
- Push Blocks
- Jigsaw
- Shop Fox 6″ Jointer
- Grizzly 14″ Bandsaw
- Grizzly Drill Press (WAAAAY overpriced (3x) on Amazon, buy from Grizzly directly.)
- Jet Drum Sander
- Kreg Rip Cut (circular saw guide)
- Kreg R3 pocket hole jig kit
- Shop Fox Hanging Air Filter
- 2HP Dust Collector
- 1 Micron bag
- Speed square
- 11″ Digital protractor
- Digital Angle Gauge
- Classic steel ruler (cork backed)
- Taper jig
- Flush cut saw
- 90˚ corner clamp (4 pack)
- Box Cutters (for eva foam)
Finishes & Adhesives
- Spray lacquer
- 100% pure tung oil
- Formby’s tung oil finished (tung oil/varnish)
- Danish oil
- CA Glue (medium)
- CA Activator
- Barge Contact Cement
- Critter Spray Gun
- Polycrylic
- Polyurethane
- Spar Urethane
3d Printing/CNC/Laser
- Glowforge (laser)
- X-Carve (CNC)
- Ultimaker 2 Extended 3D printer
- Ultimaker 3
- Original Prusa i3 MK 3
- Form1+ SLA 3D printer
- Silhouette Portrait (vinyl cutter)
- All filaments, 3d printing supplies from MatterHackers
Welding
- MIG welder *
- TIG welder
- Welding mask (auto darkening)
- Welding gloves
- Welding magnet
- Angle grinder *
- Cut off wheels
- Metal cutting bandsaw *
- 10″ Evolution Miter Saw for cutting Steel, Aluminum, Wood, etc.
Electronics
- Arduino Uno (just the Uno)
- Arduino Uno Kit
- Arcade buttons
- Raspberry Pi 3
- Multimeter
- Wire
- jumpers (Male to Female)
- Soldering iron
- Third hand kit
- Wire strippers (not the ones I have, but good ones)
- Thin solder
- Anti static mat
- Fiskars cutting mat
- Plastic parts cabinet (24 drawer)
- Plastic parts cabinet (64 drawer)
- Precision Screw driver kit