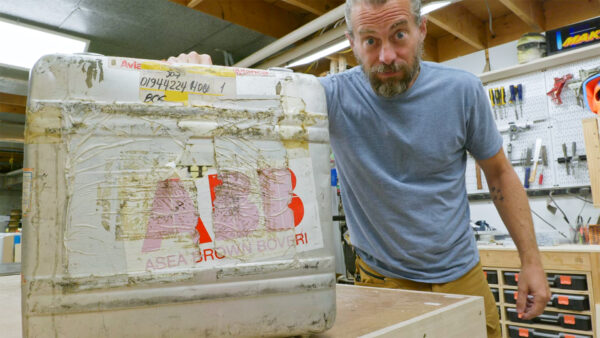
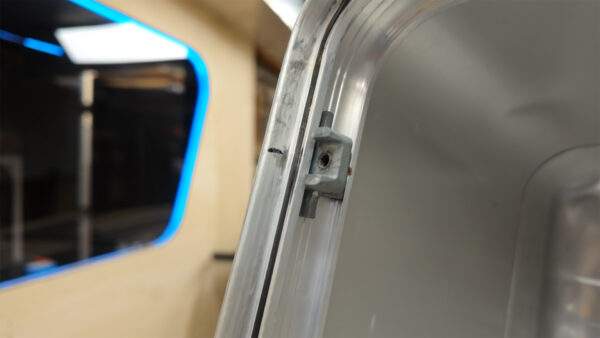
I picked up this weird aluminum flight case at a yard sale a while back, and honestly had no clue what the thing inside was supposed to be. The original equipment looked pretty high-tech, but I wasn’t planning to use it anyway. What caught my attention was the case itself – lightweight aluminum construction, built tough for travel, with some interesting mounting hardware already installed along the top edges. The whole thing just screamed “repurpose me into something useful.” Sometimes the best projects start with a mystery box and a vague idea of what could be possible.
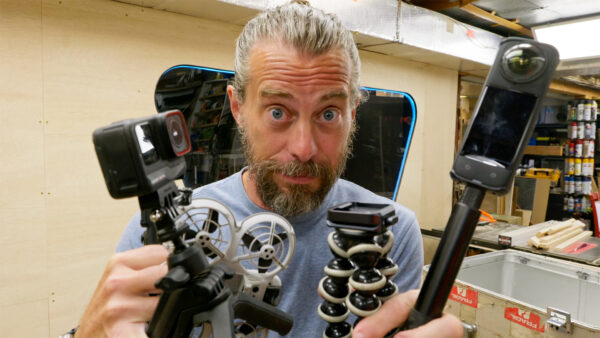
The problem I was trying to solve had been bugging me for months. As someone who makes videos, I keep accumulating camera gear – action cameras, drones, batteries, chargers, microphones, and all the little accessories that come with each device. Most of the time this wasn’t an issue since I shoot in my shop and have a dedicated gear cabinet to keep everything organized and dust-free. But recently I needed to take a bunch of cameras out to the farm for a project, and throwing everything into a backpack felt pretty sketchy. I needed a proper transportation solution that would protect expensive gear while keeping everything organized and accessible.
The inside of this case had serious potential. It was one big open volume with mounting brackets already in place, plus it was designed to travel and take abuse. But I couldn’t just throw foam in there and call it done – this had to be a real system.
My main camera is pretty substantial, so I knew I’d need to dedicate serious space for that. The smaller action cameras and accessories needed their own organized storage that wouldn’t turn into a jumbled mess every time I opened the case. The solution started to take shape as a two-section design that would maximize the available space while keeping everything accessible.
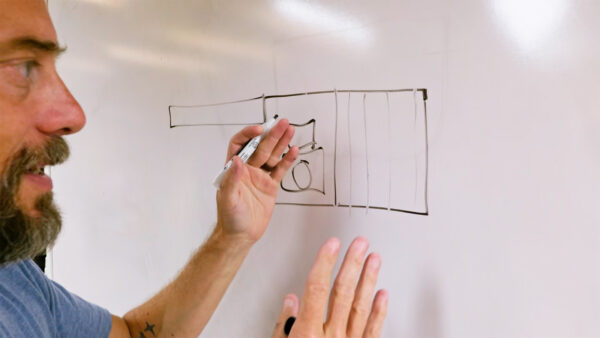
I decided to split the case into two distinct areas. The larger section would house my main camera in a custom-fitted cradle, with enough room for it to sit securely without getting cramped. The other section would work more like a library system – foam panels that could slide in and out of tracks, each one holding specific cameras and gear in perfectly cut foam recesses. This way I could pull out exactly what I needed for a particular shot without disturbing everything else. The concept was solid, but figuring out the mechanical details would take some work.
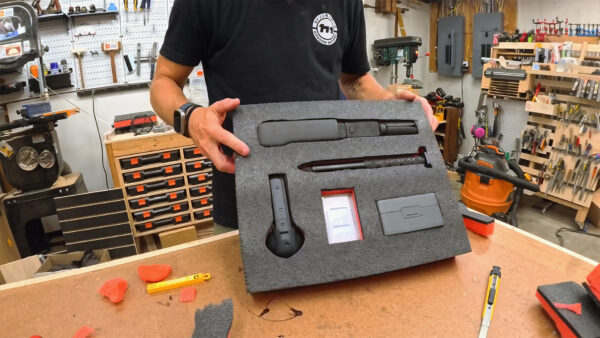
The foam panels were the trickiest part to get right. I ordered some layered tool foam that lets you trace around objects and peel out layers to get the exact depth you need. The challenge was making these panels work vertically instead of horizontally like they’re designed for. Each panel needed to slide smoothly in tracks while holding cameras securely, which meant getting the spacing just right. Too loose and things would rattle around, too tight and the panels wouldn’t slide properly. I also had to account for the fact that most of my gear wasn’t as thick as the foam, so the panels could sit pretty close together without interference.
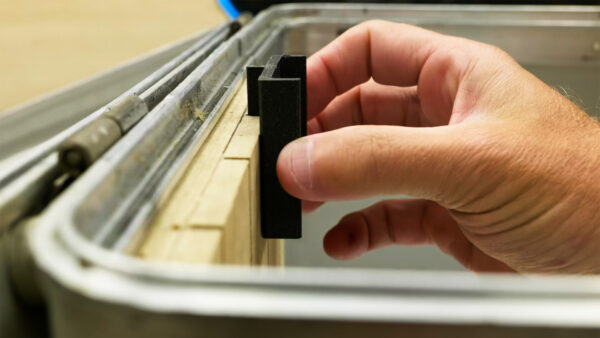
The mechanical system required some 3D printed components to make it all work. I designed simple clips that would grip around the outside of each foam panel while having a fin on the back that could slide down into wooden tracks. Getting these printed parts to fit properly took a few iterations, but the concept was sound. I also had to add some taper to the top of the track openings so the panels would guide themselves into position instead of requiring perfect alignment every time. Sometimes the little details like that make the difference between a system that works smoothly and one that’s frustrating to use.
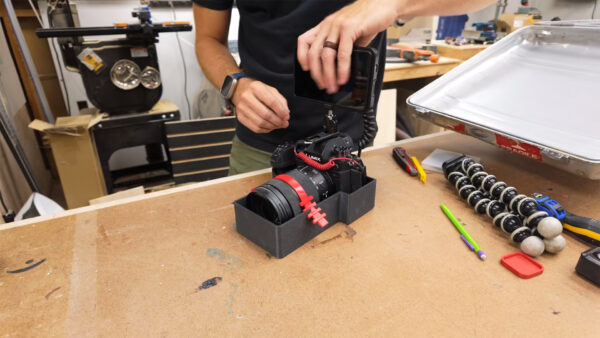
For the main camera section, I went all-in on custom protection. Instead of just stuffing foam around it, I took a photo of the camera’s bottom and modeled a precise cradle in Autodesk Fusion. This let me create something that would hold the camera exactly right while providing maximum protection. The cradle got 3D printed, and I also designed a flexible strap system that could hook over the camera to lock it down securely. If you’re interested in learning this kind of 3D modeling and design work, you should check out our “Fusion for Makers” course – it covers exactly this type of practical problem-solving with Fusion.
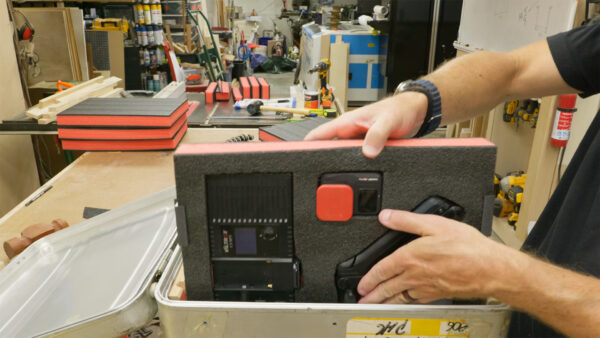
The finished case turned out better than I expected. Everything has its place, from the smallest memory card to the main camera, all surrounded by foam and protected by that aluminum shell. The sliding panel system works smoothly, and I can grab exactly what I need without unpacking the whole case. Plus I can lock it up and toss it in the truck without worrying about expensive gear getting damaged. Sometimes the best projects come from combining something you found cheap with a problem you actually need to solve.
Thanks for following along with this build. Now, go make something awesome!
TOOLS
(purchasing via these affiliate links supports ILTMS)
Woodworking
- SawStop cabinet saw
- 8″ Dado stack
- Skil circular saw
- Dewalt 20v drill driver combo
- Dewalt Miter Saw
- Jet Wood Lathe 12×21
- Carbide lathe tool set
- Countersink drill bits
- Dewalt DW735 benchtop planer
- Orbital Sander
- Pancake compressor/nail gun combo
- Dremel tool
- Incra box joint jig
- 54″ Drywall T-Square
- Push Blocks
- Jigsaw
- Shop Fox 6″ Jointer
- Grizzly 14″ Bandsaw
- Grizzly Drill Press (WAAAAY overpriced (3x) on Amazon, buy from Grizzly directly.)
- Jet Drum Sander
- Kreg Rip Cut (circular saw guide)
- Kreg R3 pocket hole jig kit
- Shop Fox Hanging Air Filter
- 2HP Dust Collector
- 1 Micron bag
- Speed square
- 11″ Digital protractor
- Digital Angle Gauge
- Classic steel ruler (cork backed)
- Taper jig
- Flush cut saw
- 90˚ corner clamp (4 pack)
- Box Cutters (for eva foam)
Finishes & Adhesives
- Spray lacquer
- 100% pure tung oil
- Formby’s tung oil finished (tung oil/varnish)
- Danish oil
- CA Glue (medium)
- CA Activator
- Barge Contact Cement
- Critter Spray Gun
- Polycrylic
- Polyurethane
- Spar Urethane
3d Printing/CNC/Laser
- Glowforge (laser)
- X-Carve (CNC)
- Ultimaker 2 Extended 3D printer
- Ultimaker 3
- Original Prusa i3 MK 3
- Form1+ SLA 3D printer
- Silhouette Portrait (vinyl cutter)
- All filaments, 3d printing supplies from MatterHackers
Welding
- MIG welder *
- TIG welder
- Welding mask (auto darkening)
- Welding gloves
- Welding magnet
- Angle grinder *
- Cut off wheels
- Metal cutting bandsaw *
- 10″ Evolution Miter Saw for cutting Steel, Aluminum, Wood, etc.
Electronics
- Arduino Uno (just the Uno)
- Arduino Uno Kit
- Arcade buttons
- Raspberry Pi 3
- Multimeter
- Wire
- jumpers (Male to Female)
- Soldering iron
- Third hand kit
- Wire strippers (not the ones I have, but good ones)
- Thin solder
- Anti static mat
- Fiskars cutting mat
- Plastic parts cabinet (24 drawer)
- Plastic parts cabinet (64 drawer)
- Precision Screw driver kit
