Quite a while ago, I made a longboard. I still ride that board today, and it rides GREAT, despite the fact that I got tons of comments (and still do) about how solid wood isn’t good for skateboards, and how it doesn’t have any flex, etc. Like most everything I do, there are 100 ways to do it.. most of them work fine, just have different final products.
Since I made that one, I started looking into how others made the laminated boards and found a few ways to make them, but they required complex presses or larger vacuum machines, none of which I was interested in figuring out. Then, last January, I went to Chicago and met a great guy named Tait who works at Inventables. He showed me how he was using the X-Carve to shape a foam form, and introduced me to the products from Roarockit, a Canadian company making vacuum bag kits for people who wanted to make their own boards using a simple ShopVac and hand pump to pull the vacuum.
Tait walked me through the entire process and I got excited, but it took me about 9 months to finally get around to trying it for myself. I didn’t really need another skateboard but I wanted to make one for my wife. She plays roller derby, so I decided to make the board in her team colors and add her derby name to the bottom, along with some stars, since she is primarily a jammer and they wear a star on their helmet.
You could certainly shape the form by hand, using a rasp and knife but I was eager to learn how to get the X-Carve to carve in 2.5D and this was a perfect project to explore that.
Here’s what you’ll need:
(purchasing via these affiliate links supports ILTMS)
Wood working:
Here’s the board I made, now let’s look at how I made it!

In 123d Design, I made a profile/sketch with two rectangles and added two arcs.

I extruded these shapes, all together.

I extruded them to around 44″, a little longer than my desired board length.

I pulled in the top of each end, to give them slope, making a tail (more slope) and a nose (less slope).

I made another rectangle sketch and moved it to the middle of the model.

I used the rectangle to split the model into two halves, each of which would fit on my X-Carve separately.

I brought each one into MeshCam and created a very simple tool path for the X-Carve to follow.

Using a 2×2′ sheet of 1″ insulation, I cut it right down the center.

I covered the entire surface with Super 77 spray adhesive and let it dry for a few minutes.

I folded the pieces together, effectively making a 2″ piece of foam.

I put the largest bit I had in my X-Carve, a 1/4″ ball nose bit.

I screwed the foam panel into the waste board.

I ran the tool path for each half on a different foam panel.

After removing all of the surrounded, unwanted foam the two pieces fit together, but didn’t line up exactly.

I found that there was enough curve in the foam insulation to make the cuts uneven.

I attached the two panels to a piece of melamine with spray adhesive.

The pieces lined up and I made sure they were secure to the melamine.

I smoothed out the transition with a rasp in no time flat.

The entire foam surface was covered with pacing tape to prevent damage to the foam in the lamination process.

I measured the profile of the board shape, edge to edge.

The veneer sheets I got were much larger than necessary, and they come with grain going in different directions for strength.

I trimmed all of the sheets to length.

Then I ripped them all down to fit the size of my form.

I sandwiched the veneers, fully covering each with glue, and making sure to alternate grain direction between layers.

I held the edges together with some packing tape so they wouldn’t slip around because of the glue.

I slid the sandwich and the form into the vacuum bag, being careful not to snag the bag on anything.

Over the sandwich, but under the bag valve, I slid in a strip of nylon mesh. This helps make sure the valve doesn’t get blocked before the vacuum is complete.

The end of the bag was sealed up with some very sticky black glue/tape.

The shopvac hose fits over the valve, and when turned on, it pulls out almost all of the air.

It was awesome to watch the sandwich change shape as the vacuum pulled it down to the form.

After the shopvac can’t get any more air out, I switched over to the included hand pump to pull out the last bits of air.

After it dried for 8 hours, I pressed the valve to release the vacuum.

I had a pretty successful blank!

I folded a long piece of paper and drew out the shape of the board.

After I was happy with it, I traced the line with a Sharpie.

Next, I flipped the paper over and traced the shape to the other side.

This gave me a complete, symmetrical template to use.

I drew a center line and added a light coat of spray adhesive to the blank.

I added the template by lining up the crease with the center line.

Then the other side laid over into place as well.

I used a bandsaw to cut out the shape, but you could also use a jigsaw.

I smoothed out my bandsaw cuts with a belt sander.

I used an orbital sander to give the edges a very slight round over.

Since I used a light coat of spray adhesive, the template pulled off easily.

I used a chalk line to add a center line to the bottom of the board. DON’T DO WHAT I DID.. it’s messy and hard to get rid of. Just use a pencil and flexible ruler.

I lined up the trucks, and used a straight edge to make sure they were lined up with each other, then marked the holes for each.

I added a block underneath to prevent blowout, then drilled all eight holes.

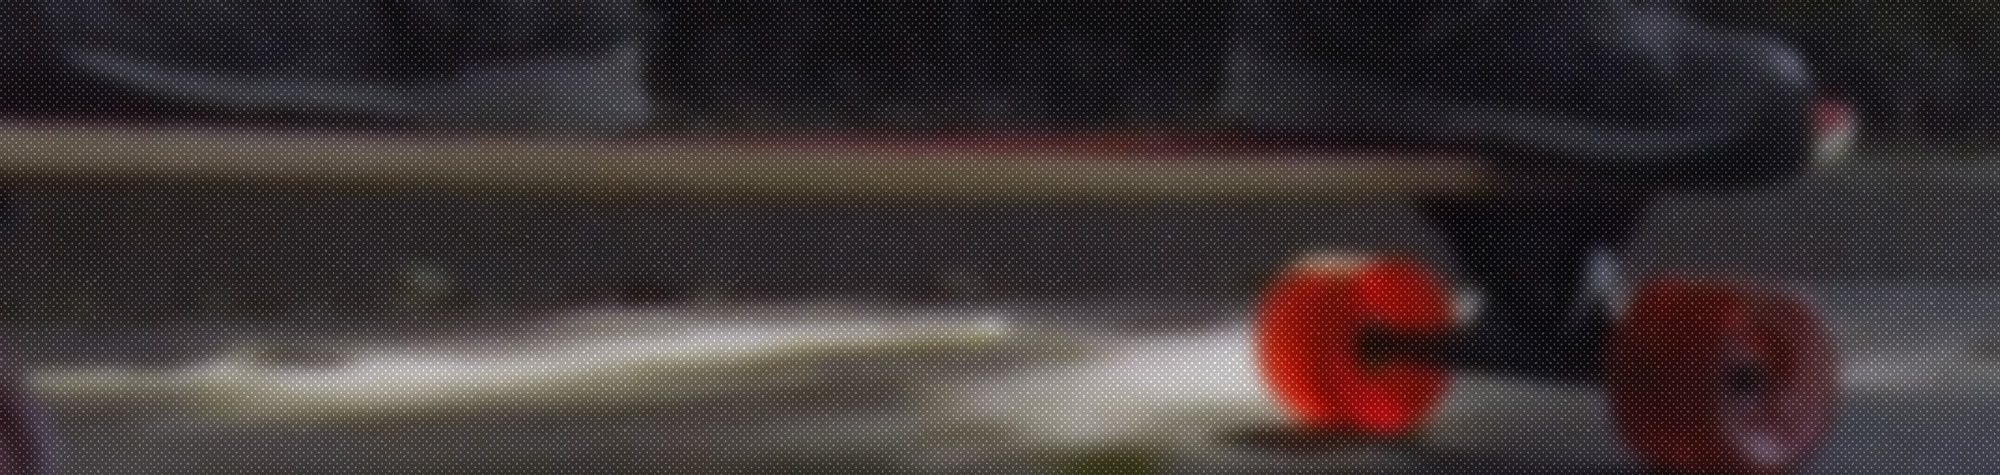
I assembled the wheels and trucks, which is extremely simple.

I cut out some graphics on my vinyl cutter to use on the bottom of the board.

After peeling away the extra, I added a sheet of transfer paper over the remaining vinyl.

Then using a utility knife, I cut the individual stickers out.

I peeled off the backing from the vinyl, which leaves it attached to the transfer paper.

I laid it down onto the board surface and smoothed out any bubbles. When I peeled off the transfer tape, it left the vinyl in place on the board.

Using some pinstripers tape, I made a couple of simple curves to enhance the design.

Then I masked off the areas along that border with blue tape.

I put down a few coats of black spray paint in the exposed areas.

After drying, I removed the tape and vinyl stickers, leaving the painted design.

The bottom surface was protected with a couple of coats of spray lacquer.

To match my wife’s team colors, I got some red grip tape. I peeled off the backing and rolled it over the top surface, making sure not to let bubbles form underneath.

I ran a screwdriver around the edge to score the grip tape.

The scoring mark helps to make the cut cleaner. I cut off the excess with a utility knife.

I poked through, from the under side in each of the eight truck holes.

After cleaning out the holes, I dropped in the screws.

The riser pad slides over the screws before adding the truck and nuts.

The trucks are tightened with a screwdriver and a ratchet.

Not bad for a first try!

Also, it rides great!
