I recently upgraded my X-Carve from the small machine to the BIG machine… and I mean BIG. It’s 1 meter square and while it’s great to have the much cutting room, my small shop doesn’t really have the space for a new thing that takes up that much room!
I tried lots of different things to make the machine folder different ways and work in different locations, I even tried running it while it was mounted on the wall! Finally, I settled on the idea of using my existing work table and folding it up towards the wall. This way, I would lose ZERO footprint in my shop, and it would be instantly accessible all of the time.
I realize after the fact that this WAS the best, and simplest solution in the end, and I was subconsciously avoiding it because it’s not especially “cool” or clever. It just works.
Here’s what you’ll need:
(purchasing via these affiliate links supports ILTMS)
I trimmed a 2×4 into 42″ sections.

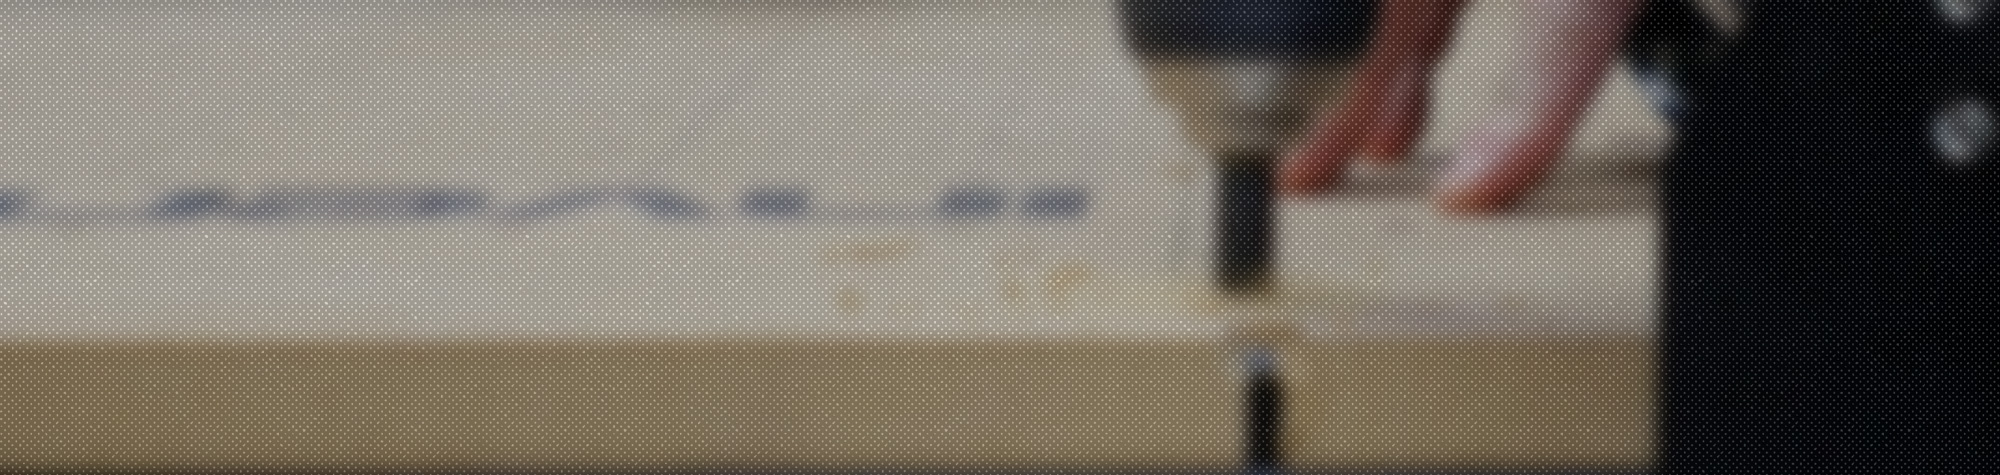
I also trimmed a piece to reinforce one side of my work table.

The piece was screwed in to the “hinge” end of my table.

I added a 3/4″ plywood strip to each 2×4 to fill the gap under the X-Carve.

Then I slid the pieces under the machine and lined them up with the outside edges.

I countersunk holes in the waste board right above the 2×4.

Then I attached the waste board to the 2×4 with some 2″ screws.

Then I lined up the 2×4 with the edge and attached it with 3 strap hinges.

Based on the distance the table was from the wall, I cut a short 2×4.

I made a 3/4″ plywood plate and traced the 2×4 in the middle.

I added wood glue in the area I had traced.

Then I countersunk holes and drove screws in from the other side.

I then screwed the plate into a stud with 4 2″ screws.

I added an eye screw and a rubber strap to the top of the arm.

I also added a matching eye on the X-Carve 2×4.

To mount the electronics, I added a piece of pine to the end of one 2×4.

I connected 2 hose clamps together to make one long clamp.

I wrapped two of the new, long clamps around the power supply and the piece of pine.

The USB cable was plugged in and bundled with the other wires.

I pushed the USB cable into the slot on the side of the aluminum extrusions and covered the slot with duct tape.

With that, all of the wiring stays in place and the electronics move with the machine.

The machine now folds up and is held safely in place with the rubber strap.
