
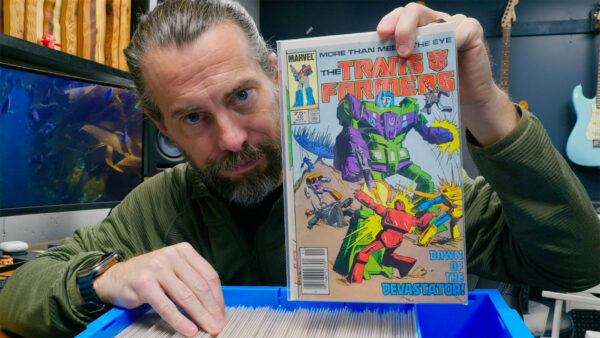
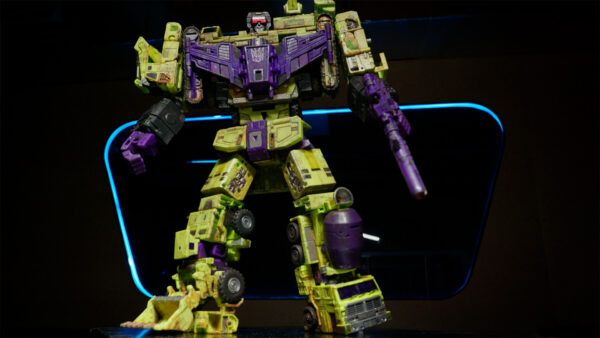
I’ve always been into toys. As a kid I played with them constantly, and as an adult I collect them — mostly for nostalgia. Some of my collection is from my actual childhood, some of it replaces stuff I lost over the years, and some of it is things I always wanted but never had. When they released updated versions of the six Transformers that combine into Devastator — a character I’ve loved since the night I first saw him in a comic book — nostalgia won and I bought the whole set.
But once it was assembled and sitting on my shelf, something bugged me. It was too clean. Too perfect. And that got me thinking: these new toys are never going to appreciate in value the way the vintage stuff does. So why treat them like they’re precious? Why not make them into what I actually want them to be?

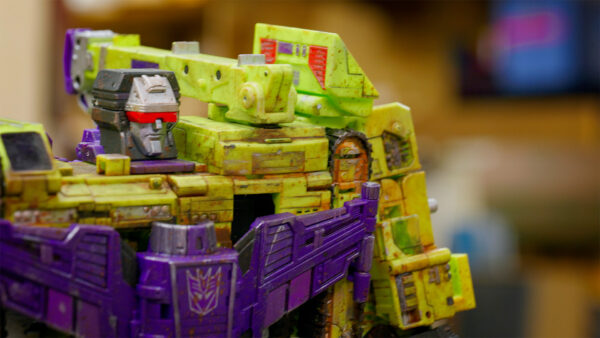
For me, this thing had two major problems. One, it was green. I mean, all green. Every little piston, track, hinge, and detail—all the same shade of green. That’s fine if you imagine some company painted all their construction vehicles the same color, but it doesn’t look real. The second problem was that these are supposed to be construction vehicles. Machines that work on job sites. They should look beat up, scratched, and covered in grime. So I decided to fight every instinct in me that says “preserve the toy” and instead customize this thing into what I thought it should actually look like.
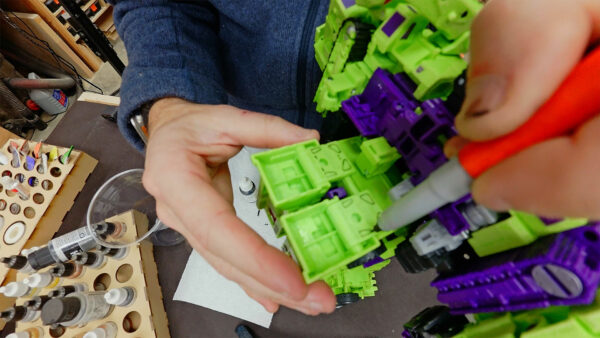
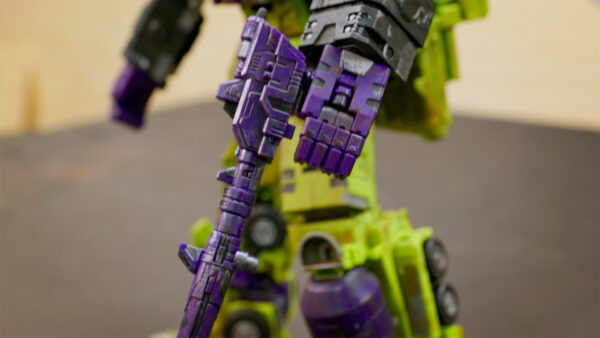
The customization was mostly done with regular model paints. Over the years I’ve accumulated a bunch of different paints and tools for making things look old and dirty, so I just started playing around. About an hour in, I realized I’d made a surprising amount of progress using only black paint and Sharpies. A wide Sharpie and a fine-tip Sharpie can do a lot more than you’d expect, because all of those tiny sculpted details that disappear into the green plastic suddenly pop when you trace over them. It was fast and easy, and the results were pretty solid for such a simple approach.
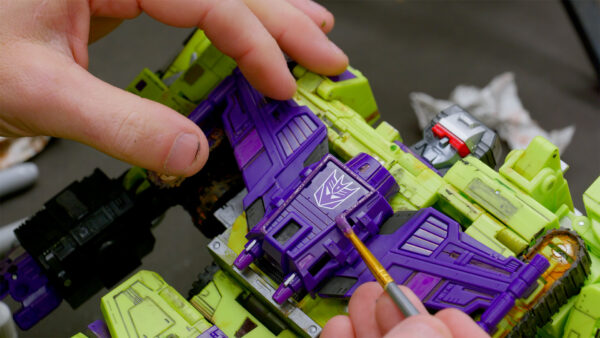
The Sharpies did have a limit, though. Even the fine-tip only has one line width, so after a while everything started looking uniformly outlined—almost like a cartoon cell-shading effect. That wasn’t what I was going for. So the next step was to switch to silver and brown paints. I painted the parts that would be bare metal in silver, and I took different shades of brown and worked them into the nooks and crannies and crevices, like mud that never got washed out. I had a set of paints called the Panzer series—browns, blacks, and grays designed for painting dirty military tanks—and they turned out to be perfect for this. One trick I used was putting paint on with a brush and then dipping the same brush in water to dilute it in place. That helped spread the color out naturally and pulled away the excess so it didn’t look caked on.
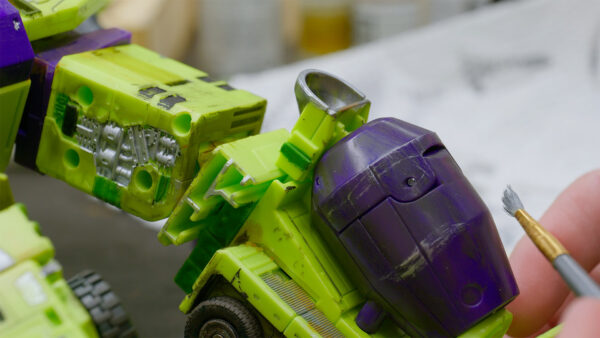
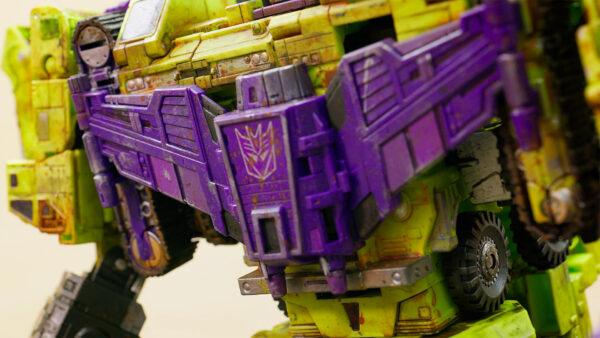
Once I was happy with the color detail work, it was time for dry brushing, which is where the toy really started to come alive. The idea is simple: on a real machine, paint gets worn off by scraping, scratching, and general wear, exposing the metal underneath. So you take a metallic paint, load a little on your brush, then wipe almost all of it off on a paper towel. When you drag that nearly-dry brush across an edge or a raised surface, the bristles leave behind tiny streaks of paint that look exactly like scratched, exposed metal. The key is being thoughtful about where the wear would actually happen—which edges would get banged up, which surfaces would get scraped. I also tried a product called Rub and Buff, which is kind of an oily wax with metallic pigment, but it wasn’t grabbing onto this particular plastic very well. So I stuck with the paint, did a round of dark gunmetal dry brushing, then came back with a lighter silver for subtle highlights.
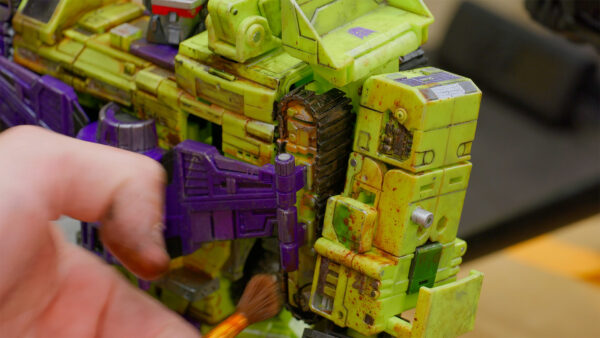
The last step was making the whole thing look dirty, and for that I used washes. Washes are basically super watered-down paints. You wipe them over a surface, then dab off most of it, and what’s left settles into all the tiny cracks and crevices, making them stand out like accumulated grime. You can layer multiple coats until you think it looks dirty enough. I used gray wash, black wash, and something that was basically brown-black rust-colored grossness. At this point I was also making sure there were no spots of that original bright green left untouched, because even a small patch of clean green next to everything else looked completely out of place. Even a light hit with the wash made those spots blend right in with the rest.
I had a blast with this project. There was no hard endpoint, no specific measurement or spec to hit—just keep going until it looks right. That’s really different from most of the things I do, and it was a nice change of pace. I love trying different things, and sometimes that means something big and difficult, and sometimes it means something small and messy.
I really appreciate the listeners of our podcast—Making It—and my supporters at The Maker Alliance who have encouraged me to follow these passions of mine. Either way, I’m really glad I got to do this one and share it with you. Also, if this kind of thing is interesting to you, go check out Madformers on Instagram—he does this type of customization and actually knows what he’s doing. Thanks for hanging out with me on this one. Now, go make something awesome!
TOOLS
(purchasing via these affiliate links supports ILTMS)
Woodworking
- SawStop cabinet saw
- 8″ Dado stack
- Skil circular saw
- Dewalt 20v drill driver combo
- Dewalt Miter Saw
- Jet Wood Lathe 12×21
- Carbide lathe tool set
- Countersink drill bits
- Dewalt DW735 benchtop planer
- Orbital Sander
- Pancake compressor/nail gun combo
- Dremel tool
- Incra box joint jig
- 54″ Drywall T-Square
- Push Blocks
- Jigsaw
- Shop Fox 6″ Jointer
- Grizzly 14″ Bandsaw
- Grizzly Drill Press (WAAAAY overpriced (3x) on Amazon, buy from Grizzly directly.)
- Jet Drum Sander
- Kreg Rip Cut (circular saw guide)
- Kreg R3 pocket hole jig kit
- Shop Fox Hanging Air Filter
- 2HP Dust Collector
- 1 Micron bag
- Speed square
- 11″ Digital protractor
- Digital Angle Gauge
- Classic steel ruler (cork backed)
- Taper jig
- Flush cut saw
- 90˚ corner clamp (4 pack)
- Box Cutters (for eva foam)
Finishes & Adhesives
- Spray lacquer
- 100% pure tung oil
- Formby’s tung oil finished (tung oil/varnish)
- Danish oil
- CA Glue (medium)
- CA Activator
- Barge Contact Cement
- Critter Spray Gun
- Polycrylic
- Polyurethane
- Spar Urethane
3d Printing/CNC/Laser
- Glowforge (laser)
- X-Carve (CNC)
- Ultimaker 2 Extended 3D printer
- Ultimaker 3
- Original Prusa i3 MK 3
- Form1+ SLA 3D printer
- Silhouette Portrait (vinyl cutter)
- All filaments, 3d printing supplies from MatterHackers
Welding
- MIG welder *
- TIG welder
- Welding mask (auto darkening)
- Welding gloves
- Welding magnet
- Angle grinder *
- Cut off wheels
- Metal cutting bandsaw *
- 10″ Evolution Miter Saw for cutting Steel, Aluminum, Wood, etc.
Electronics
- Arduino Uno (just the Uno)
- Arduino Uno Kit
- Arcade buttons
- Raspberry Pi 3
- Multimeter
- Wire
- jumpers (Male to Female)
- Soldering iron
- Third hand kit
- Wire strippers (not the ones I have, but good ones)
- Thin solder
- Anti static mat
- Fiskars cutting mat
- Plastic parts cabinet (24 drawer)
- Plastic parts cabinet (64 drawer)
- Precision Screw driver kit