

For a while now, everything I’ve built has been enormous. The pool house took forever, and I designed and built the whole thing myself, which meant every single decision landed on me. Then I built a climbing wall inside it, which took its own pile of planning and building and painting before anybody could touch it. I was standing there bolting holds onto that wall, doing something repetitive enough to let my brain wander, and I started thinking about what I wanted to do next. Something with no plan (of course). Hands-on, creative, no drawings. And then I realized I was staring right at it.

Wooden climbing holds. I don’t know much about carving or shaping wood, and that was most of the appeal. I also wanted to make them out of scrap, which turned out to be a problem, because almost every piece of scrap in my shop is already milled softwood I bought at a store. For this I wanted hardwood. My sister is an awesome woodworker, so I asked if she had anything lying around, and it turns out we have very different definitions of that word. She does a lot of turning, and what she handed me was not what I would call offcuts.
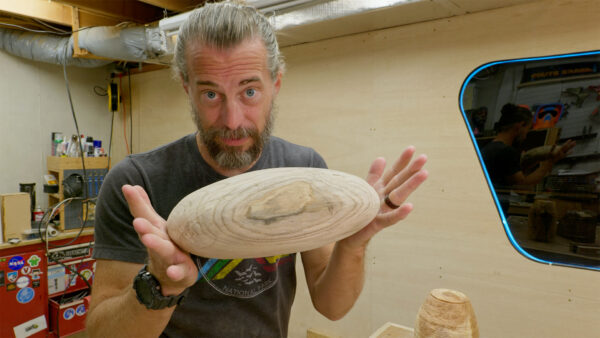
She gave me a piece she said was apple wood, another chunk I still can’t identify, something that was basically a climbing hold already, and a giant piece of walnut that was also most of the way there. I had some scrap of my own too, dimensional walnut and maple, so I cut those down and glued them up into laminated blanks. Mixing the species meant the finished holds would have stripes running through them, which is the kind of thing that makes a plain block look intentional. The faces were relatively flat but not perfectly flat, so I clamped them heavily and hoped the glue lines would close up.
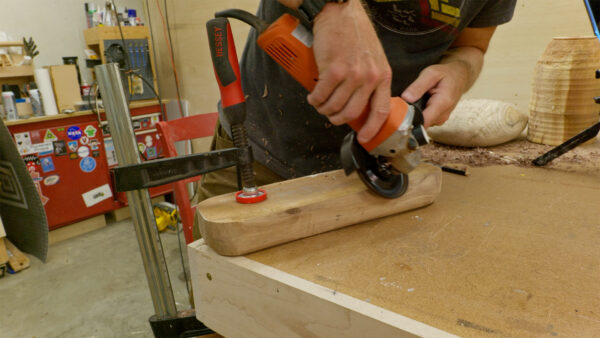
While that dried, I started on the big walnut chunk. Here’s the thing that made this whole project so relaxing: you can’t really make a climbing hold wrong. It has to be useful, sure, but difficult is also useful, and a hold changes completely depending on how you rotate it on the wall. The only real requirement is a flat side to sit against the plywood, and that block already had one. So I could shape it to work overhand, or upside down, or as a foothold, and every one of those would have been a legitimate outcome. That’s a rare thing in a shop project.
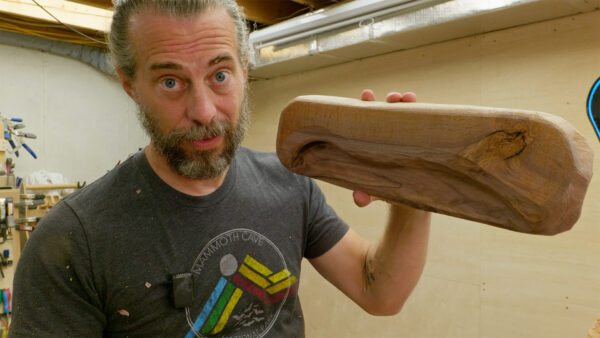
The first pass was with an Arbortech TurboPlane mounted on a regular angle grinder. That thing removes an absurd amount of material in almost no time, and the tradeoff is that it relocates every bit of that material somewhere else in the room. Two minutes of carving and the shavings were everywhere. Absolutely everywhere. What I had at the end of it was rough, but it was already close to a real hold. I could get both hands over the top with a spot for my thumbs, flip it over for something harder, and there was a small pocket on one end I could hook a hand into.
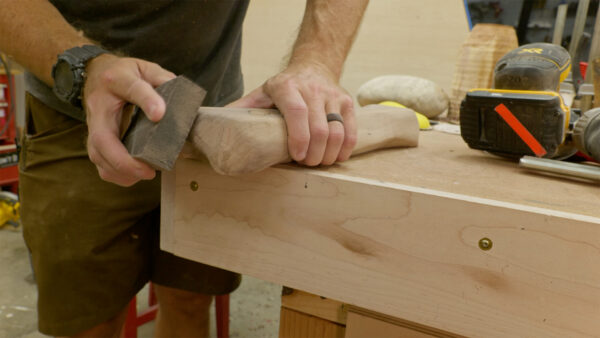
Then came the part I’m historically bad at, which is sanding. I started at 40 grit and worked up through 80, 150, and 240, which is basically everything I own. About thirty minutes later it was smooth, and honestly smoother than it needed to be, because you want a little texture on a hold so your hands have something to hang onto. There was also one knot I wanted to deal with. I used to have black CA glue, which fills a void, stabilizes it, and reads like black epoxy against walnut. I couldn’t find it anywhere, so clear CA it was.
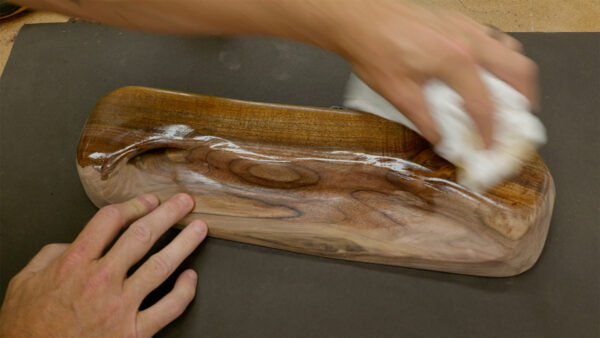
Finish is a genuine open question on a wooden hold. You want to feel the wood, and any film you put on it is going to get worked over by sweat and chalk pretty quickly. But I’ve heard that hardening oil and wax finishes help the surface last longer, and walnut under oil looks ridiculous in the best possible way, so I oiled that one and left some of the others bare to compare once they were all up. Mounting was simple. I drilled a hole through the middle for a bolt into an existing T-nut, then a smaller hole lower down for a screw, because a block that size will happily spin on a single fastener.
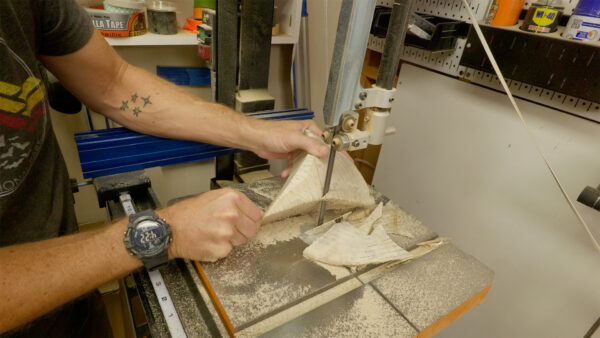
With one done, I wanted to try a completely different approach on the next one. I took the unidentified piece to the bandsaw and cut it into a few chunks, aiming for a wedge and something you’d pinch rather than wrap a hand around. Out of it I got a big two-handed piece, some small ledges that could work as footholds, and a ramp shape that could be used a few different ways. I had planned to do this batch entirely with hand tools, since the first one was all power tools, but that’s when I found out why my sister still had that wood sitting around. It is brutally hard. Sanding it was a fight and rasping it was worse, so I moved to the spindle sander and finally made progress. I got some undercuts carved in and smoothed the whole thing into facets rather than curves, with no edges sharp enough to hurt. I oiled it out of curiosity and still can’t decide whether it looks cool or just strange.
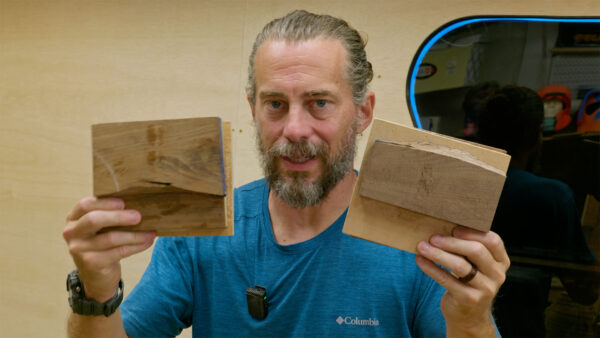
By then the glue-ups had been drying about twenty-four hours and were ready to work. Two of the blanks came out essentially identical, same rough size and shape with the color order flipped, so I decided to take them in opposite directions. One I wanted smooth and curvy and low profile. The other I wanted faceted and geometric, big flat surfaces with no sharp edges and not much detail, the kind of hold that’s awkward on purpose. For that one I stopped winging it long enough to draw the profile on the side of the blank and cut to those lines on the bandsaw.
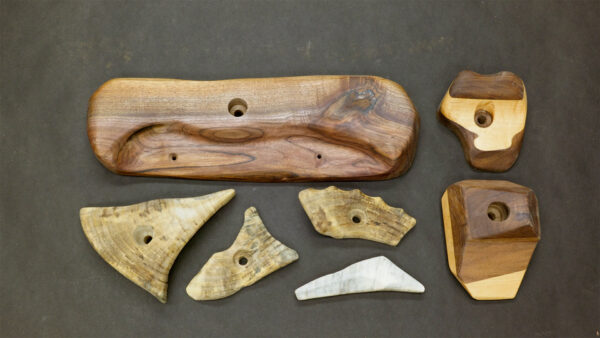
Seven holds in a couple of hours, and by the end I had a process I would repeat. Start with a block, glued up or solid. Take it to the bandsaw and cut away everything that clearly isn’t part of the hold. Move to the Arbortech to get into curves and pull material out of places a wide bandsaw blade can’t reach. Then go to a spindle sander or a big flat sander, something you can actually push against, because that’s where the flat faces and the final geometry happen. Rasps could work at that point for more aggressive adjustments, but they weren’t my favorite. After that it’s just sanding, and I don’t think you need to go past 80 or maybe 120 grit.
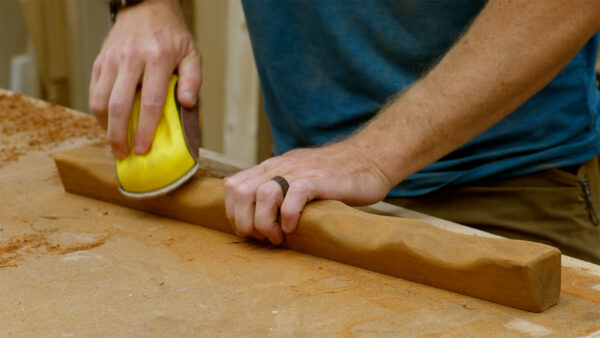
The last thing I made was a set of campus rungs. If you haven’t seen one, it’s basically a bar you screw to the wall, made in different thicknesses and slopes, used to train the strength in that part of your hand so you can hold and pull your own weight. I cut a few of those out of maple scrap with a different slope on each. I also found a thicker piece of that mystery material and carved a rounded, shaped version of the same idea, mostly because carving had turned out to be the fun part and I wanted an excuse to do more of it.
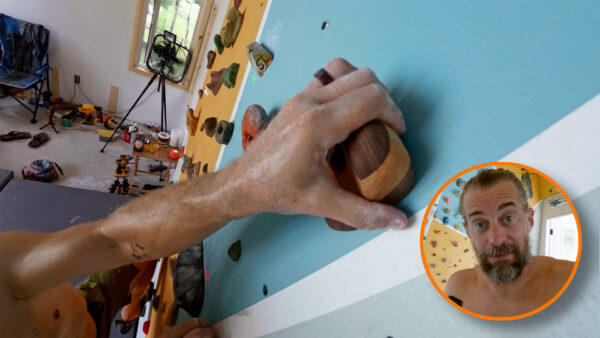
Climbing on them was the real test, and they’re a lot of fun. They aren’t better or worse than the resin holds, they just feel different, and they are definitely not easy. My favorite part of the whole thing was that there was no plan at any point. I wasn’t trying to hit a spec or match a drawing. I got to try a bunch of different methods, make an enormous mess, and end up with something useful anyway. So go make a thing. It doesn’t have to be planned out and it definitely doesn’t have to be perfect. Thanks for hanging out with me on this one. Now, go make something awesome!
TOOLS
(purchasing via these affiliate links supports ILTMS)
Woodworking
- SawStop cabinet saw
- 8″ Dado stack
- Skil circular saw
- Dewalt 20v drill driver combo
- Dewalt Miter Saw
- Jet Wood Lathe 12×21
- Carbide lathe tool set
- Countersink drill bits
- Dewalt DW735 benchtop planer
- Orbital Sander
- Pancake compressor/nail gun combo
- Dremel tool
- Incra box joint jig
- 54″ Drywall T-Square
- Push Blocks
- Jigsaw
- Shop Fox 6″ Jointer
- Grizzly 14″ Bandsaw
- Grizzly Drill Press (WAAAAY overpriced (3x) on Amazon, buy from Grizzly directly.)
- Jet Drum Sander
- Kreg Rip Cut (circular saw guide)
- Kreg R3 pocket hole jig kit
- Shop Fox Hanging Air Filter
- 2HP Dust Collector
- 1 Micron bag
- Speed square
- 11″ Digital protractor
- Digital Angle Gauge
- Classic steel ruler (cork backed)
- Taper jig
- Flush cut saw
- 90˚ corner clamp (4 pack)
- Box Cutters (for eva foam)
Finishes & Adhesives
- Spray lacquer
- 100% pure tung oil
- Formby’s tung oil finished (tung oil/varnish)
- Danish oil
- CA Glue (medium)
- CA Activator
- Barge Contact Cement
- Critter Spray Gun
- Polycrylic
- Polyurethane
- Spar Urethane
3d Printing/CNC/Laser
- Glowforge (laser)
- X-Carve (CNC)
- Ultimaker 2 Extended 3D printer
- Ultimaker 3
- Original Prusa i3 MK 3
- Form1+ SLA 3D printer
- Silhouette Portrait (vinyl cutter)
- All filaments, 3d printing supplies from MatterHackers
Welding
- MIG welder *
- TIG welder
- Welding mask (auto darkening)
- Welding gloves
- Welding magnet
- Angle grinder *
- Cut off wheels
- Metal cutting bandsaw *
- 10″ Evolution Miter Saw for cutting Steel, Aluminum, Wood, etc.
Electronics
- Arduino Uno (just the Uno)
- Arduino Uno Kit
- Arcade buttons
- Raspberry Pi 3
- Multimeter
- Wire
- jumpers (Male to Female)
- Soldering iron
- Third hand kit
- Wire strippers (not the ones I have, but good ones)
- Thin solder
- Anti static mat
- Fiskars cutting mat
- Plastic parts cabinet (24 drawer)
- Plastic parts cabinet (64 drawer)
- Precision Screw driver kit