

The pool house has been fully built and closed in for a while now, but the truth is we never actually decided what the inside was for. It was a finished shell with nothing in it. That finally changed, because we landed on a plan I have wanted for most of my life. One end of the space is going to be a hangout with a seating area and a little table, taking advantage of the corner windows that look out over the field. The other end, and I mean the walls and the ceiling, is going to be a climbing wall. I have built a lot of climbing walls over the years, first for me and then mostly for my kids, but this one is finally mine.
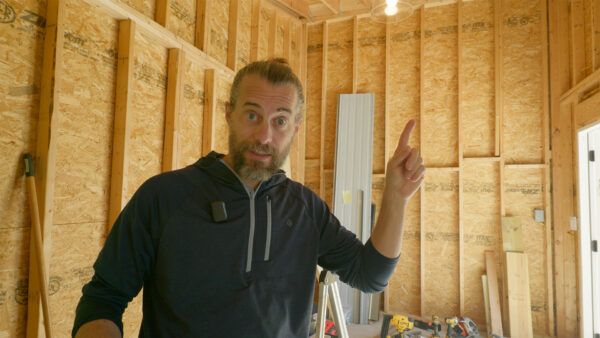
Before any of the fun stuff could happen, the whole space needed insulation. If I want it to be comfortable out there, every wall and the ceiling has to be insulated, but it had to happen in sections because each area gets a different treatment. The hangout section gets drywall, the climbing section gets climbing wall surface, and the ceiling gets tongue and groove from the hangout end to about halfway up, then climbing surface past that. The tongue and groove will match what I did on the outside of the building over the pool equipment, which should tie the whole thing together nicely.
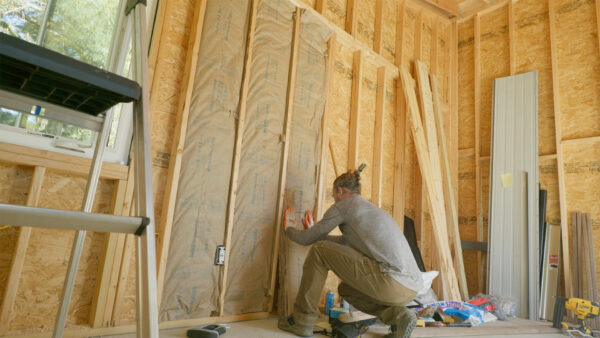
The wall insulation itself only took a couple of hours, and it really doesn’t require much in the way of tools. A knife and a stapler will get you there. The big thing I learned is that you do not want to compress the insulation. It should fill the entire cavity, fluffed out as far as it will go, because squishing it down makes it less effective. I also want to recommend that you wear a mask while you do this, even though it gets hot and uncomfortable. Fiberglass is not something you want to be breathing.
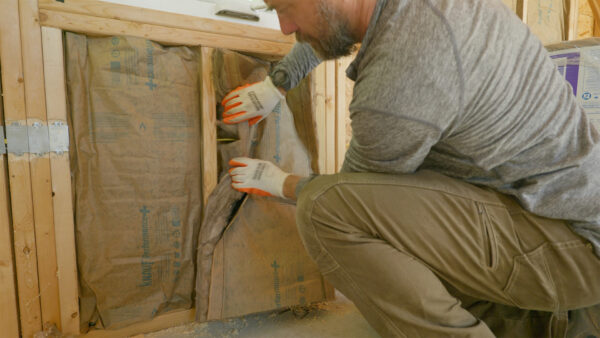
The trickier part is dealing with everything that lives inside the walls, like electrical lines and plumbing. You need to get the insulation as close as possible to those items without compressing it around them. In my case, I ended up cutting through the body of the insulation without cutting the paper face, and then fitting that slot over the wire so the wire ended up completely enclosed in insulation. The goal is always the same: fill the void as completely as you can without squishing anything down.
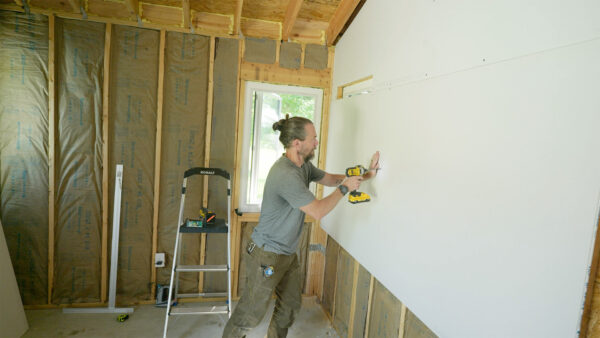
Then came drywall. If you have never done it yourself, it is not hard, but it is tedious and really, really messy. One good way to offset that is to hang the drywall yourself and then pay a professional to do the finishing, because people who do it every day are incredibly fast and it is probably worth the money. I decided to just do the whole thing myself anyway. Professionals have methods for panel direction, seam placement, and lining things up with windows and doors. I do not know any of those methods, so in this small space I just figured it out one wall at a time, starting at the top with the angled pieces, cutting out the windows, and filling in the gaps along the bottom. Insulation and drywall went up in a single day, and after the first coat of mud it was time to switch gears to the ceiling.
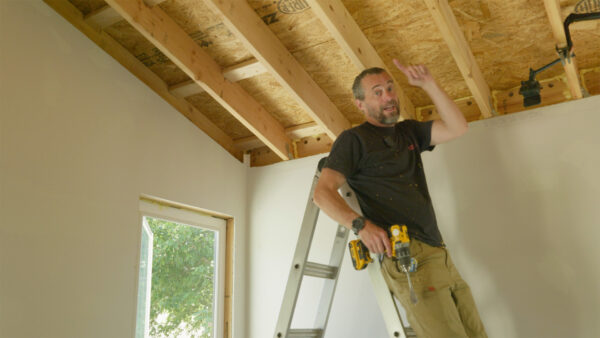
The ceiling had a hidden problem. Earlier in the build, before I knew what the plan up there was going to be, I blocked off all the spaces between the ceiling joists to keep out birds and bugs while I finished the rest. If I stuffed insulation up there now, that air would have nowhere to go. It would get trapped, get hot, get wet, and cause mold. So I took a Forstner bit and drilled a row of holes across the top of those blocking pieces, then stapled up baffles that create a channel from the low end of the roof all the way to the high end, so air can move through and vent out into the soffit. Even while I was drilling, I could feel cooler outside air blowing in through the holes, which told me it was working.
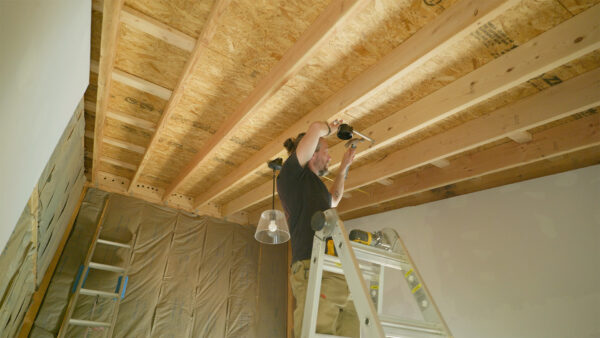
While I was up there, I also had to move some electrical. The pendant light was sitting right where the climbing wall is going, or more accurately, right where I would be falling off the climbing wall. I shifted it toward the hangout end so it hangs over the seating area, and then I added two more drops for recessed lights that are aimable. The climbing surface is tall and goes up into the roof, so I need light that hits the holds without me casting a shadow on them while I climb. These lights pivot inside their own housings, so I can aim them anywhere on the wall, and they come with their own little junction box that just tucks up into the ceiling, so I did not even have to add electrical boxes for them.
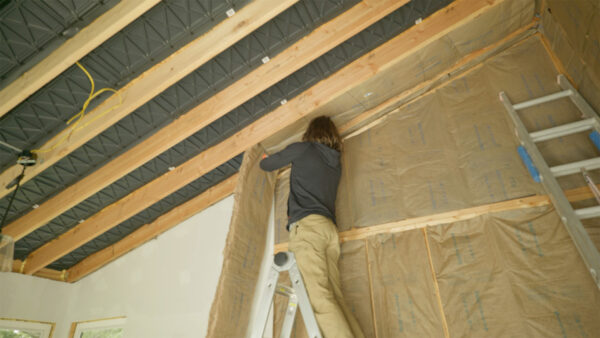
The ceiling insulation is thicker than the wall insulation because it is going into 2×8 framing instead of 2×4, which means it has a higher R value and should insulate even better than the walls. Instead of staples, I tried insulation supports, which are pieces of spring steel that you bow in between the joists to hold the batts up. This stuff is a lot heavier than the wall insulation, and I genuinely was not sure they would hold it, but they did. The lesson I learned is to cut each run to length before trying to hang it, and to snug everything back into the corners before trimming, because I left myself a small gap where I started. Probably not a big deal, but something to do better on the next section.
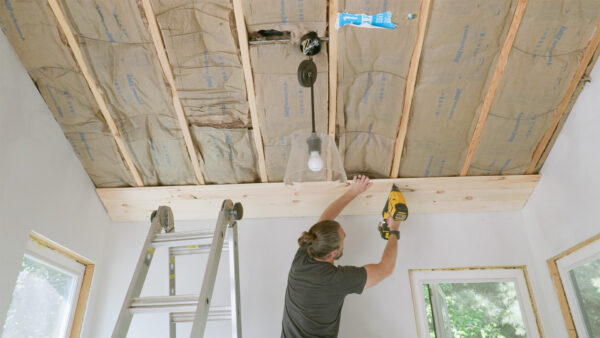
Then it was tongue and groove time. The outside run of this material was some awkward length that forced me to tile pieces together, but inside the room is nine and a half feet across, so I bought ten foot planks, cut them all to the same length, and ran them straight across with no seams. In a perfect world the walls would be square to each other. They were not, by about 5/8 of an inch. The drywall was not perfectly straight either, which left a gap well over a half inch in the middle of the first plank. So I scribed that board, laying it against the wall and dragging a pencil along the top so the line matched the contour, then cut it with a jigsaw. It was a pain over that long a distance, but the fit came out way better, and the trim I am adding along the sides will cover the small expansion gap that has to be there anyway. For the plank around the light, I made a template on a scrap piece first and transferred it over instead of wrestling a full length board.
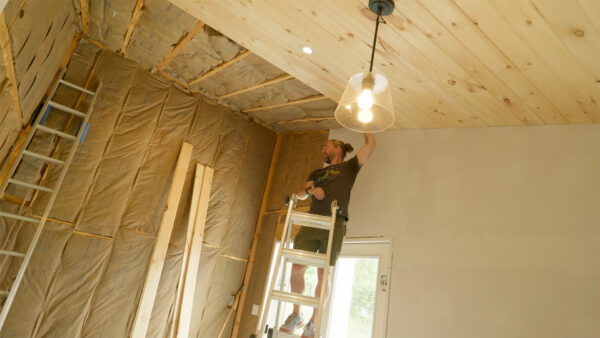
I stopped the ceiling where it will eventually meet the climbing wall, since that wall does not exist yet. The last job was wiring up the aimable lights, and when I flipped the switch, they worked. Watching that spot of light sweep across the wall where the holds will go was a great way to end the day. The room is nowhere near finished, but my goals were to insulate, put up walls and a ceiling, and fix the lighting, and all three of those are done. Everything from here is in service of that climbing wall, and I am genuinely excited about it. Thanks for following along with the build. Now, go make something awesome!
TOOLS
(purchasing via these affiliate links supports ILTMS)
Woodworking
- SawStop cabinet saw
- 8″ Dado stack
- Skil circular saw
- Dewalt 20v drill driver combo
- Dewalt Miter Saw
- Jet Wood Lathe 12×21
- Carbide lathe tool set
- Countersink drill bits
- Dewalt DW735 benchtop planer
- Orbital Sander
- Pancake compressor/nail gun combo
- Dremel tool
- Incra box joint jig
- 54″ Drywall T-Square
- Push Blocks
- Jigsaw
- Shop Fox 6″ Jointer
- Grizzly 14″ Bandsaw
- Grizzly Drill Press (WAAAAY overpriced (3x) on Amazon, buy from Grizzly directly.)
- Jet Drum Sander
- Kreg Rip Cut (circular saw guide)
- Kreg R3 pocket hole jig kit
- Shop Fox Hanging Air Filter
- 2HP Dust Collector
- 1 Micron bag
- Speed square
- 11″ Digital protractor
- Digital Angle Gauge
- Classic steel ruler (cork backed)
- Taper jig
- Flush cut saw
- 90˚ corner clamp (4 pack)
- Box Cutters (for eva foam)
Finishes & Adhesives
- Spray lacquer
- 100% pure tung oil
- Formby’s tung oil finished (tung oil/varnish)
- Danish oil
- CA Glue (medium)
- CA Activator
- Barge Contact Cement
- Critter Spray Gun
- Polycrylic
- Polyurethane
- Spar Urethane
3d Printing/CNC/Laser
- Glowforge (laser)
- X-Carve (CNC)
- Ultimaker 2 Extended 3D printer
- Ultimaker 3
- Original Prusa i3 MK 3
- Form1+ SLA 3D printer
- Silhouette Portrait (vinyl cutter)
- All filaments, 3d printing supplies from MatterHackers
Welding
- MIG welder *
- TIG welder
- Welding mask (auto darkening)
- Welding gloves
- Welding magnet
- Angle grinder *
- Cut off wheels
- Metal cutting bandsaw *
- 10″ Evolution Miter Saw for cutting Steel, Aluminum, Wood, etc.
Electronics
- Arduino Uno (just the Uno)
- Arduino Uno Kit
- Arcade buttons
- Raspberry Pi 3
- Multimeter
- Wire
- jumpers (Male to Female)
- Soldering iron
- Third hand kit
- Wire strippers (not the ones I have, but good ones)
- Thin solder
- Anti static mat
- Fiskars cutting mat
- Plastic parts cabinet (24 drawer)
- Plastic parts cabinet (64 drawer)
- Precision Screw driver kit