
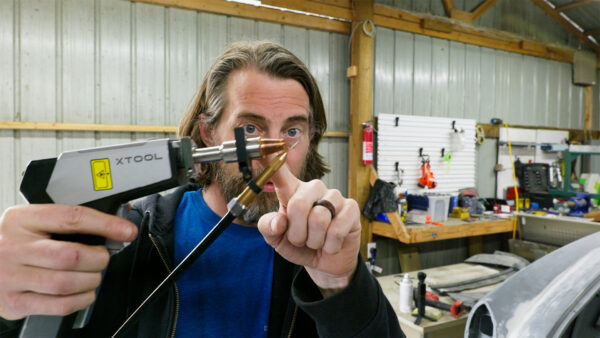
I went back to the farm to work on my Karmann Ghia project. The next section of major metal work needed was the entire back end of the car. It was a lot to tackle, but I had a new tool to try – the Metal Fab from xTool. This thing was impressive – a laser welder, laser cleaner, and laser cutter all in one, plus a CNC in that big box. xTool reached out asking me to test it out, not even to promote it. They just wanted feedback. The tool launched on Kickstarter the same day I was testing it, and I was really interested in whether it would be useful for automotive restoration work. I had welding to do, cutting to do, and rust removal to do – one tool to rule them all.
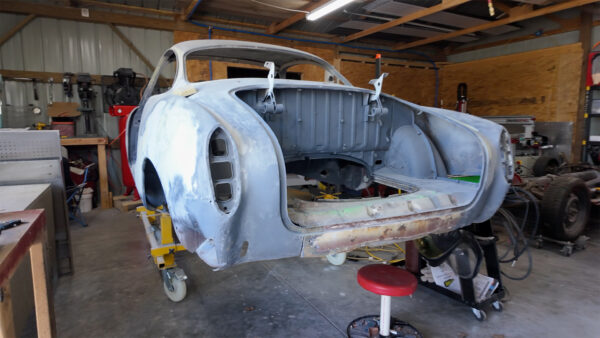
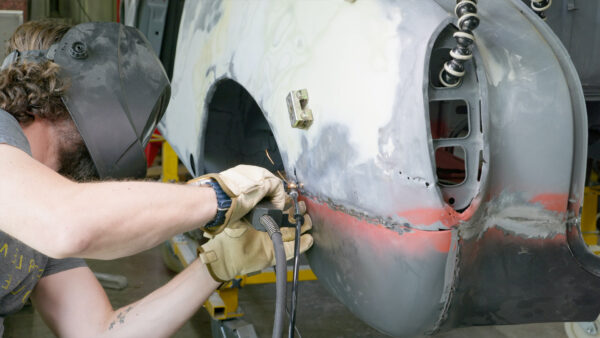
I counted about nine panels that needed replacing from about midway down and all around between the wheels. Thankfully, I had all the replacement panels already, but figuring out where to start was challenging. If I removed the middle pieces first, I wouldn’t be able to put them back because the parts they weld to also needed replacing. But starting on the outside meant welding to pieces that would later need to be torn out. After some thinking, I decided to start with the battery tray. One side was completely rotted through, while the panel on the other side was fine and staying in place. This gave me a fixed reference point to measure from, and the tray was only welded in a few spots to parts that would remain.
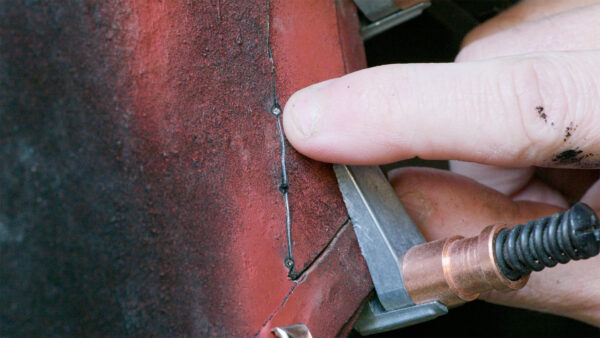
Before diving into the actual work, I tried out the laser welder. The welding gun had a wire feeder like a MIG welder, but with a visible red laser that showed exactly where the weld would happen. It had two triggers – one for grip and another that fed the wire and pushed the gun backward at the right rate for a perfect weld bead. Once I figured out I needed to turn on the gas (duh) and set the right metal thickness (come on, Bob), the results were amazing. The welds were better than anything I could do with a MIG welder, with the gun automatically moving backward to create straight lines and full penetration. I was really impressed with how well it worked right away, even though I was just learning how to use it.
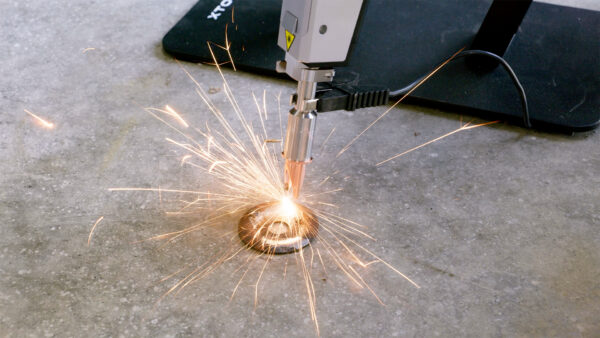
I also tested the cleaning feature, which was pretty cool for small areas. You just switch the tip, and it can remove rust instantly. It was particularly useful for small, hard-to-reach places where a flap disk wouldn’t fit. I found a small cave where two pieces of metal were welded together that was full of rust, and the laser could clean inside that space easily. This would be great for cleaning before applying rust preventative. While a flap disk would be better for large flat areas, this was perfect for detail work and hard-to-reach spots. I even found out it could etch concrete, which was an interesting discovery (whoops).
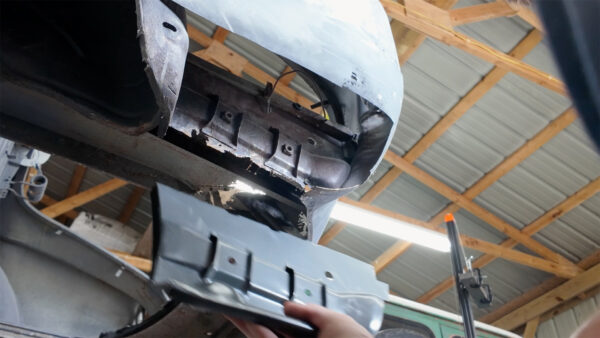
After trying out the new tool features, I changed my mind about starting with the battery tray. Looking at it closer, I realized much of it was salvageable, and I could cut down the replacement panel and patch it in rather than replacing the whole thing. This meant starting in a different spot, working from underneath instead. I got the battery tray mostly fitted with just some trimming left to do. Before welding, I needed to clean the surfaces, including a rusty bar underneath, which gave me another chance to use the laser cleaner on those tight spaces.
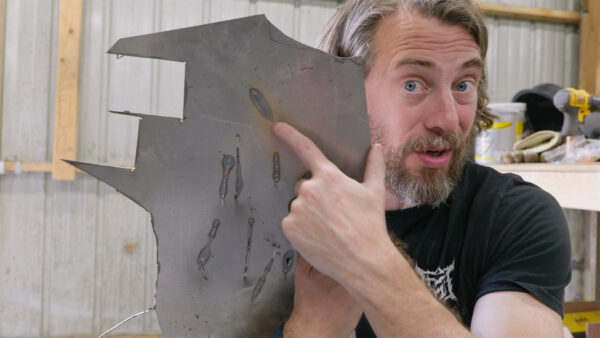
The most challenging part was fitting tiny patches into holes. It took me longer than I’d like to admit to get the first one ready to weld. The Metal Fab has a tack weld setting that controls how long it welds, which was perfect for just putting a small tack without heating the metal too much. When I first tried it, I was shocked at how tiny the tacks were – much smaller than I could do with any other welder. They were barely visible but held the piece in place. When I tried to make a bead, I discovered I had accidentally turned off the automatic wire feed, which caused the welder to burn through the metal. Once I fixed that, the wire fed properly and pushed the gun back at the right rate, leaving a nice bead.
I knew going into this project that I wouldn’t finish the entire back end or even a complete section in one go, but it was taking me an unusually long time to finish just two patches, and they didn’t look great. This wasn’t the machine’s fault but my lack of skill with the new tool. One interesting difference I noticed was that the wire feeder on this gun goes at about a 45-degree angle to the laser, unlike a MIG where they both come from the same place. This creates a triangle effect, and you have to think differently about how to move from one spot to another. The gun moves you in one direction while you handle the twist, turn, and lift. It was a completely different approach that took some getting used to.

I eventually got past my initial frustration with the patching and focused on fitting everything else up. The new battery tray was ready to be welded in, with mostly straight weld lines that would be easier to work with than the patches. After more testing, I realized the default wire feed settings were too high for my application, so I adjusted them and saved them as a profile for “Ghia sheet metal.” That’s one feature I really appreciated – being able to save different settings for different materials and thicknesses would save a lot of time in the long run.
Looking back, I sometimes wonder why I chose this car as my first restoration project. I love the Karmann Ghia and its shape, but that shape is part of the problem – there’s not a single straight line on the entire car. This particular one was especially rusty, too. I could have started with something much further along and had a lot less metal work to do. If you’re thinking about starting to work on cars, maybe pick something really boxy with flat panels and straight lines (cough cough Land Cruiser cough). That would be much easier than what I got myself into with this project.

By the end of this work session, it might look like nothing changed, but I know that I replaced several pieces of metal and overcame that mental block of where to start. I’ve got a ton left to do on the back end, but at least I’ve made some progress. As for the welder, I didn’t do a great job making things look pretty, but that was because of the learning curve, not the tool. It’s just different from a MIG welder and takes practice to use effectively. I definitely improved on the last panel after adjusting the wire feed settings, and I’ll keep getting better with more practice. Despite the learning curve, the xTool Metal Fab is an awesome piece of machinery, and I’m looking forward to using it more in upcoming projects. Thanks for following along, now go make something awesome!
TOOLS
(purchasing via these affiliate links supports ILTMS)
Woodworking
- SawStop cabinet saw
- 8″ Dado stack
- Skil circular saw
- Dewalt 20v drill driver combo
- Dewalt Miter Saw
- Jet Wood Lathe 12×21
- Carbide lathe tool set
- Countersink drill bits
- Dewalt DW735 benchtop planer
- Orbital Sander
- Pancake compressor/nail gun combo
- Dremel tool
- Incra box joint jig
- 54″ Drywall T-Square
- Push Blocks
- Jigsaw
- Shop Fox 6″ Jointer
- Grizzly 14″ Bandsaw
- Grizzly Drill Press (WAAAAY overpriced (3x) on Amazon, buy from Grizzly directly.)
- Jet Drum Sander
- Kreg Rip Cut (circular saw guide)
- Kreg R3 pocket hole jig kit
- Shop Fox Hanging Air Filter
- 2HP Dust Collector
- 1 Micron bag
- Speed square
- 11″ Digital protractor
- Digital Angle Gauge
- Classic steel ruler (cork backed)
- Taper jig
- Flush cut saw
- 90˚ corner clamp (4 pack)
- Box Cutters (for eva foam)
Finishes & Adhesives
- Spray lacquer
- 100% pure tung oil
- Formby’s tung oil finished (tung oil/varnish)
- Danish oil
- CA Glue (medium)
- CA Activator
- Barge Contact Cement
- Critter Spray Gun
- Polycrylic
- Polyurethane
- Spar Urethane
3d Printing/CNC/Laser
- Glowforge (laser)
- X-Carve (CNC)
- Ultimaker 2 Extended 3D printer
- Ultimaker 3
- Original Prusa i3 MK 3
- Form1+ SLA 3D printer
- Silhouette Portrait (vinyl cutter)
- All filaments, 3d printing supplies from MatterHackers
Welding
- MIG welder *
- TIG welder
- Welding mask (auto darkening)
- Welding gloves
- Welding magnet
- Angle grinder *
- Cut off wheels
- Metal cutting bandsaw *
- 10″ Evolution Miter Saw for cutting Steel, Aluminum, Wood, etc.
Electronics
- Arduino Uno (just the Uno)
- Arduino Uno Kit
- Arcade buttons
- Raspberry Pi 3
- Multimeter
- Wire
- jumpers (Male to Female)
- Soldering iron
- Third hand kit
- Wire strippers (not the ones I have, but good ones)
- Thin solder
- Anti static mat
- Fiskars cutting mat
- Plastic parts cabinet (24 drawer)
- Plastic parts cabinet (64 drawer)
- Precision Screw driver kit