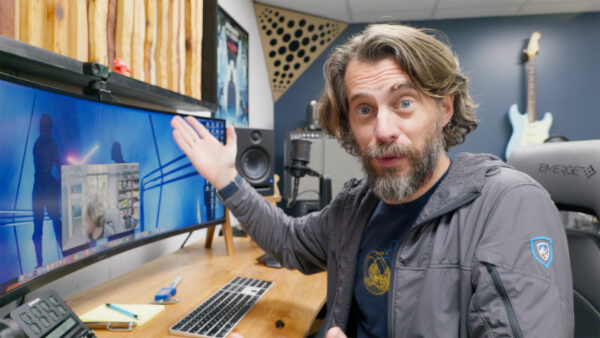
Like a lot of folks, I had my webcam sitting on top of my monitor. The problem was, it was looking down at me from above. I really wanted the camera at eye level for a more natural look when chatting with people. This is a much better angle for conversations.
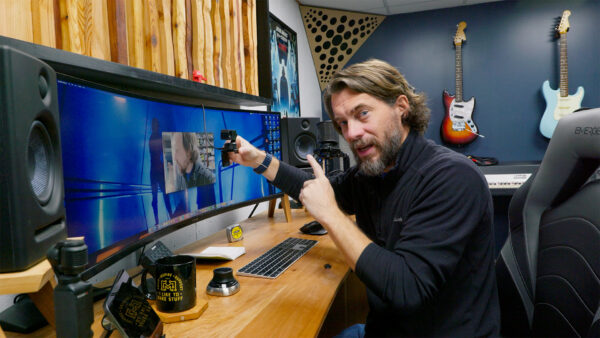
So I decided to figure out a way to mount the camera right in the middle of my screen, but in a way that I could easily move it out of the way when not in use. I already had a webcam I liked, so I wanted a solution that worked with my existing setup instead of buying a new tiny camera on a stick. There are stick-on options out there, but I wanted something custom.
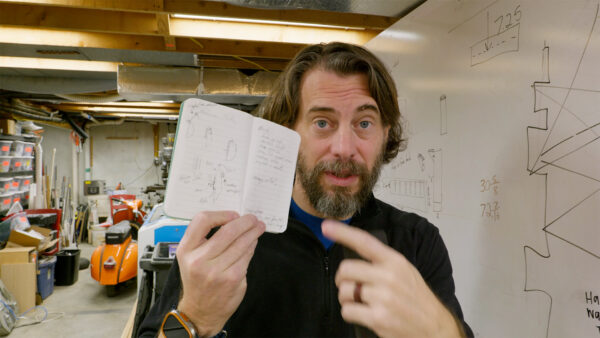
I started sketching out different ideas in my notebook. I had 7 or 8 concepts ranging from complex armatures to simple lifts. Some used springs and hinges, while others used slots and hooks. But I narrowed it down to the two simplest designs that I thought could work.
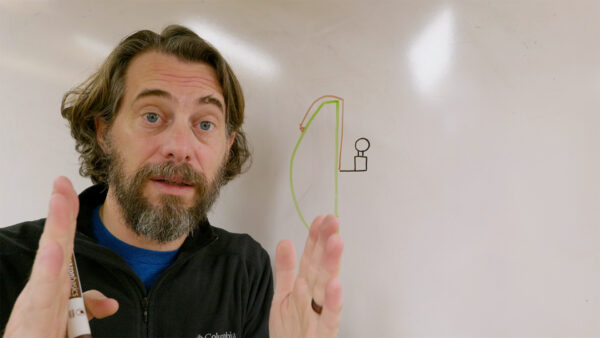
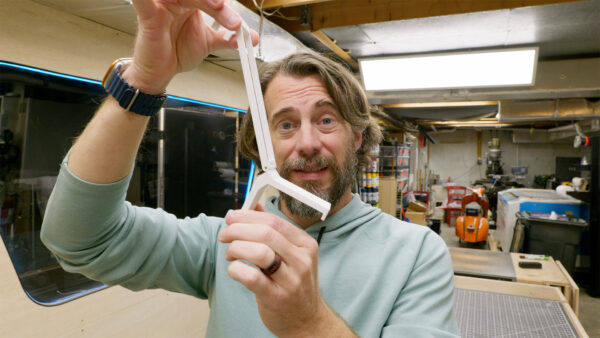
The first idea used a piece of fabric. The camera would hang down from the fabric which was attached at the top of the monitor. The fabric would need to be wide enough for stability and you’d need to be able to see through it. It would also need some way to adjust the camera height. There were some obvious flaws with this one. The second idea used a simple pivot point. A fixed piece would go up from the camera and hook over the top of the monitor. Lifting it off the hook would allow the camera to drop down into position. The only issue was that it didn’t allow for much height adjustment. But it seemed simpler overall.
I started by 3D printing some prototype parts for the pivot arm design. Through a few iterations, I realized that design wouldn’t quite work. The weight of the camera caused it to lean forward too much. I needed to remove the hinge. It was a good lesson in testing physical prototypes. So I went back to the sketchbook. I sketched out an idea for a slot that the camera mount could slide up and down in, locking into different height positions. This also had the benefit of very little hardware touching the screen. Less chance of scratches and less visual clutter.
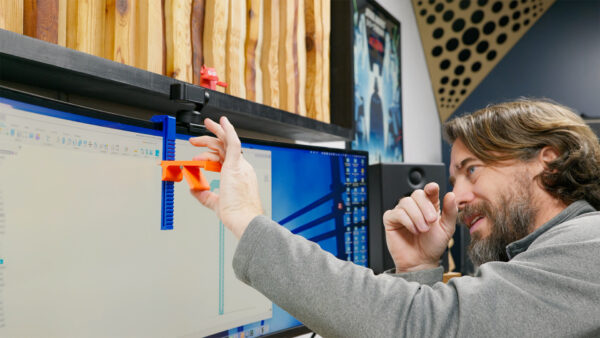
I modeled it up in Fusion and printed the parts. It worked great from the front, but didn’t account for the curved back of my monitor. The two side pieces needed to be able to hinge apart to fit. Back to Fusion for more design tweaks. After several design iterations solving different aspects of the problem, I came up with a final design. It uses a vertical slot for height adjustment, notches to lock the camera in place, and a pivot point to fit the monitor curve. Fusion made it easy to test different ideas quickly.
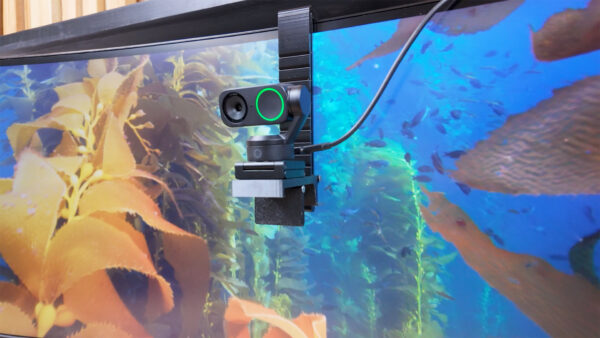
The final 3D printed parts fit together without any glue, just using pins. After installing the camera, it works awesome! The camera is perfectly at eye level for video calls and podcasts. But when I don’t need it, I just lift it off and hook it on the back of the monitor out of sight. It’s a slick setup.
I’m really happy with how this project turned out. I think the design is solid enough to share the 3D printing files for others to make their own, now available on my website. It should work with any camera that has a standard mounting screw. Check it out if you want to print one yourself. Or you can buy printed ones here.
Making stuff like this is such a cool way to solve little everyday problems. Fusion makes it approachable to design custom solutions and 3D printing makes it easy to bring them to life. I encourage you to give it a shot and make something that improves your life too. We even have an online course to help you learn Fusion if you want. Either way, thanks for being here with me. Now, go make something awesome!
TOOLS
(purchasing via these affiliate links supports ILTMS)
Woodworking
- SawStop cabinet saw
- 8″ Dado stack
- Skil circular saw
- Dewalt 20v drill driver combo
- Dewalt Miter Saw
- Jet Wood Lathe 12×21
- Carbide lathe tool set
- Countersink drill bits
- Dewalt DW735 benchtop planer
- Orbital Sander
- Pancake compressor/nail gun combo
- Dremel tool
- Incra box joint jig
- 54″ Drywall T-Square
- Push Blocks
- Jigsaw
- Shop Fox 6″ Jointer
- Grizzly 14″ Bandsaw
- Grizzly Drill Press (WAAAAY overpriced (3x) on Amazon, buy from Grizzly directly.)
- Jet Drum Sander
- Kreg Rip Cut (circular saw guide)
- Kreg R3 pocket hole jig kit
- Shop Fox Hanging Air Filter
- 2HP Dust Collector
- 1 Micron bag
- Speed square
- 11″ Digital protractor
- Digital Angle Gauge
- Classic steel ruler (cork backed)
- Taper jig
- Flush cut saw
- 90˚ corner clamp (4 pack)
- Box Cutters (for eva foam)
3d Printing/CNC/Laser
- Glowforge (laser)
- X-Carve (CNC)
- Ultimaker 2 Extended 3D printer
- Ultimaker 3
- Original Prusa i3 MK 3
- Form1+ SLA 3D printer
- Silhouette Portrait (vinyl cutter)
- All filaments, 3d printing supplies from MatterHackers